This is a build document for a large array of E-Drums I am making to support a VR hyper-instrument project. All of the 3D printed objects, Arduino source code and instrument files will be made available through this website with appropriate copyleft licencing, mostly dependent on the most permissive possible licence of the source materials I am using. The hyper-instrument itself will be covered later in a separate series of posts after the construction of the physical instruments has been completed.
Get a good printer.
After several years of mostly solid performance, I decided to upgrade my 3D printer. My old refurbished Wanhao Duplicator (Sold as Cocoon through Aldi) had seen me through the construction of the Ambsonic dome, but was unable to reliably print ABS or run overnight. Temperature variations would always detach print jobs from the build plate no matter how much glue stick or hairspray I applied. It was also far too slow for the big, dense prints I needed to create drum shells. I needed a cheap, fast, fully enclosed printer.
The Creality K1 has mixed reviews and comes with many warnings from the cognoscenti of Reddit about poor build quality and recurring print issues. I considered myself experienced enough to fix whatever went wrong and bought one at a good discount. It has jammed only once in several months of hard use. It is fully enclosed and reaches temperatures of up to 50°C internally with heat from the build plate alone. This is not always desirable, so leaving the door open when printing PLA in hot weather is a must.
Printing the drums
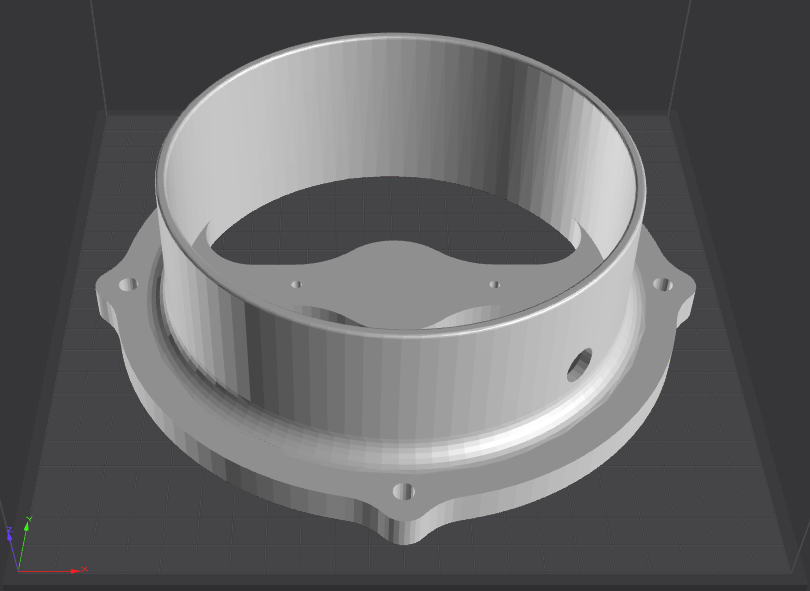
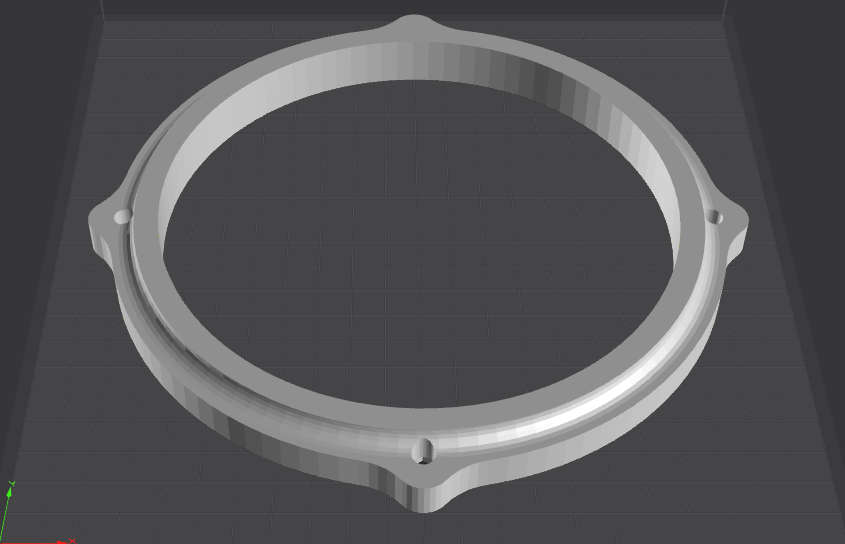
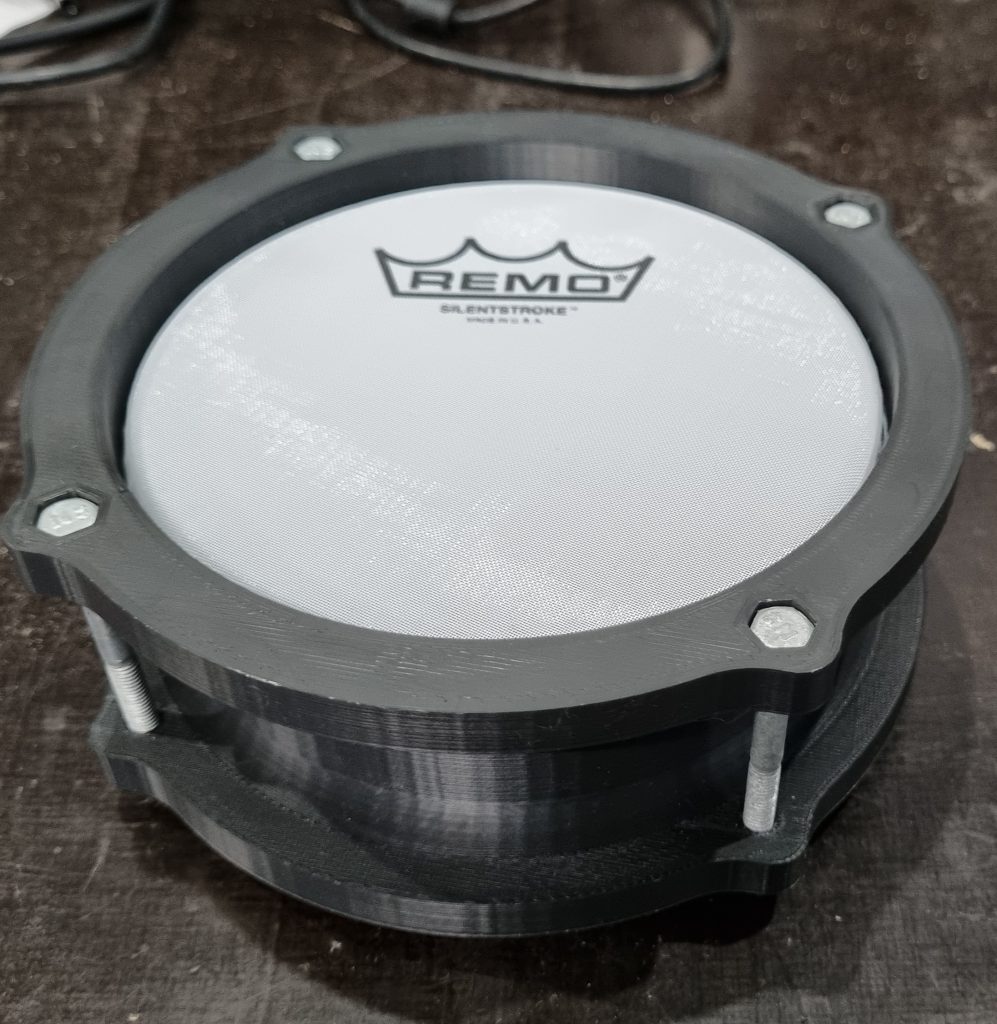
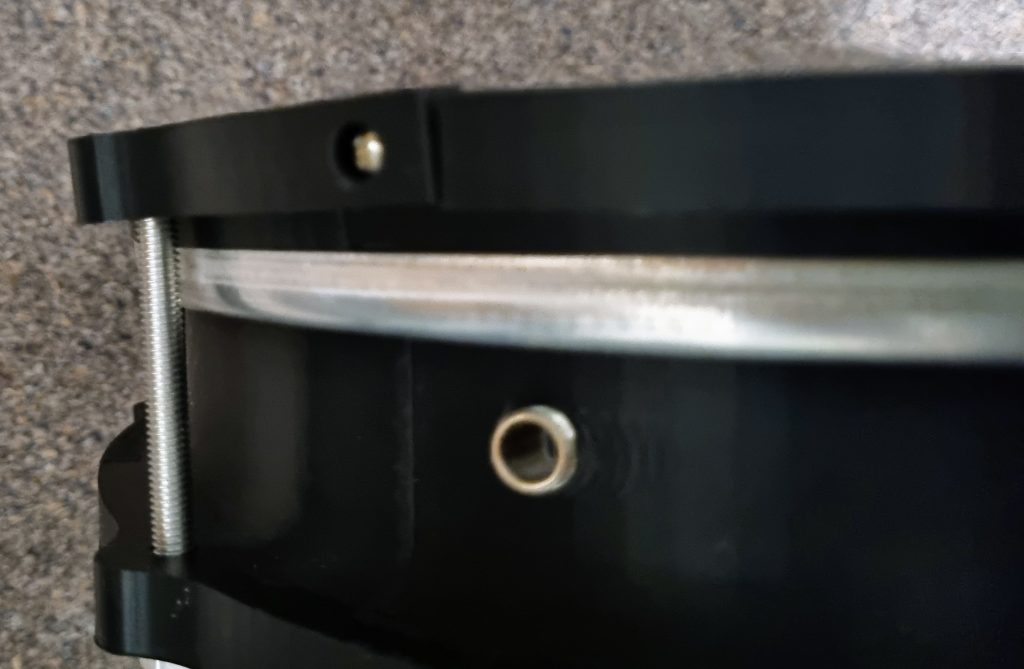
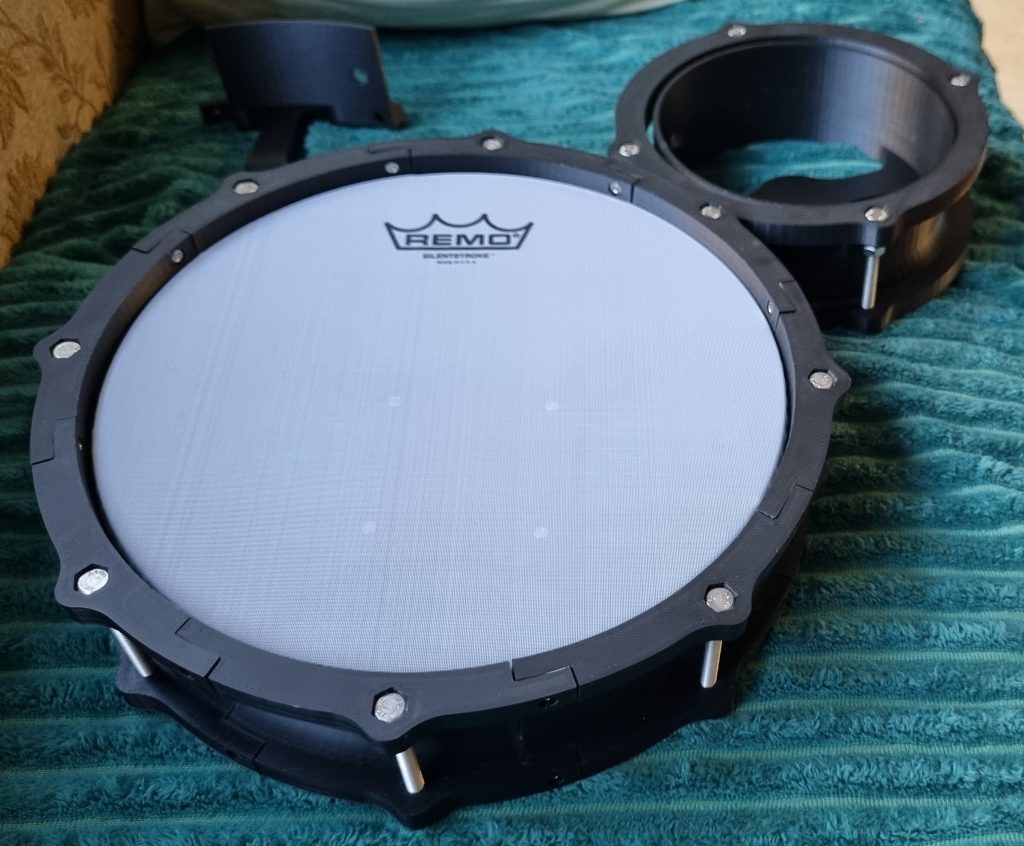
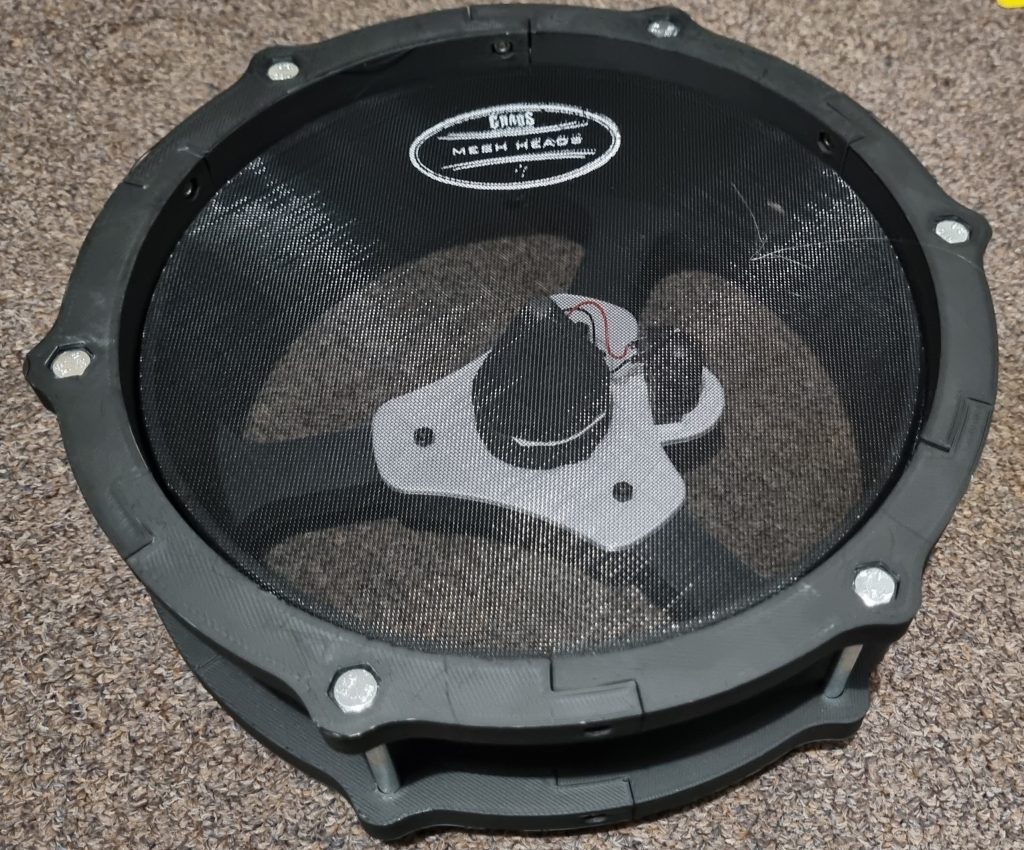
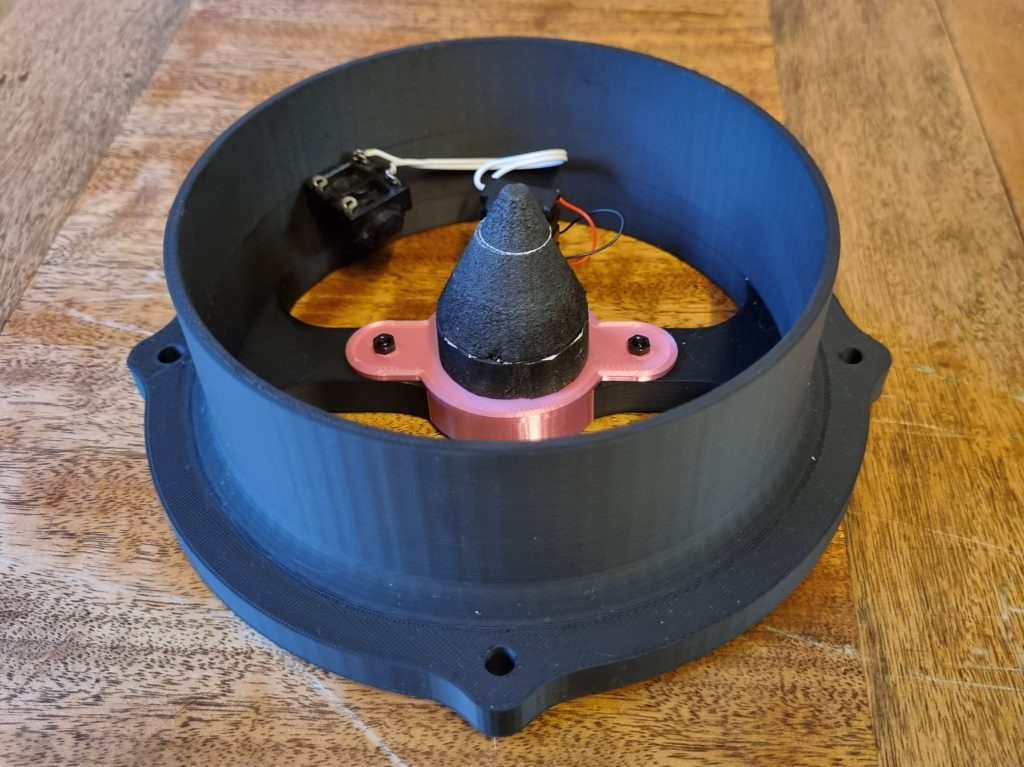
I found several sets of designs for drum shells on Thingiverse (a site with a huge selection of free-to-use ready-made 3D print designs) and quickly settled on this collection of shells deconstructed for printing on 20cm print beds. The shells and rims are printed in sections and held together with M3 screws. The K1 is just big enough to print the 6″ shells in one piece, taking 6.5 hours in fine mode. The 6″ rim also prints in one piece, taking 2 hours. Shells printed using both ABS and PLA have held tension with skins installed for around a week with no signs of structural problems. Larger rims, such as the 8″ and 10″ sets have distorted (shown below) but are working well enough and are not losing tension.
Making the sensors
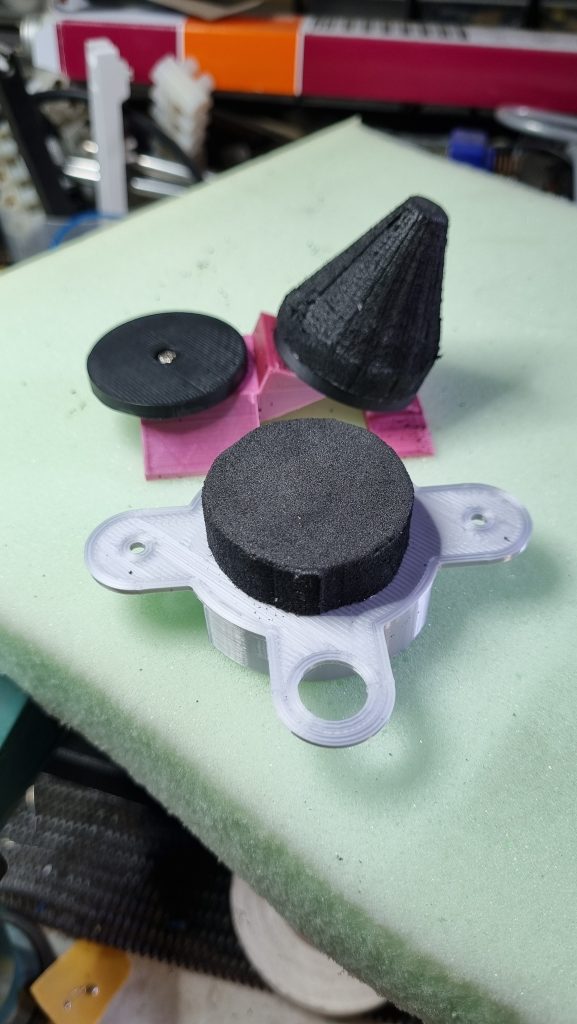
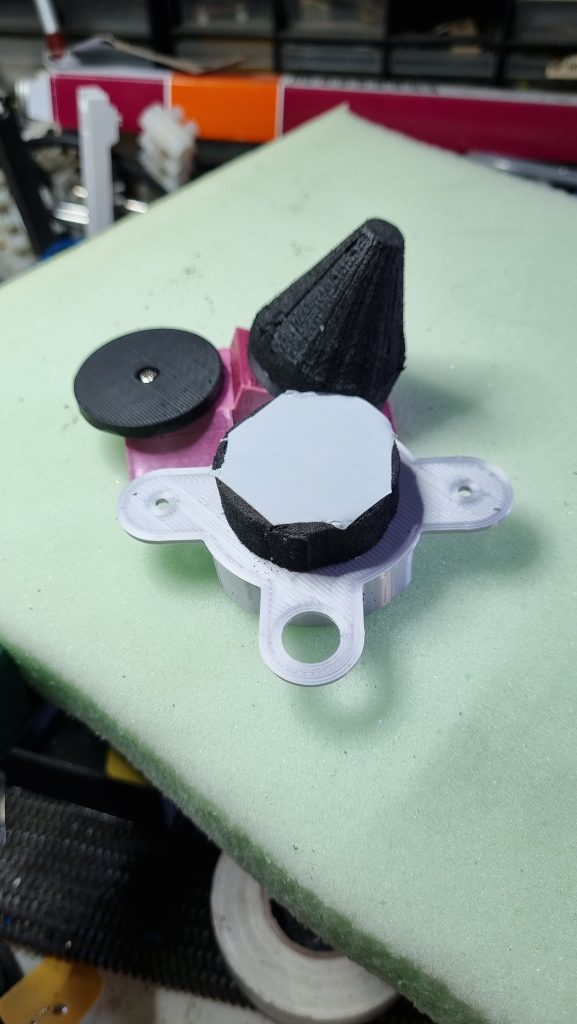
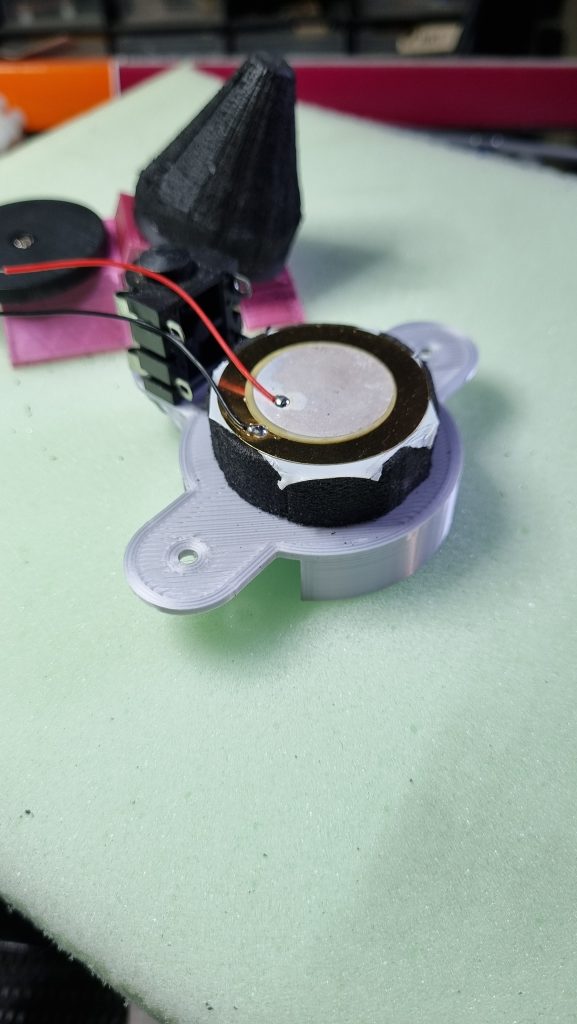
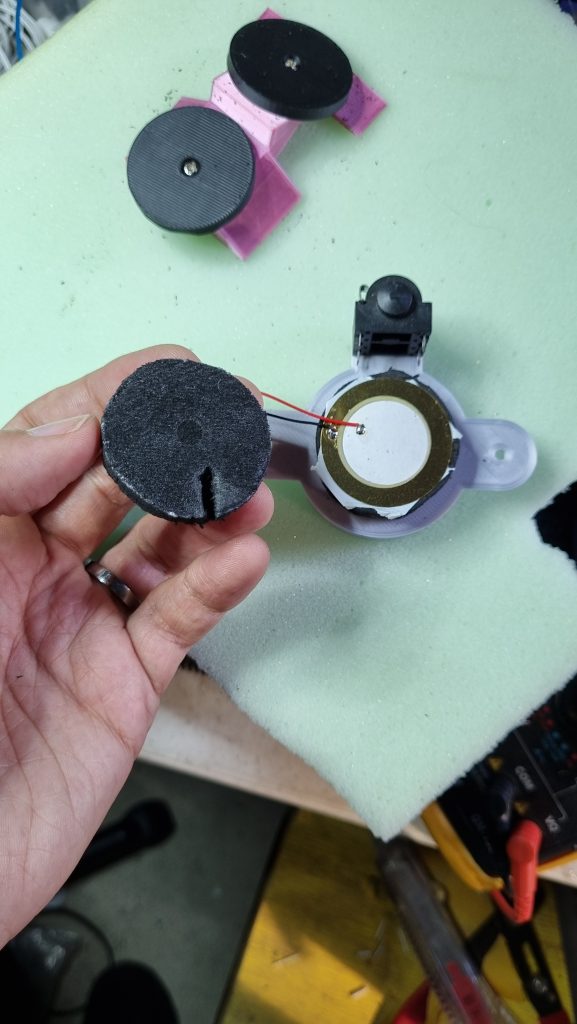
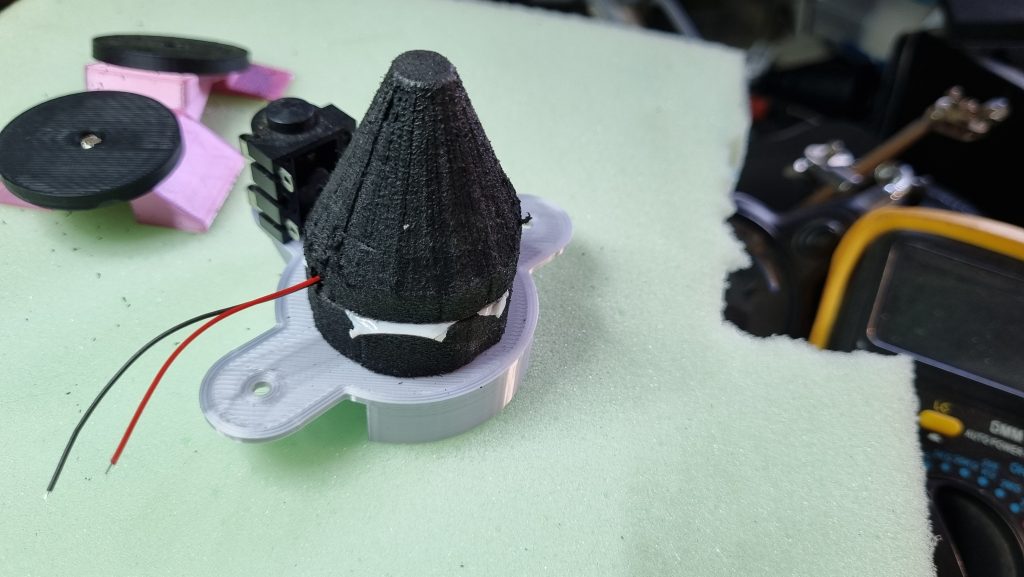
E-drums use a type of pressure sensor called a piezo. These are usually sold as flat discs that may have wires already attached. In the type of sensor I am using, force from the drum stick impacting the mesh head is transmitted to the piezo through a cone of soft material. The piezo is sandwiched between the cone and another disc of the same material that insulates the piezo from the frame of the drum. Multi-sensor drums that can detect playing on the rim often mount another peizo directly to the drum frame.
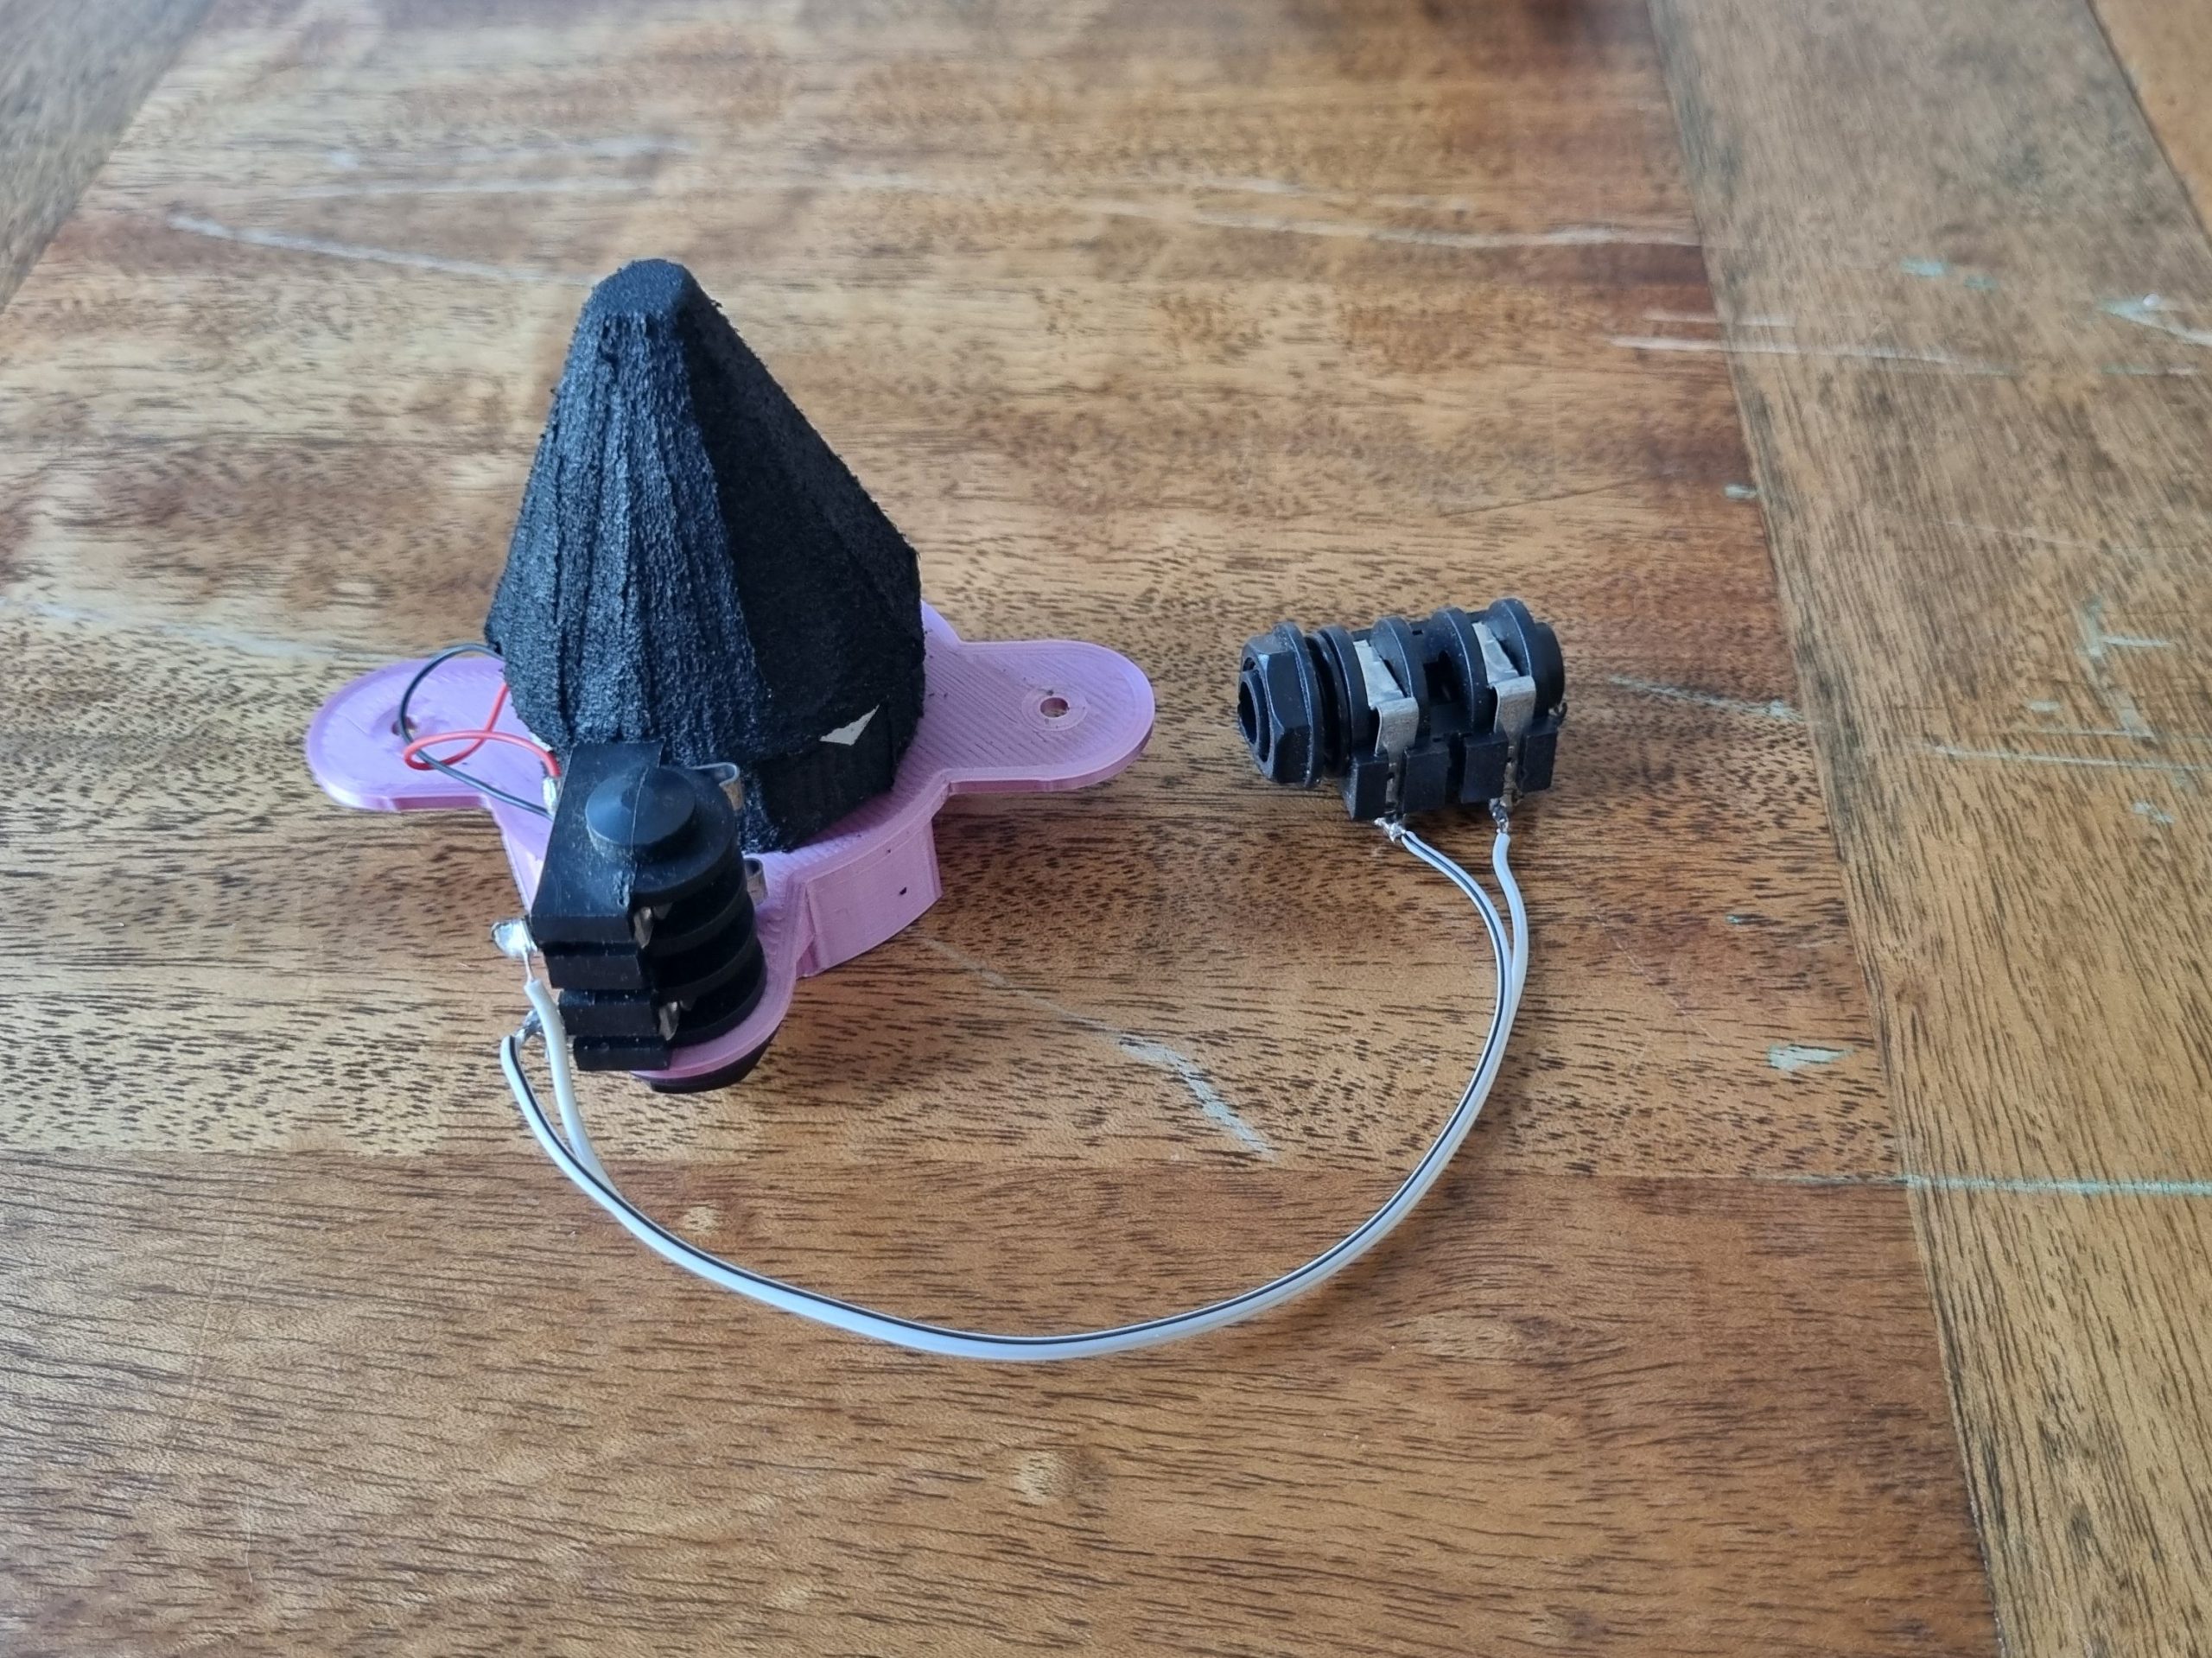
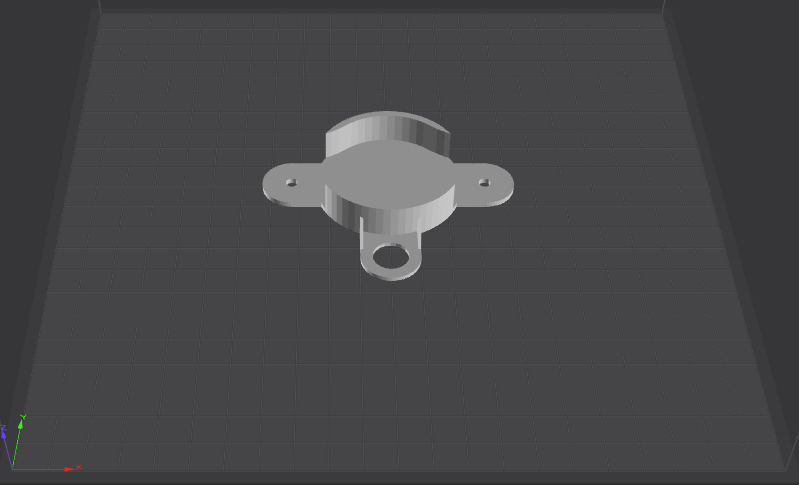
The mounting plates for the internal sensors included with the downloaded files made no sense to me, so I quickly designed a new friction-fit sensor sled that allowed for another jack to be installed underneath the drum, to be used for tight arrangements where the sides of the shell might not be accessible. The sensor is patterned after the Roland cone sensors used on their V-drum products. Although ready-made cones are available from aftermarket manufacturers, they are easy to make from materials available from Bunnings, for a fraction of the price
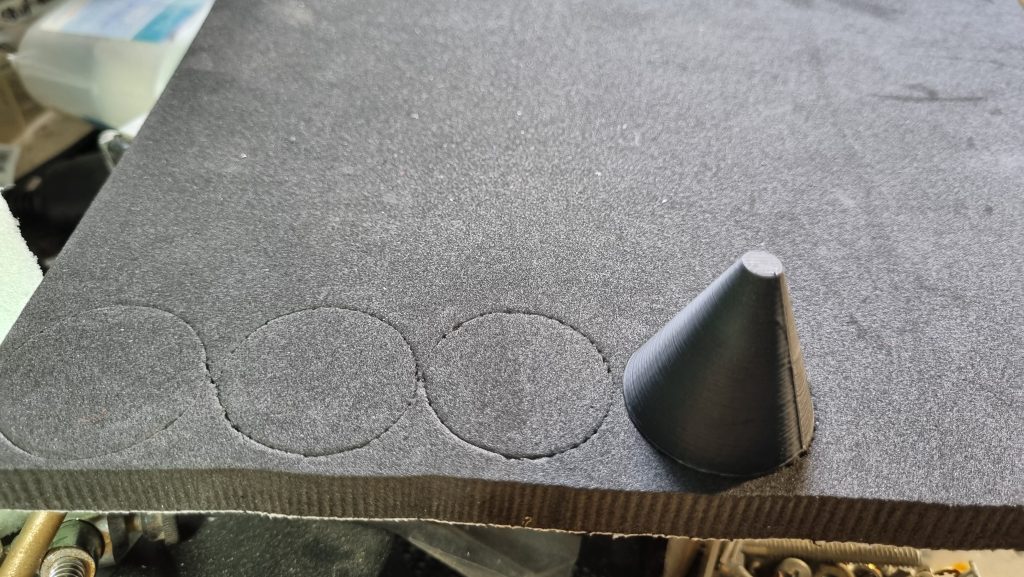
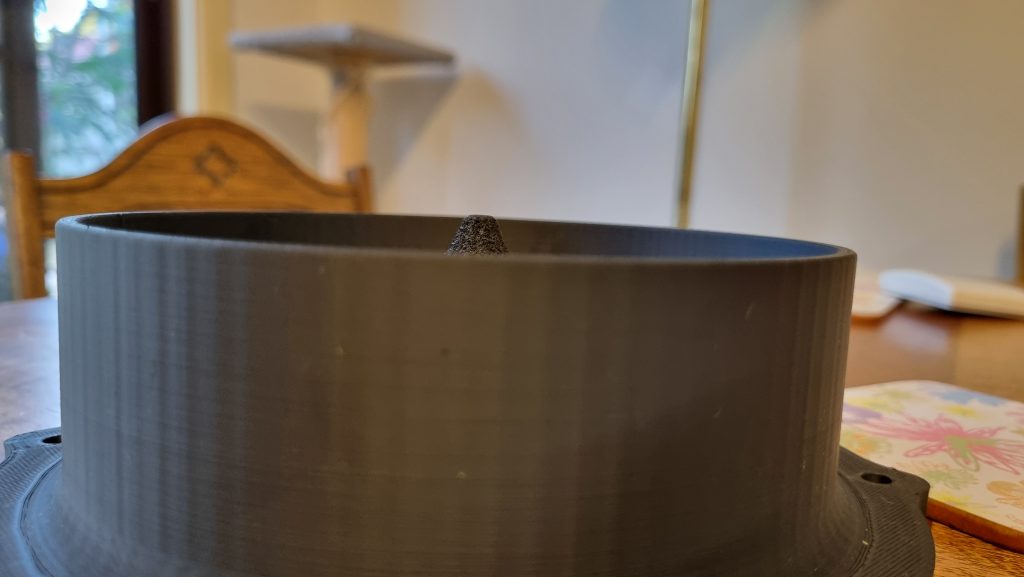
I experimented with several types of foam when developing the cones, including hybrid cones that used softer material for the top half. It didn’t really matter – every foam I tried gave good results, but a cone with a pointed tip such as the one shown above will need to be constructed from a firm material. Having a small point is especially desirable for drums with a centrally mounted sensor as it makes the foam cone harder to hit directly with the drum stick (which usually results in a very, very loud hit that stands out from regular playing). The sensor sled is a tight friction fit inside the drum but is secured with 20mm M3 bolts to keep it in place when plugging leads into the integrated Cliff jack.
Making the cones
I use a 3D printed cone shaping jig and a reciprocating scroll saw to shape the cones. Firmer foams, such as this EVA, can be shaped with a powered wheel sander. Soft foams have a tendency to grab blades and sanding discs/belts and can be dangerous to work with if you are using high-speed equipment, so I would recommend shaping those materials by hand with a scalpel. The jig is designed to replicate the 66° slope of the original Roland cones.
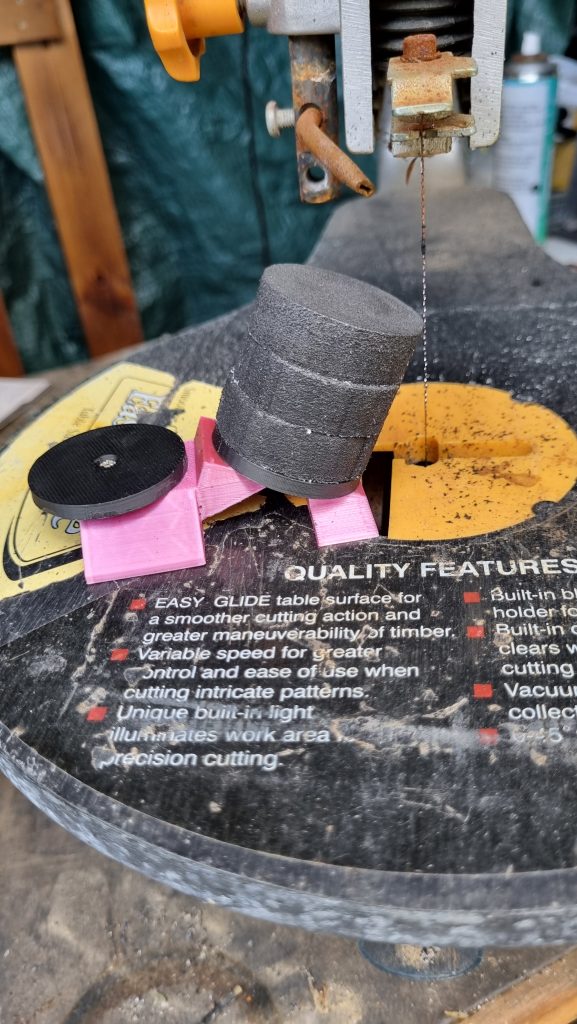
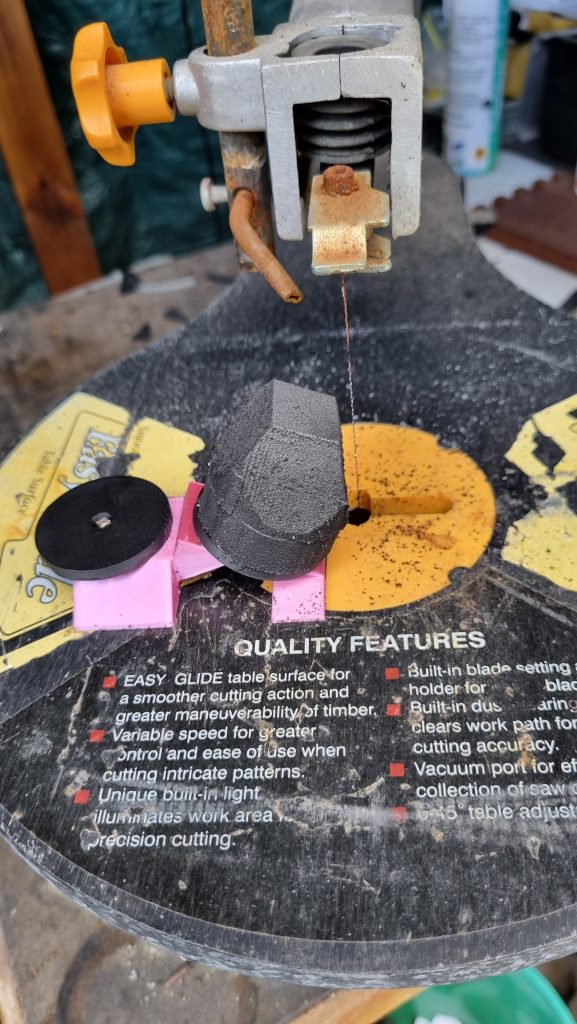
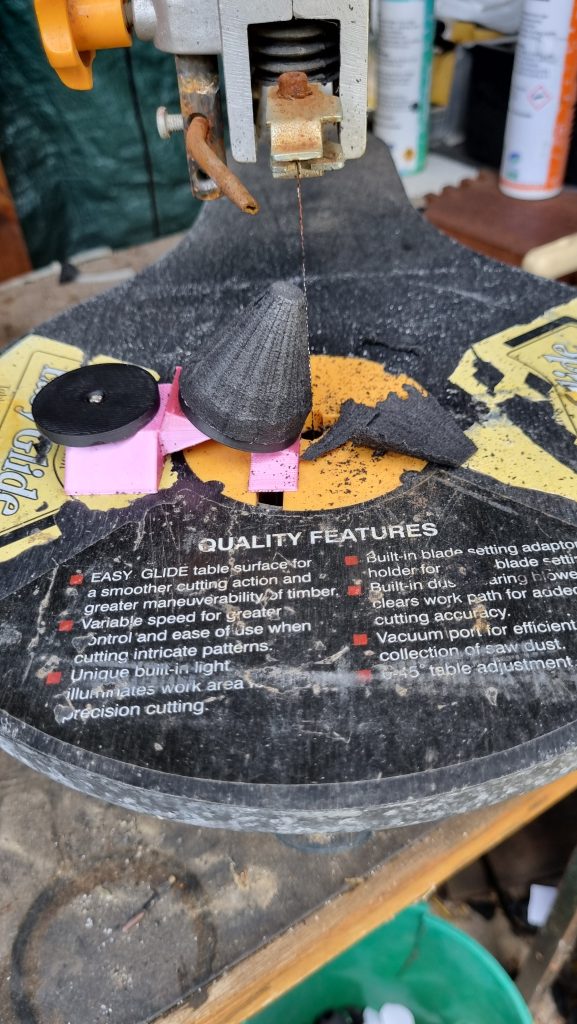
Assembling the sensor sled.
Bill of Materials
| Part | Materials | Cost | |
|---|---|---|---|
| 6″ Drum shell | ABS or PLA filament | 55m/165g | $4.62 |
| 6″ Drum rim | ABS or PLA filament | 22.3m /67g | $1.86 |
| Sensor sled | ABS or PLA filament | 3m/9g | $0.18 |
| 37mm Piezo | In a pack of 25 from Ebay | 1 | $0.30 |
| 6.5mm Cliff jack | Bulk order of 30 from Element14 | 2 | $3.70 |
| 37mm disc of EVA foam | Cut from 400 x 500 x 12mm Adhesive Rubber Mat | 4 | $0.80 |
| Hookup wire | Anything lying around | To taste | ?? |
| Double sided tape | Something thin – not foam | To taste | ?? |
STL Models for Printing
The models used above, and others discussed in other parts of the blog, are available from the project download page.
