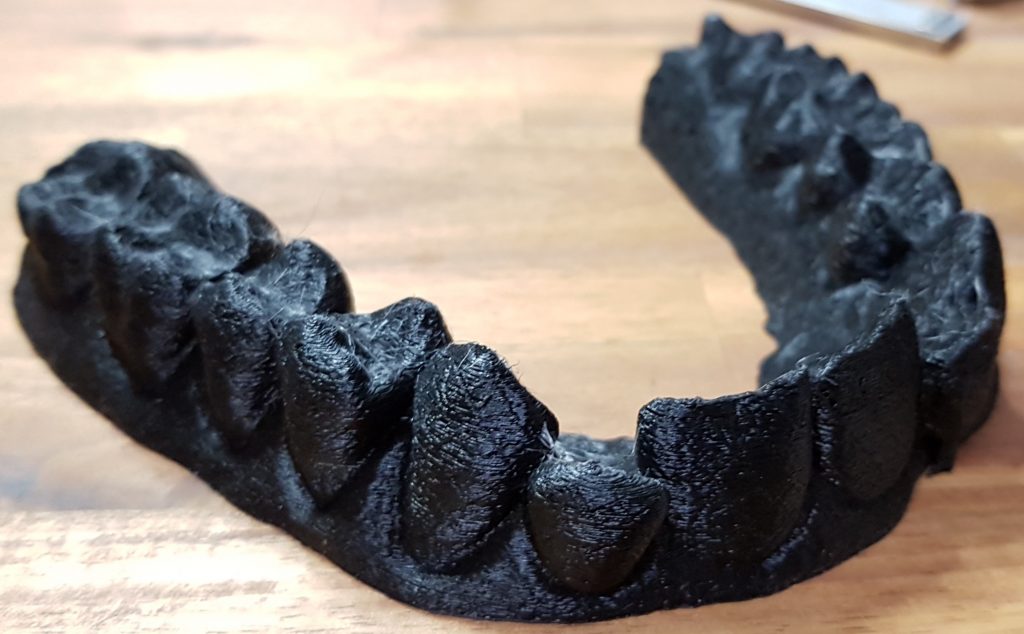
My dentist recently mapped my mouth with a 3D scanner. I asked if I could have a copy of the file, promising to create a bespoke instrument from the scan.
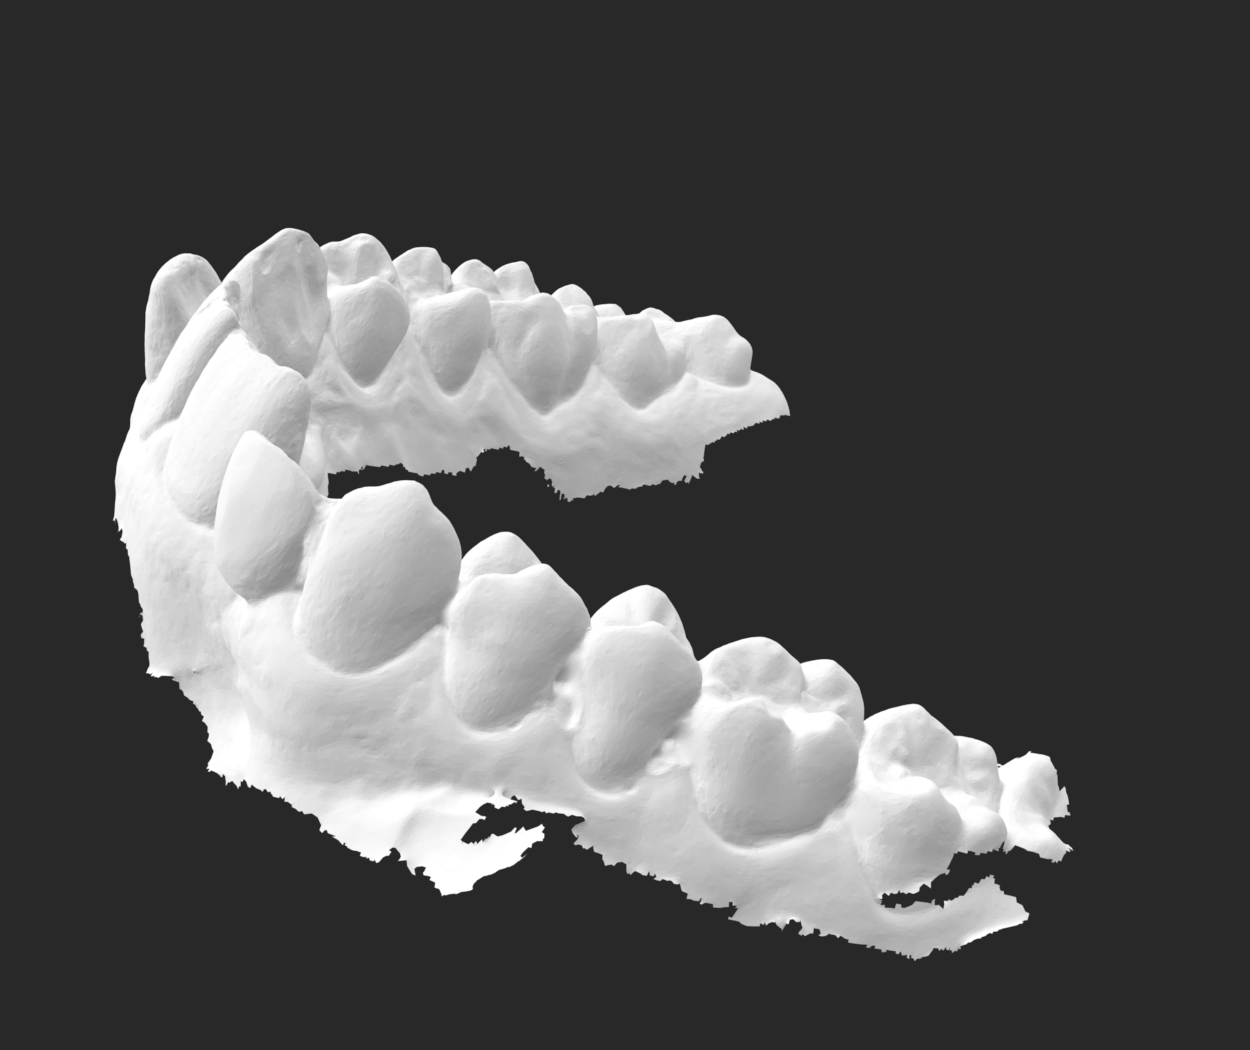
The information arrived as an STL file. The scan had a good level of detail, but some problems needed to be addressed before I could turn this into a printable model. It has been many, many years since I last used Blender, so I decided to use this project as a re-introduction. I looked for ‘Blendercam‘, the modified version I used to use for creating cutting files for my CNC mills, but there were no valid downloads that would run on my Mac. Vanilla Blender it is then, with Ultimaker Cura as the 3D printing processor.
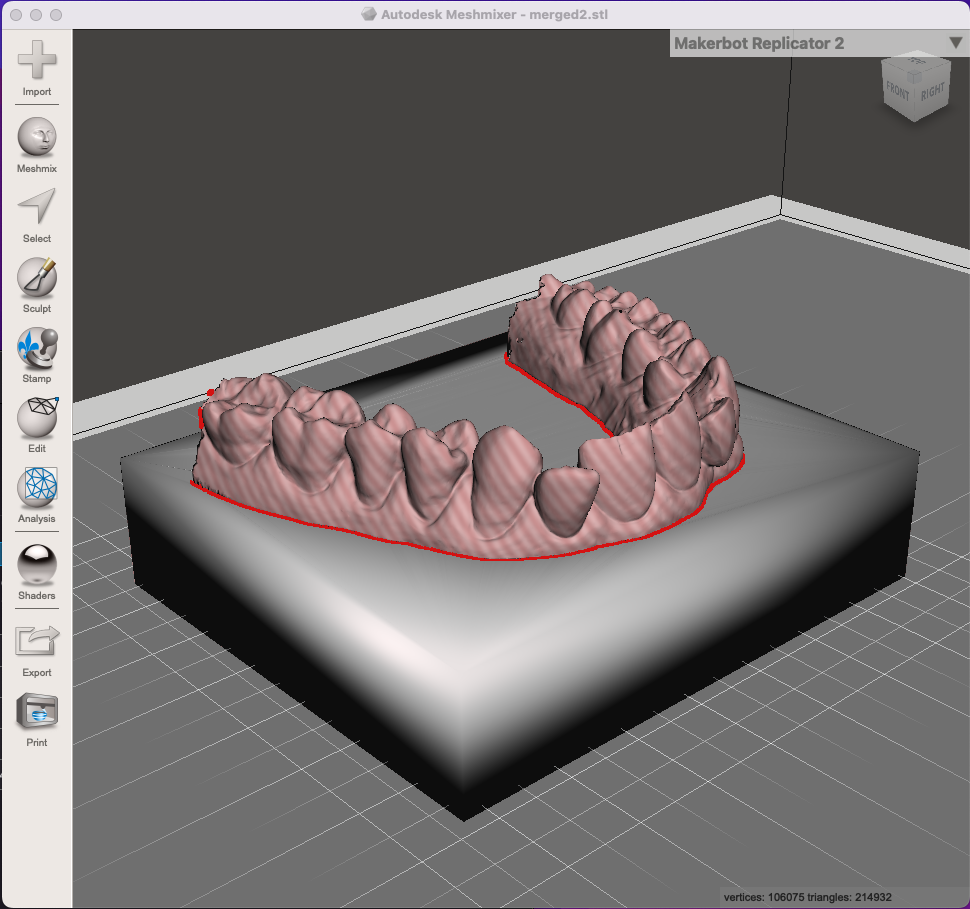
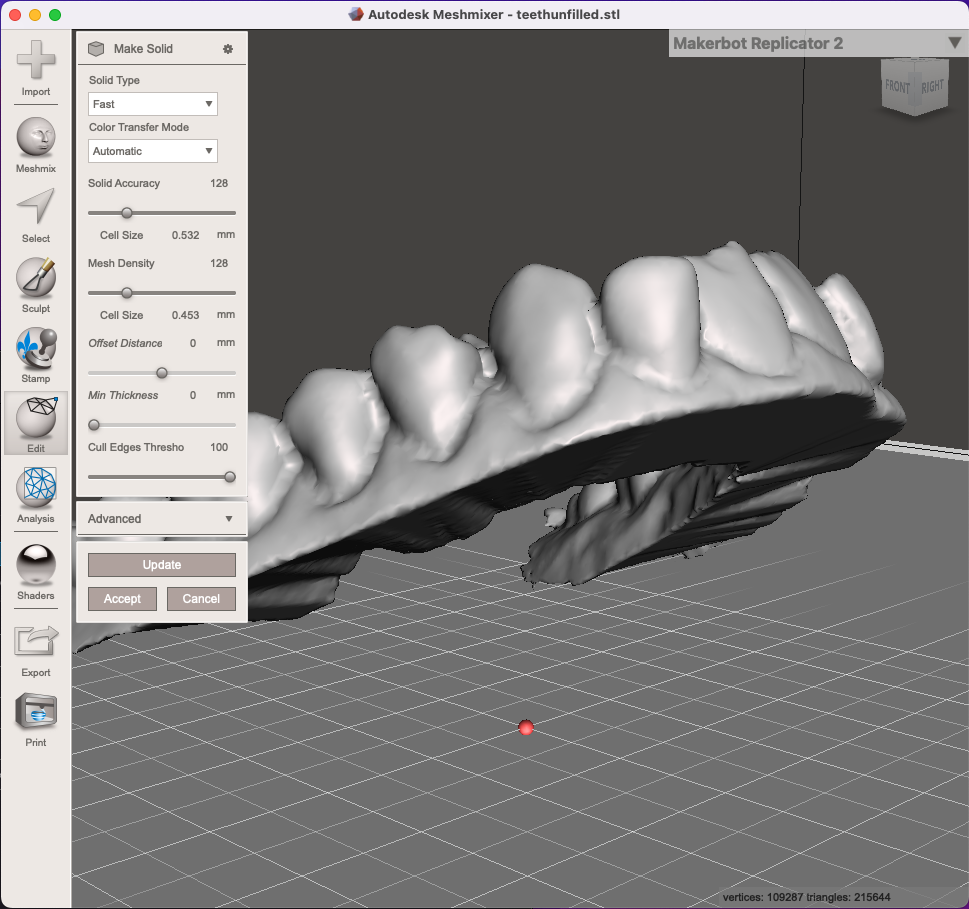
The raw model was inside out – the inner surface of the model was on the outside, preventing me from turning it into a printable object. I used Autodesk’s Meshmixer to clean up the edges of the mesh and ‘flip’ the faces so the outside was properly outside. I am aware that Blender has similar tools but using Blender is very similar to using Avid’s Pro Tools – it is filled with a seemingly random mix of useful and esoteric functionality that is not navigable until you have spent a few weeks unraveling the interfaces and learning the hotkeys. It is often quicker to use another, simpler tool that is focused on the task you want to achieve. Meshmixer can also turn a surface, like my scan, into an solid object. It does a good job but I was unhappy with the loss of detail in the final model. I imported the fixed mesh back into Blender and manually extruded the scan into an object.
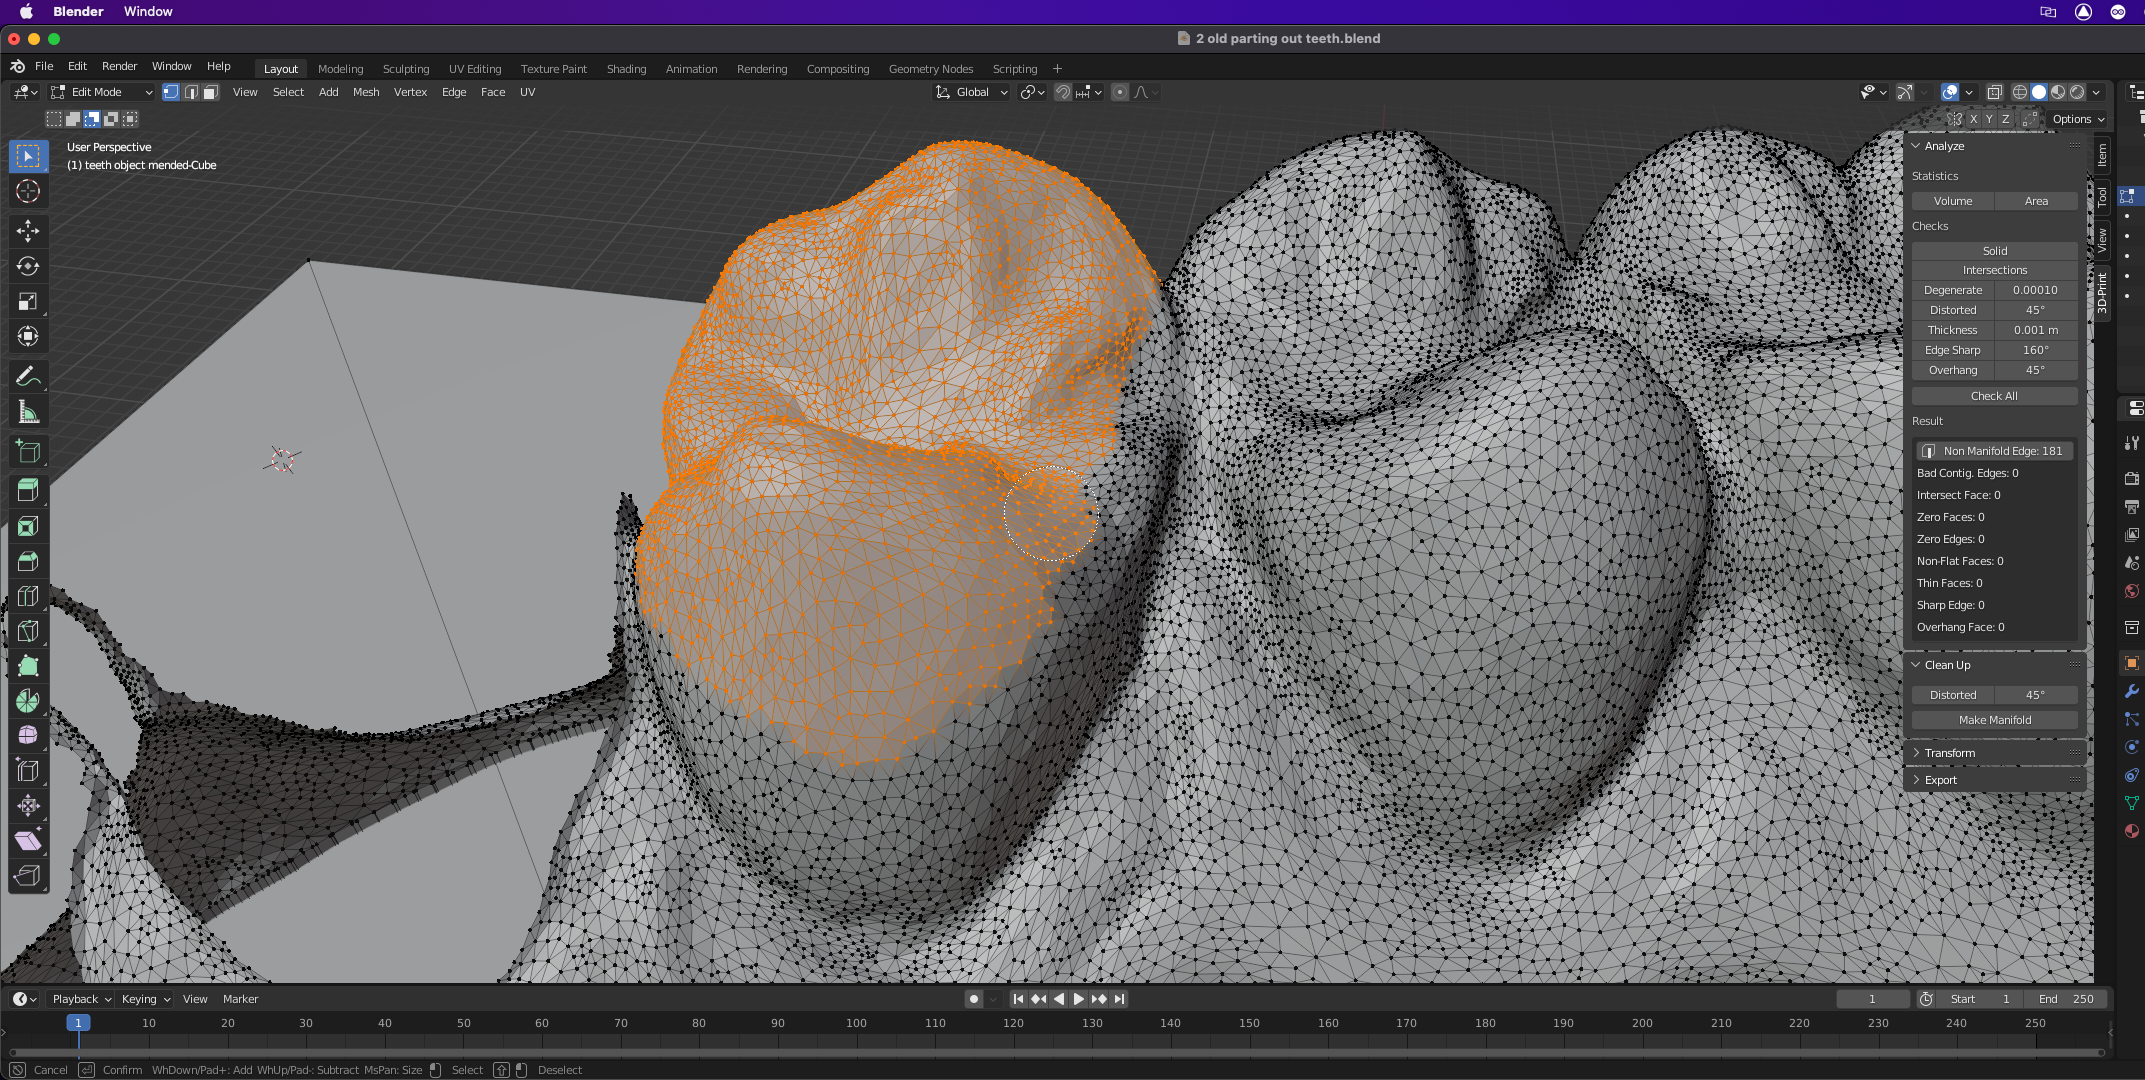
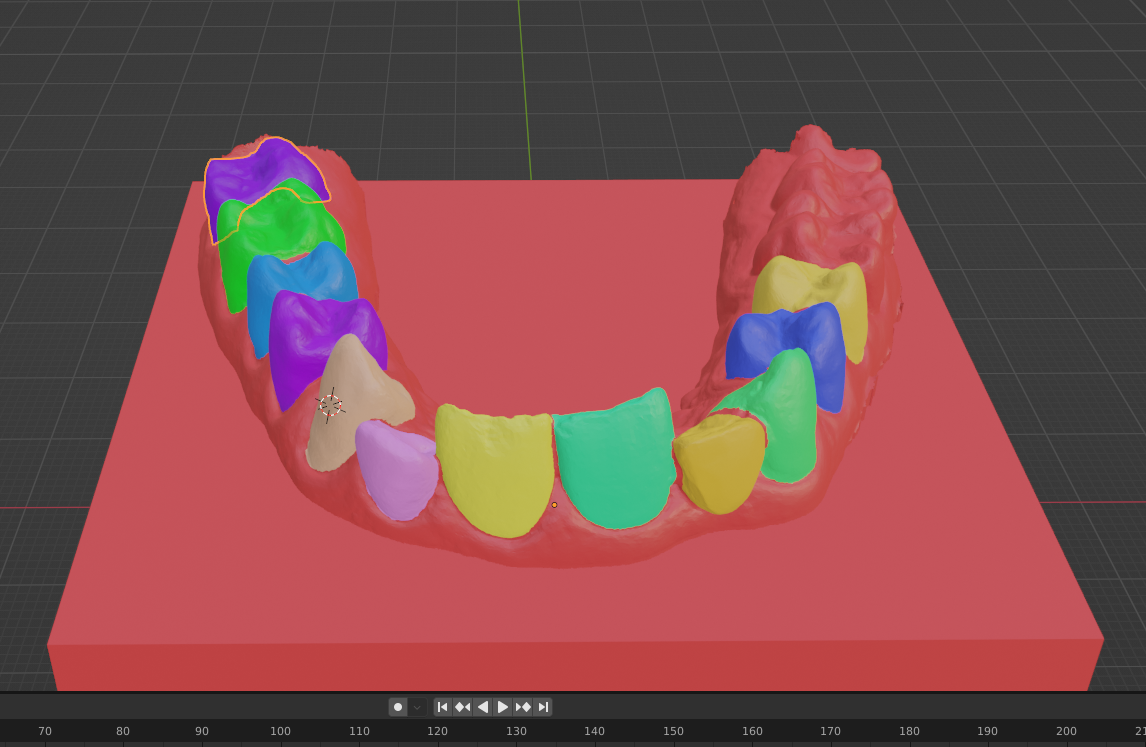
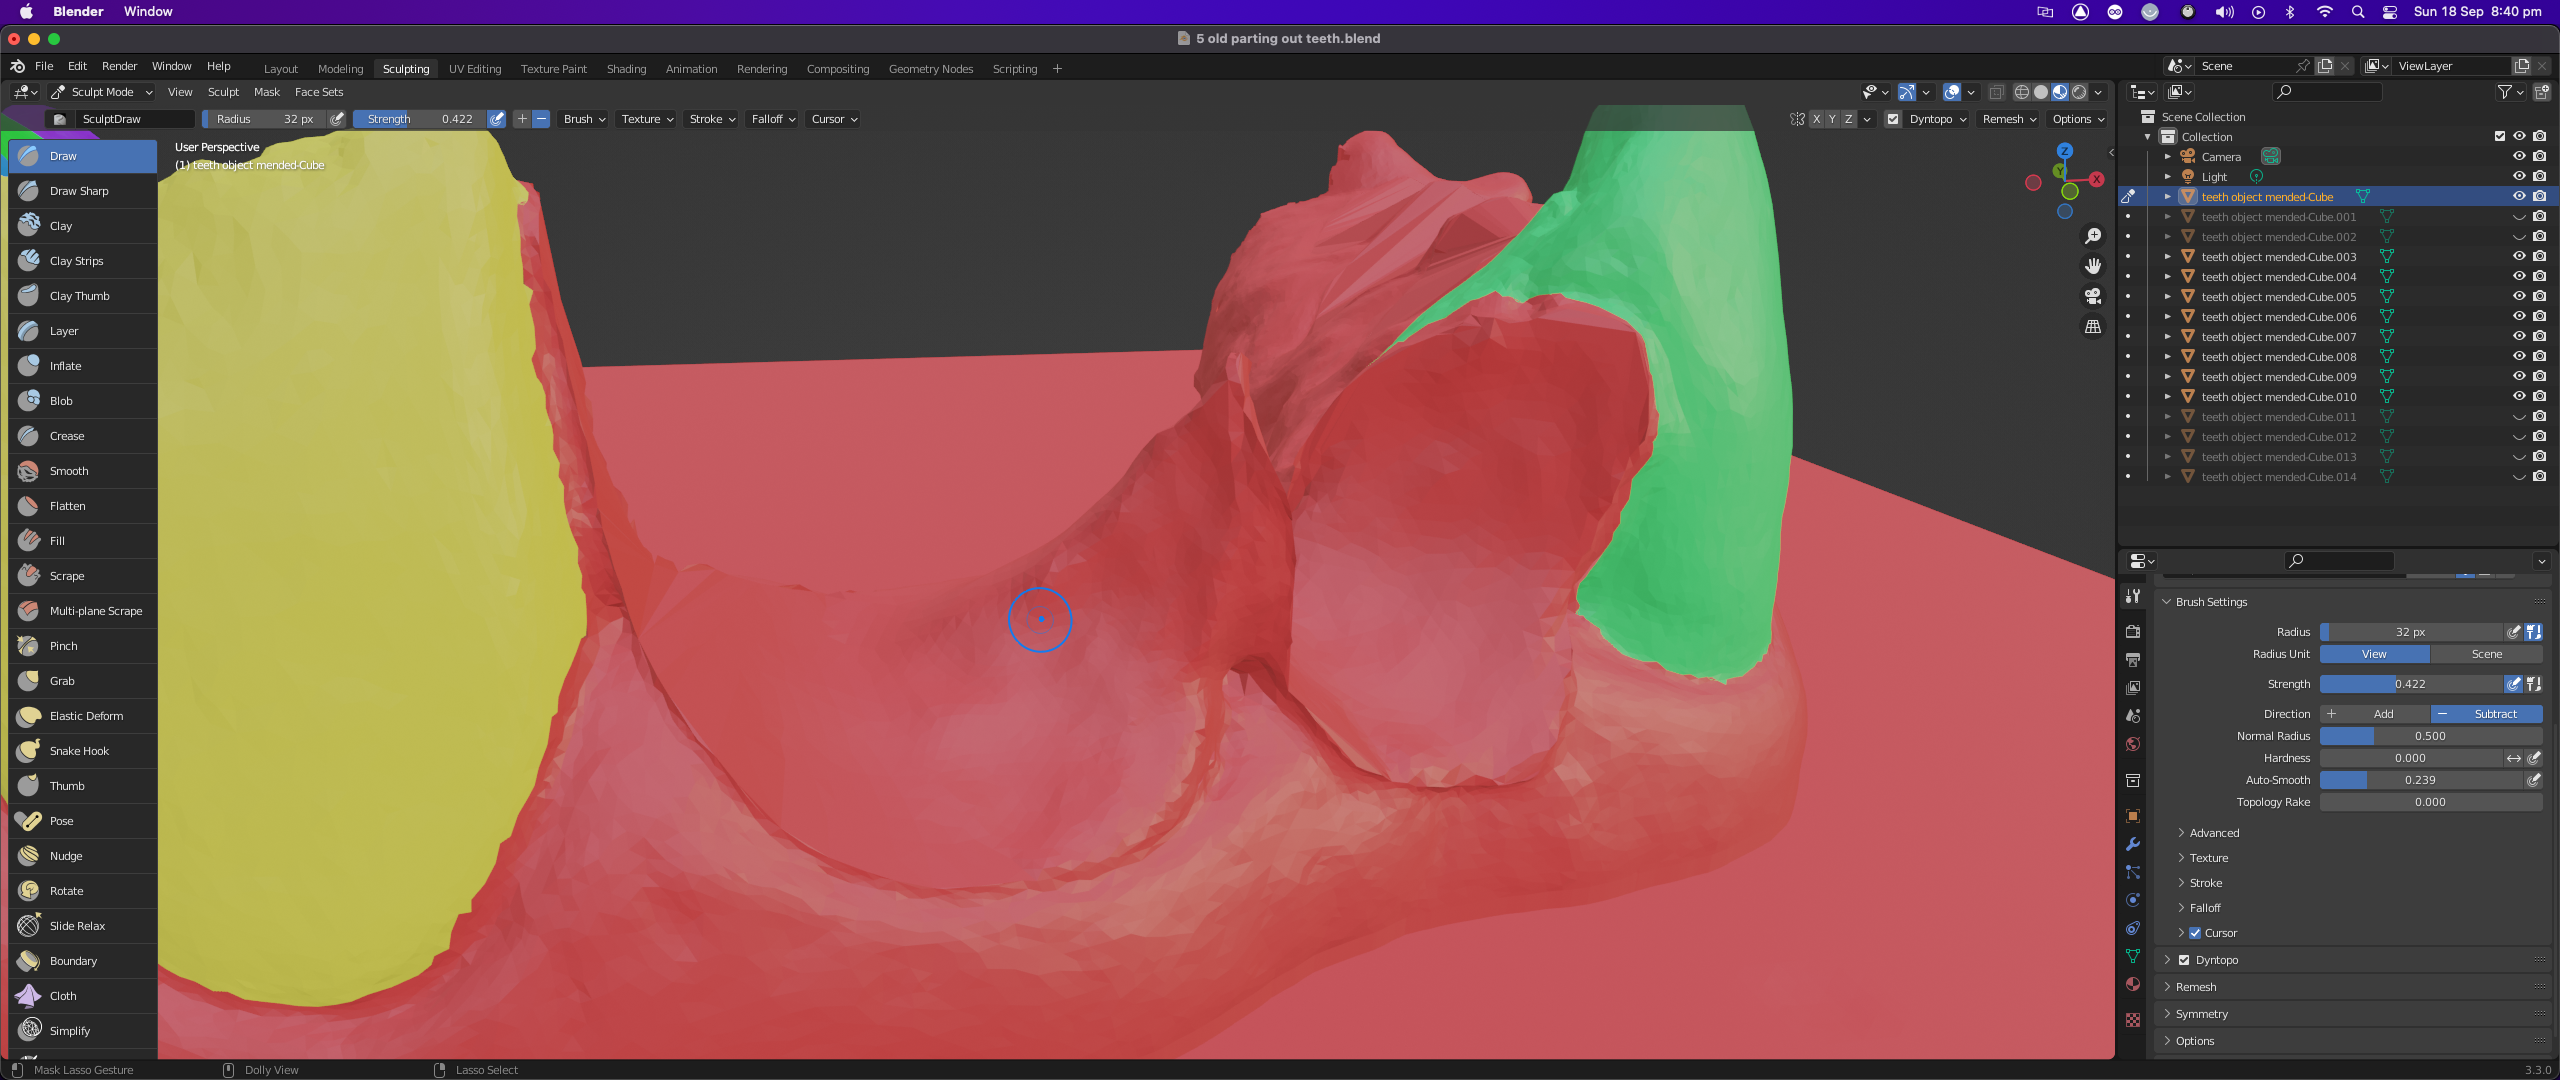
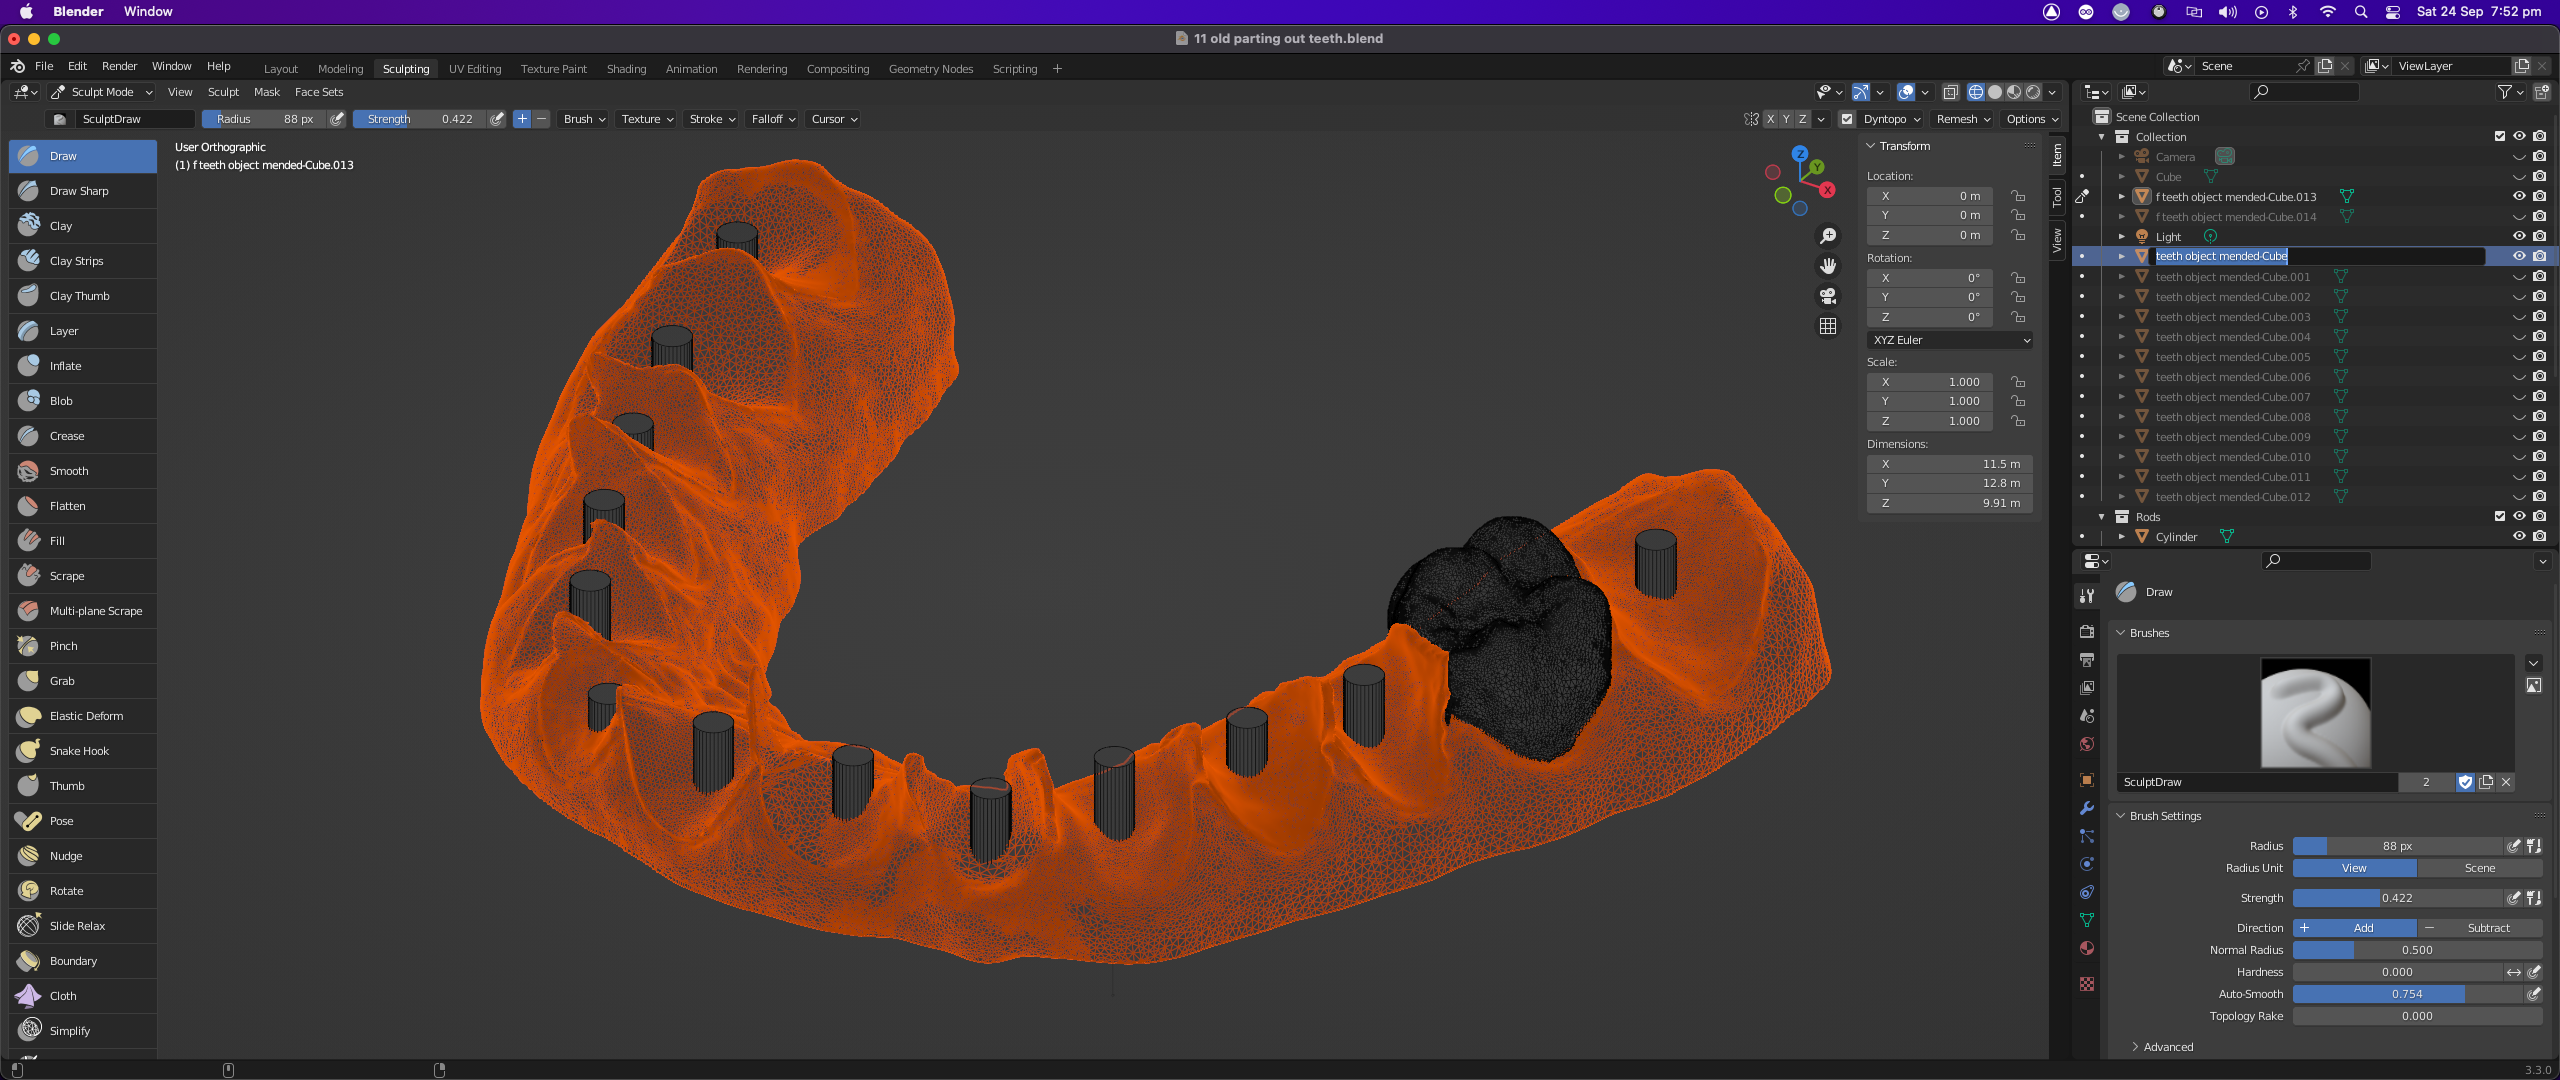
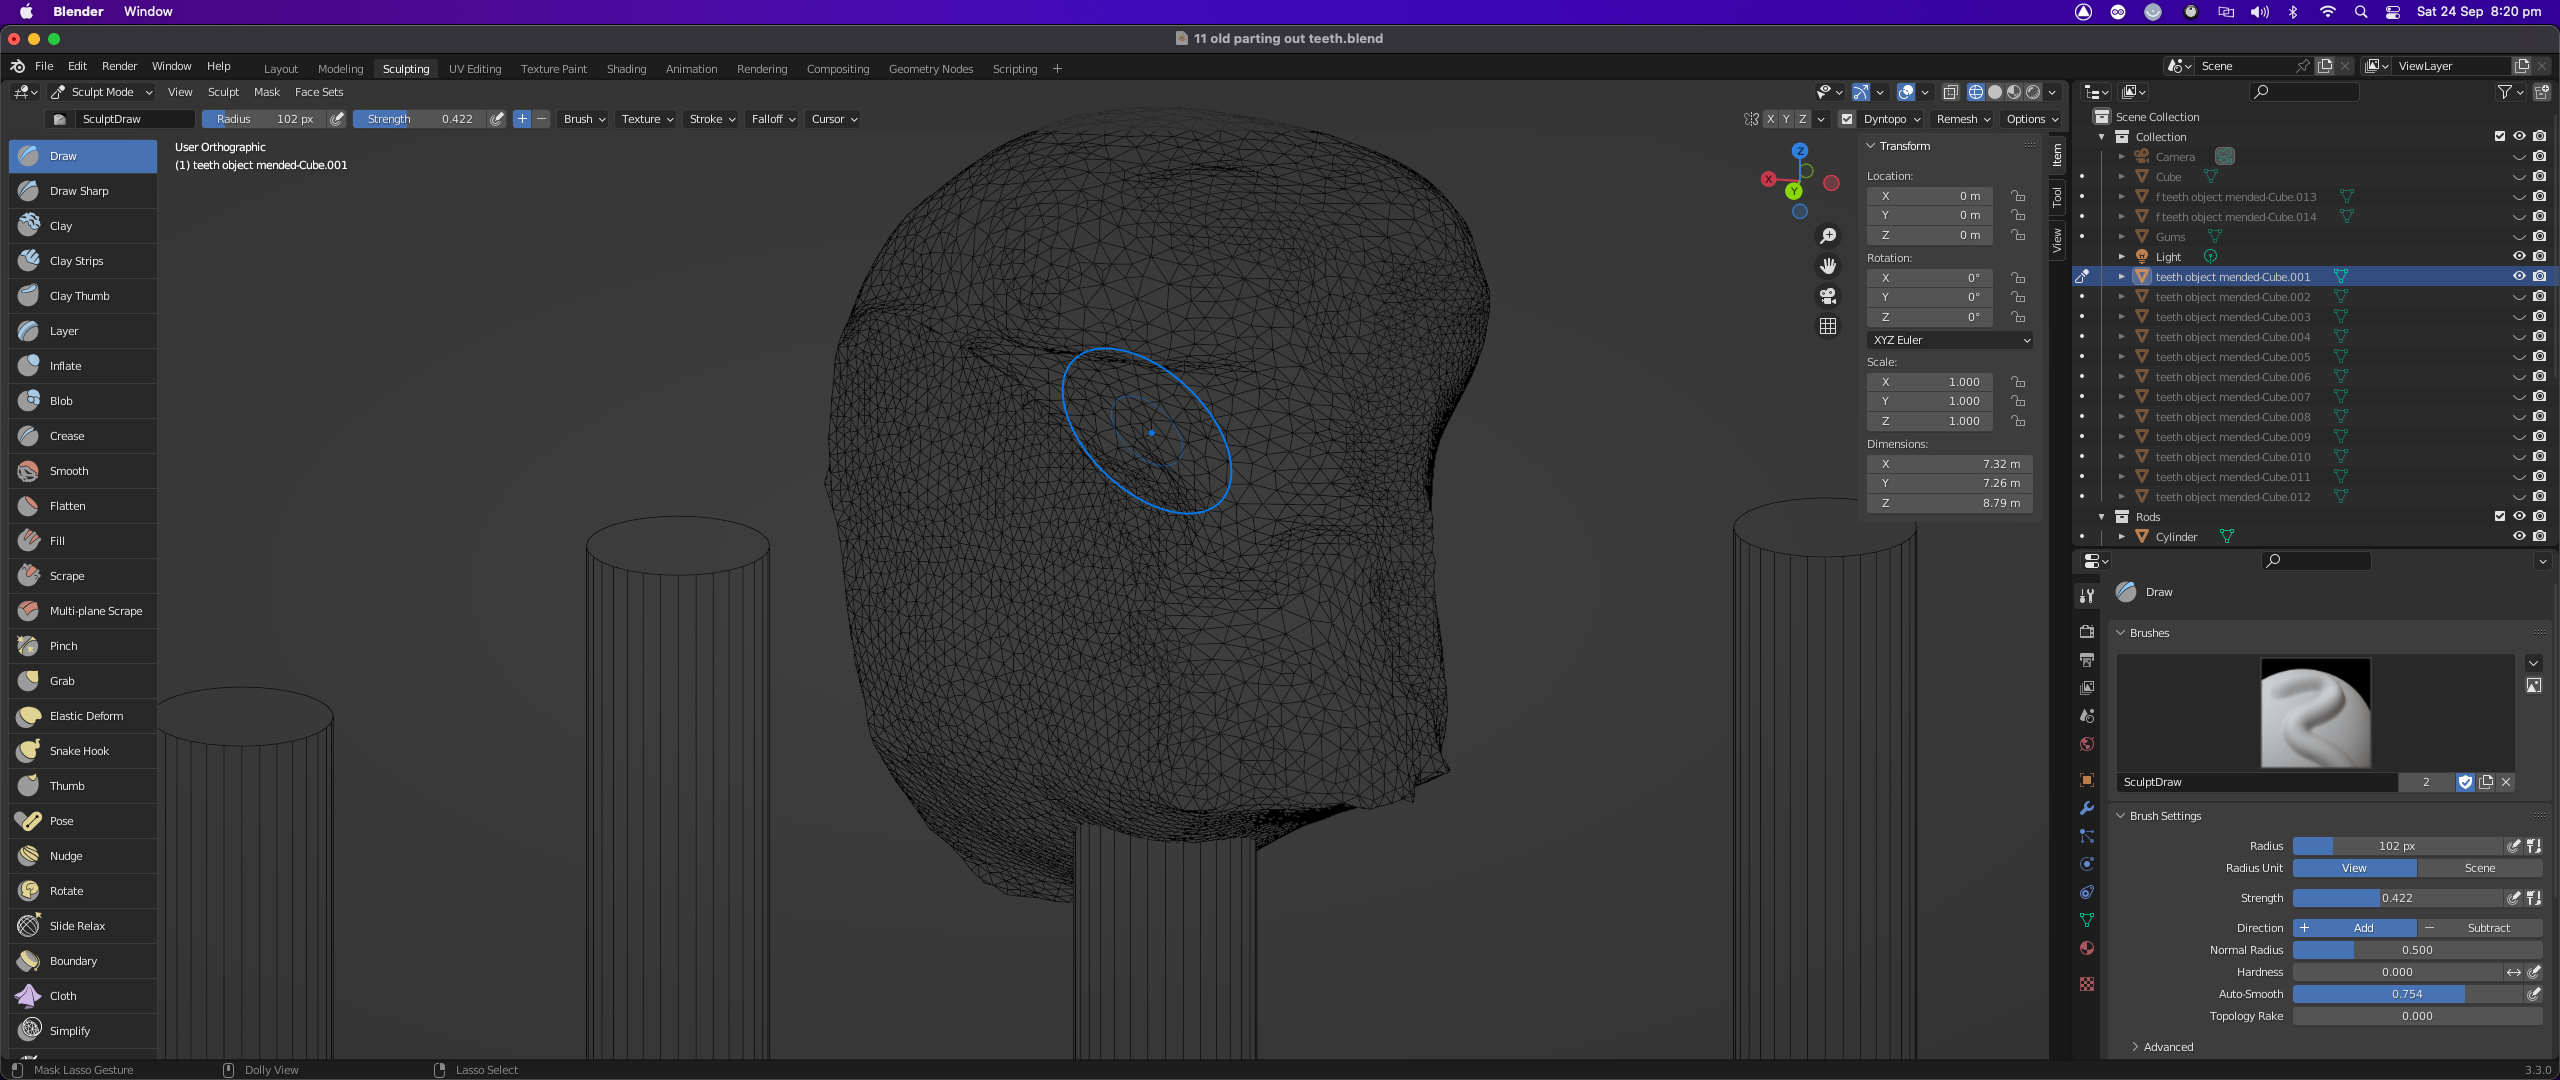
In Blender I used the circle select tool to separate the teeth into objects. I have a very old 3D Connexion Space Navigator that is still supported, even in Monterey on an M1 Mini. Flying around the object with the left hand and controlling selection with the right makes Blender so much easier to use than just a mouse/keypad/keyboard combination. After isolating the teeth I used ‘Fill’ to create new faces, filling the open mesh holes in the teeth and in the gums. Blender’s sculpting tools filled the faces with a dynamic mesh that I could push and pull into shapes that I felt comfortable printing. I added rods to the teeth and subtracted them from the gum object – they will allow me to mount the teeth and run wires into them from underneath the gums.