Posted on

Making keys for the uniform keyboard

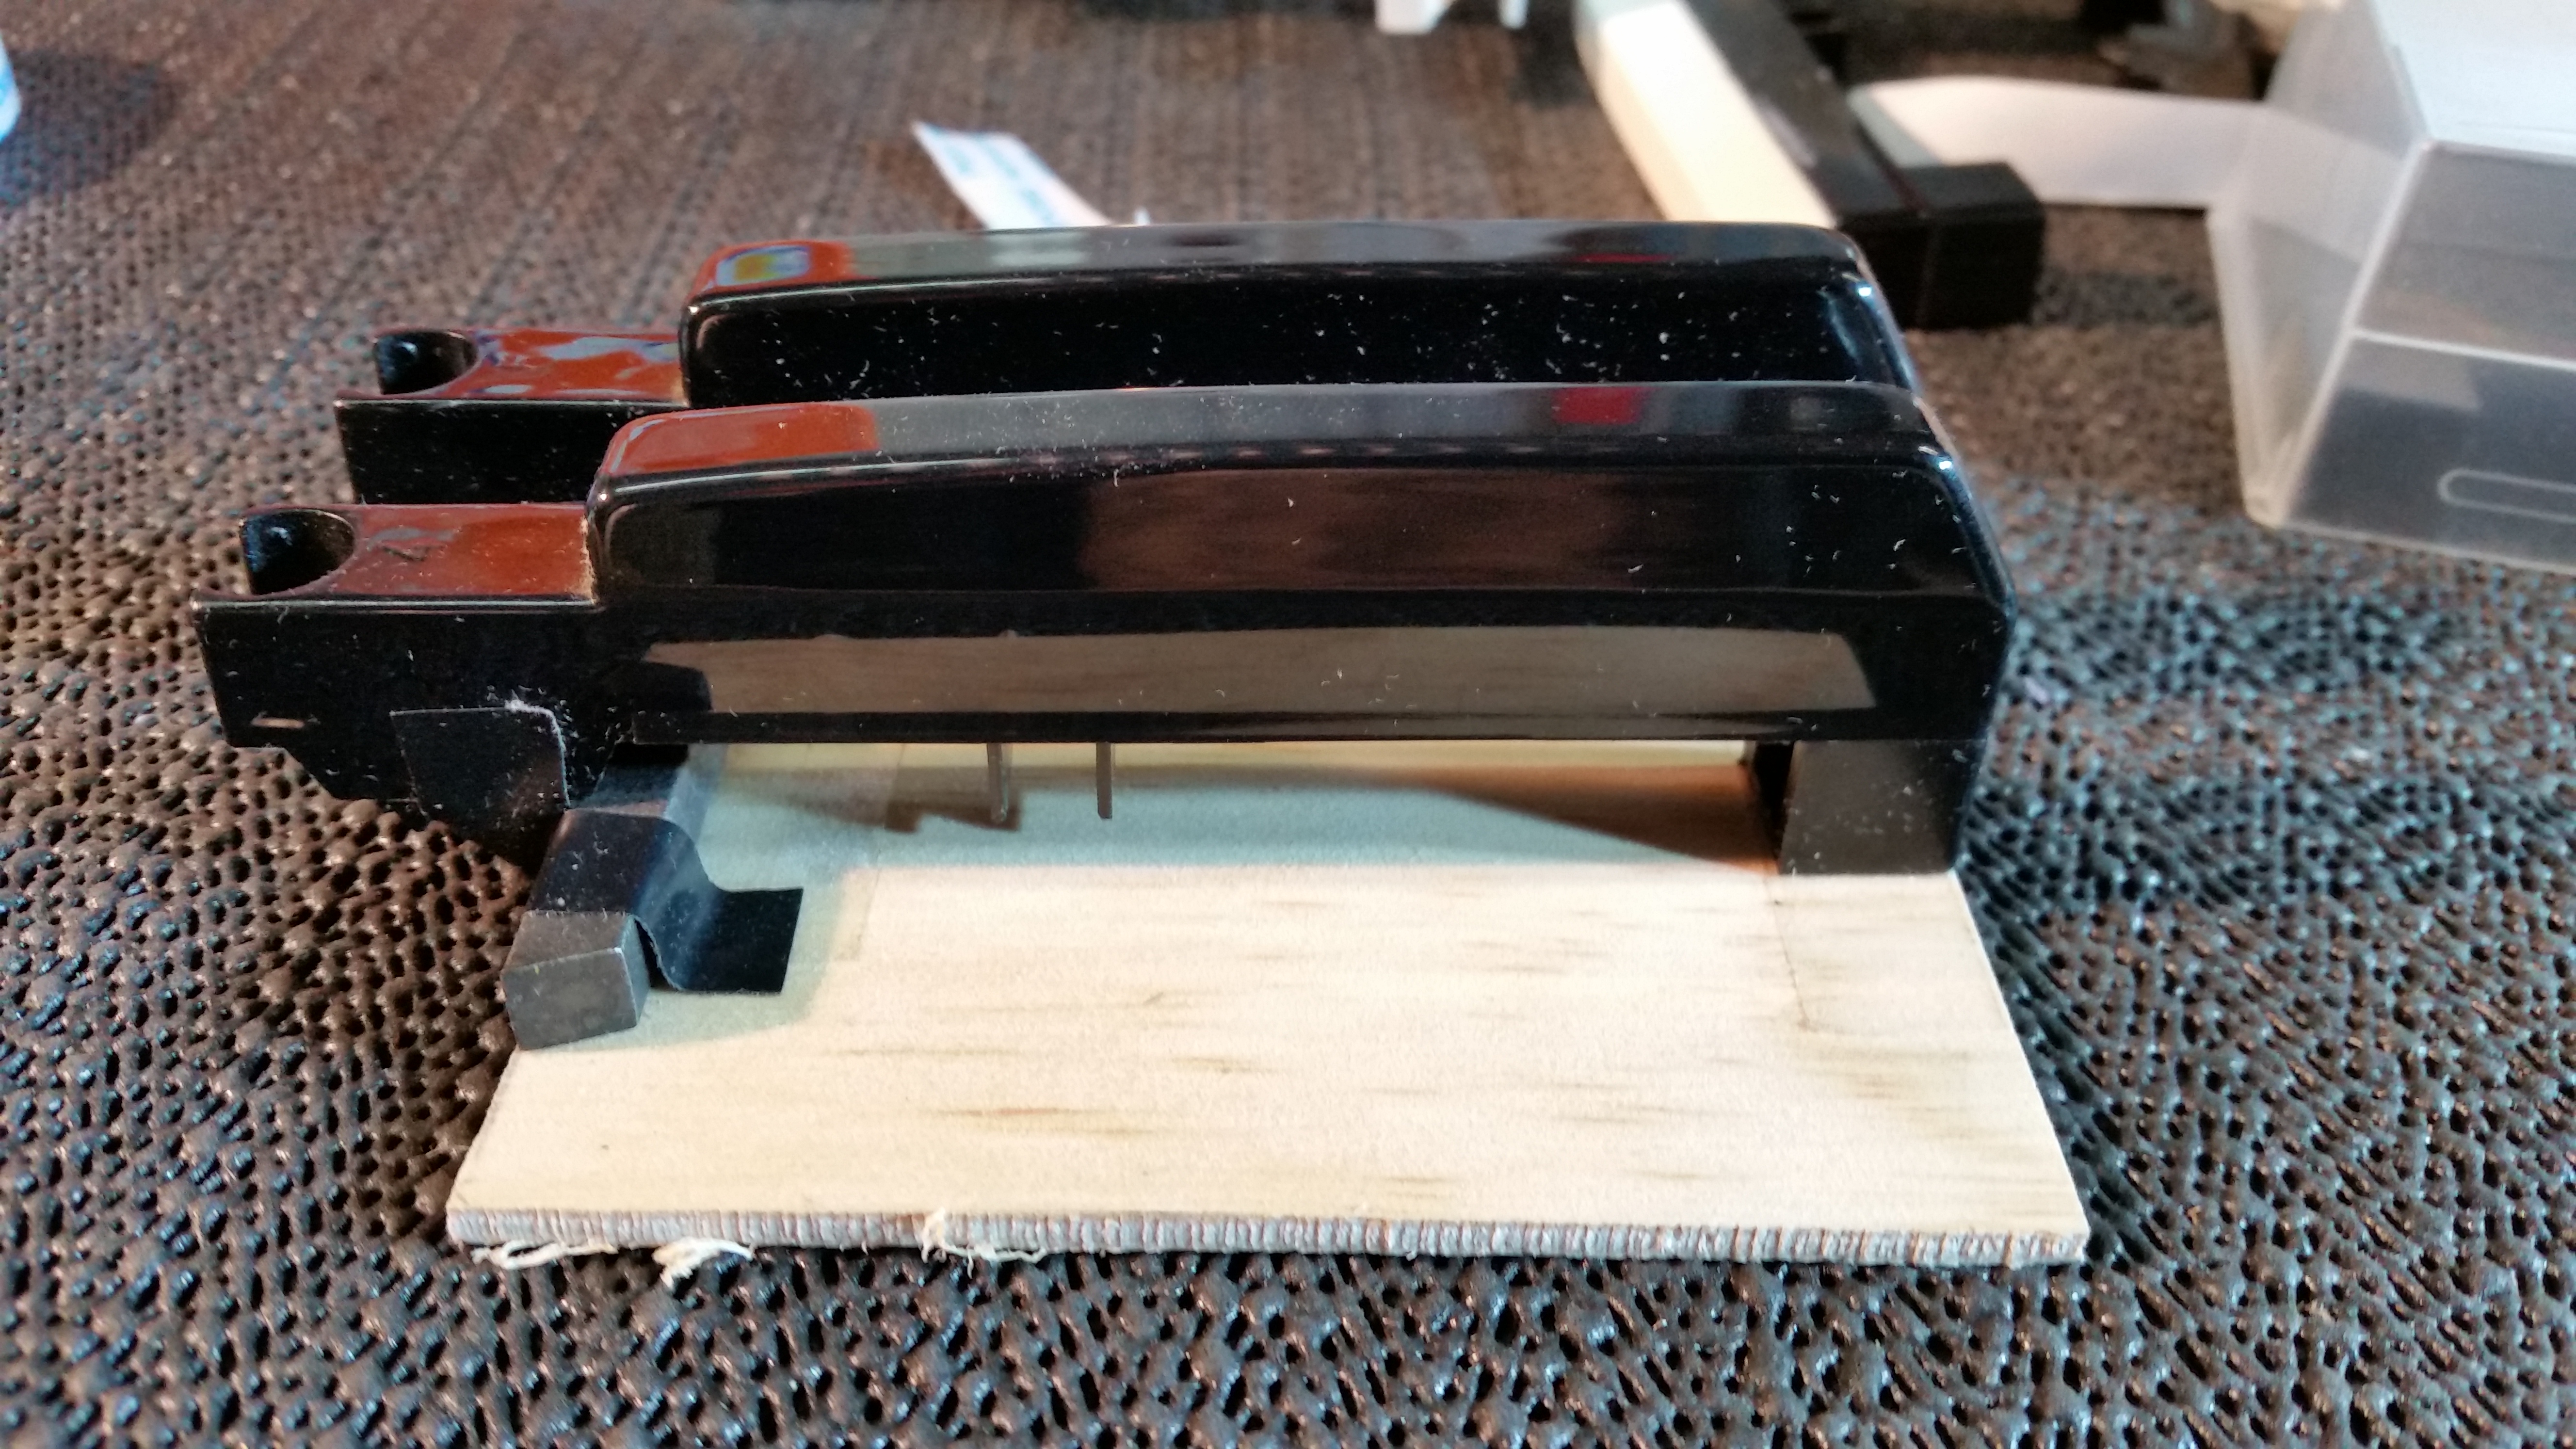
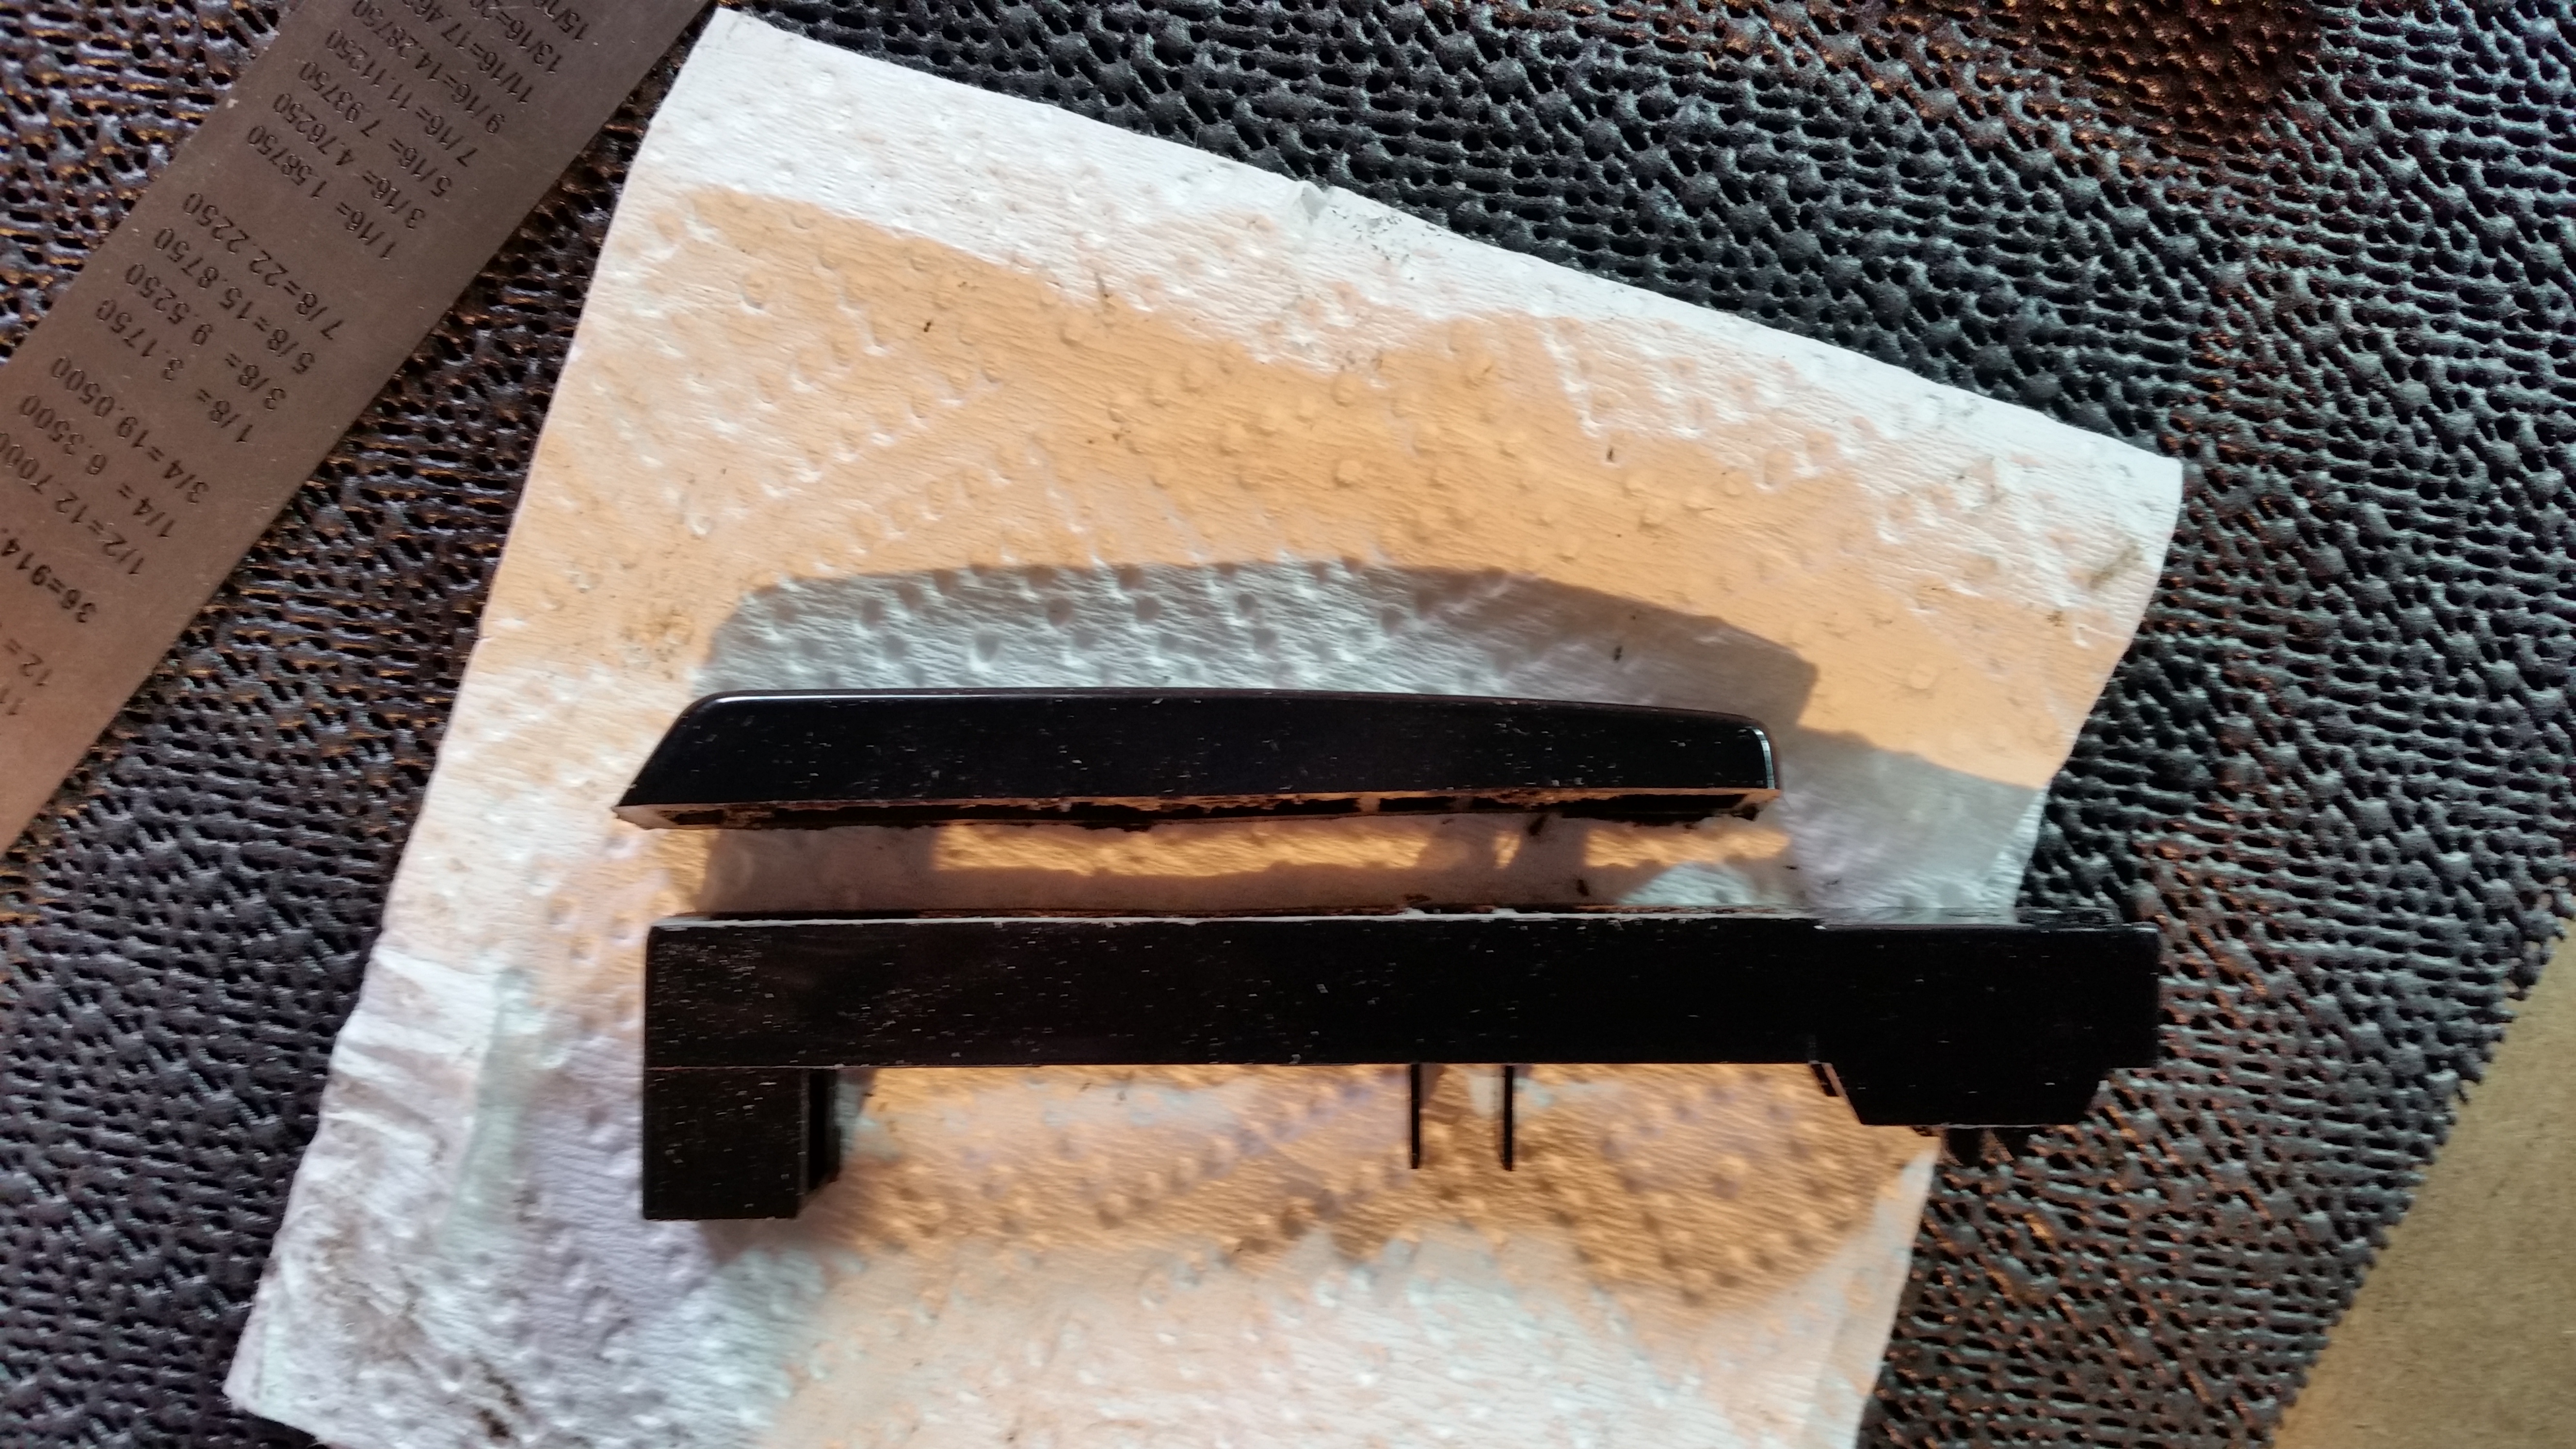
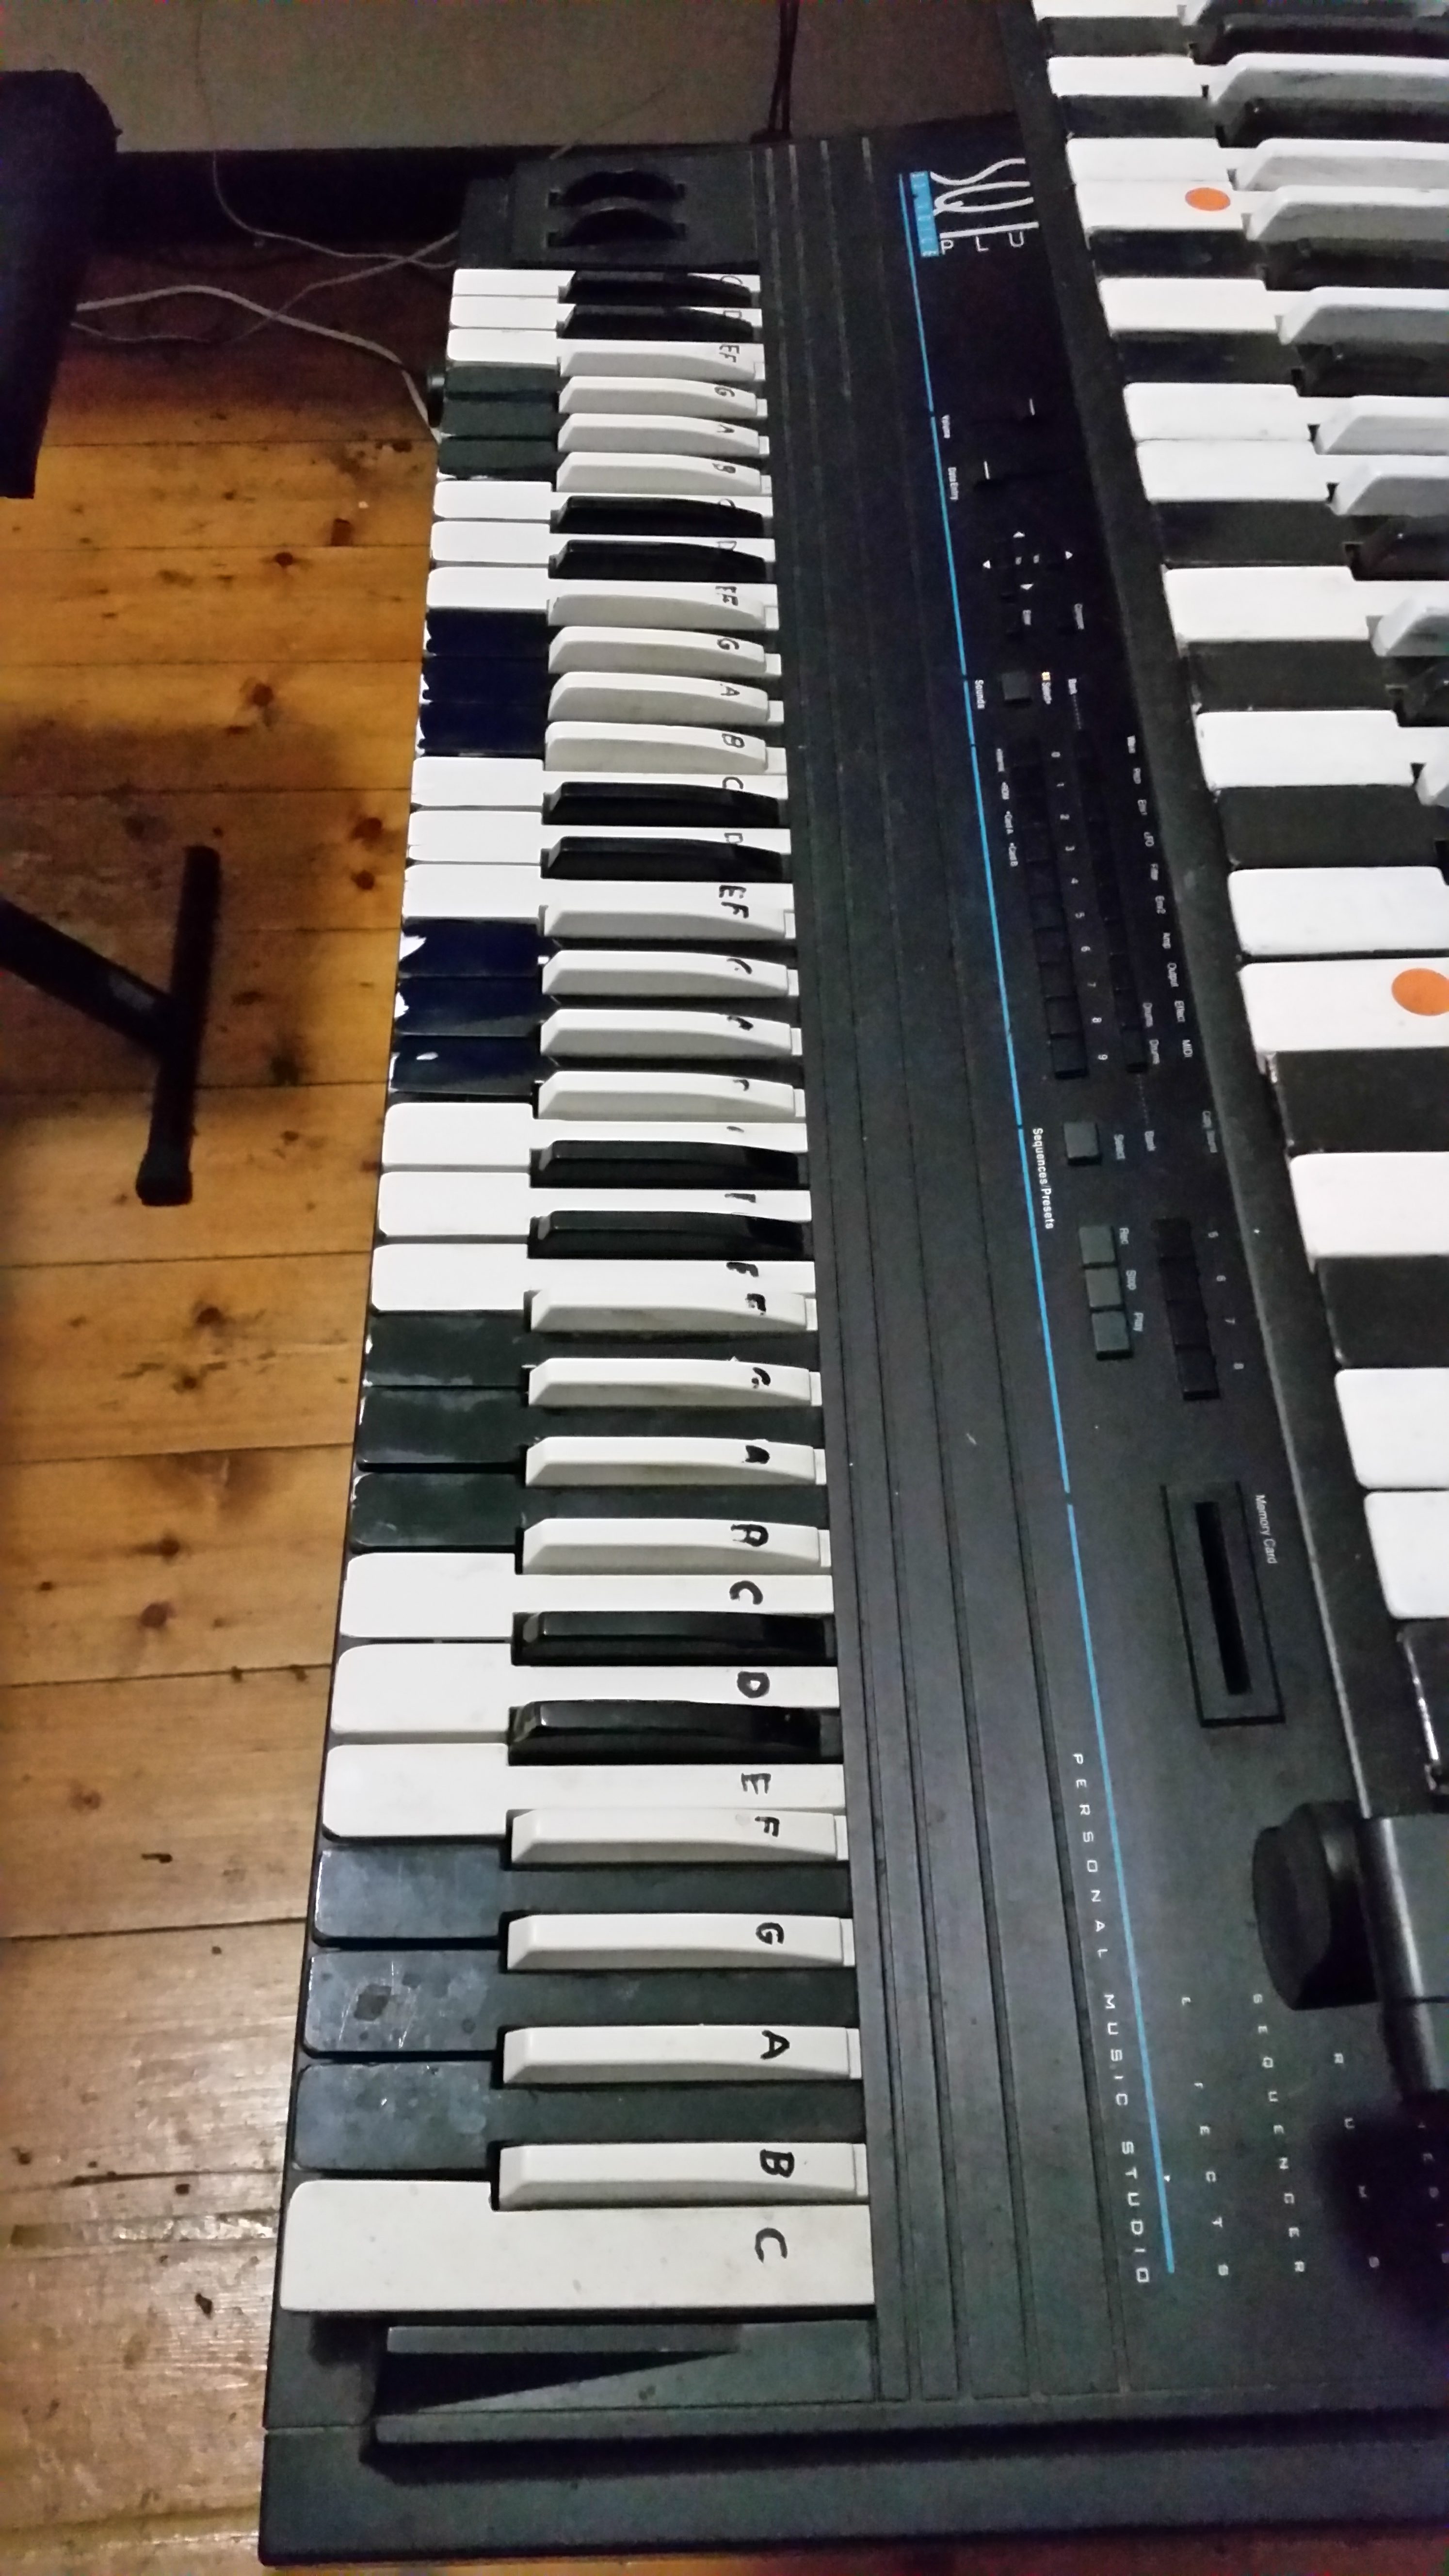
It was immediately obvious that painting over the top of re-shaped keys was just not going to be good enough. The existing keyboard I had been shown was functional but looked like a mess. These keyboards would probably see heavy use by students so I needed something very durable that also felt natural. It’s hard enough learning a new way of playing a keyed instrument without the distraction of paint coming off under your fingers.

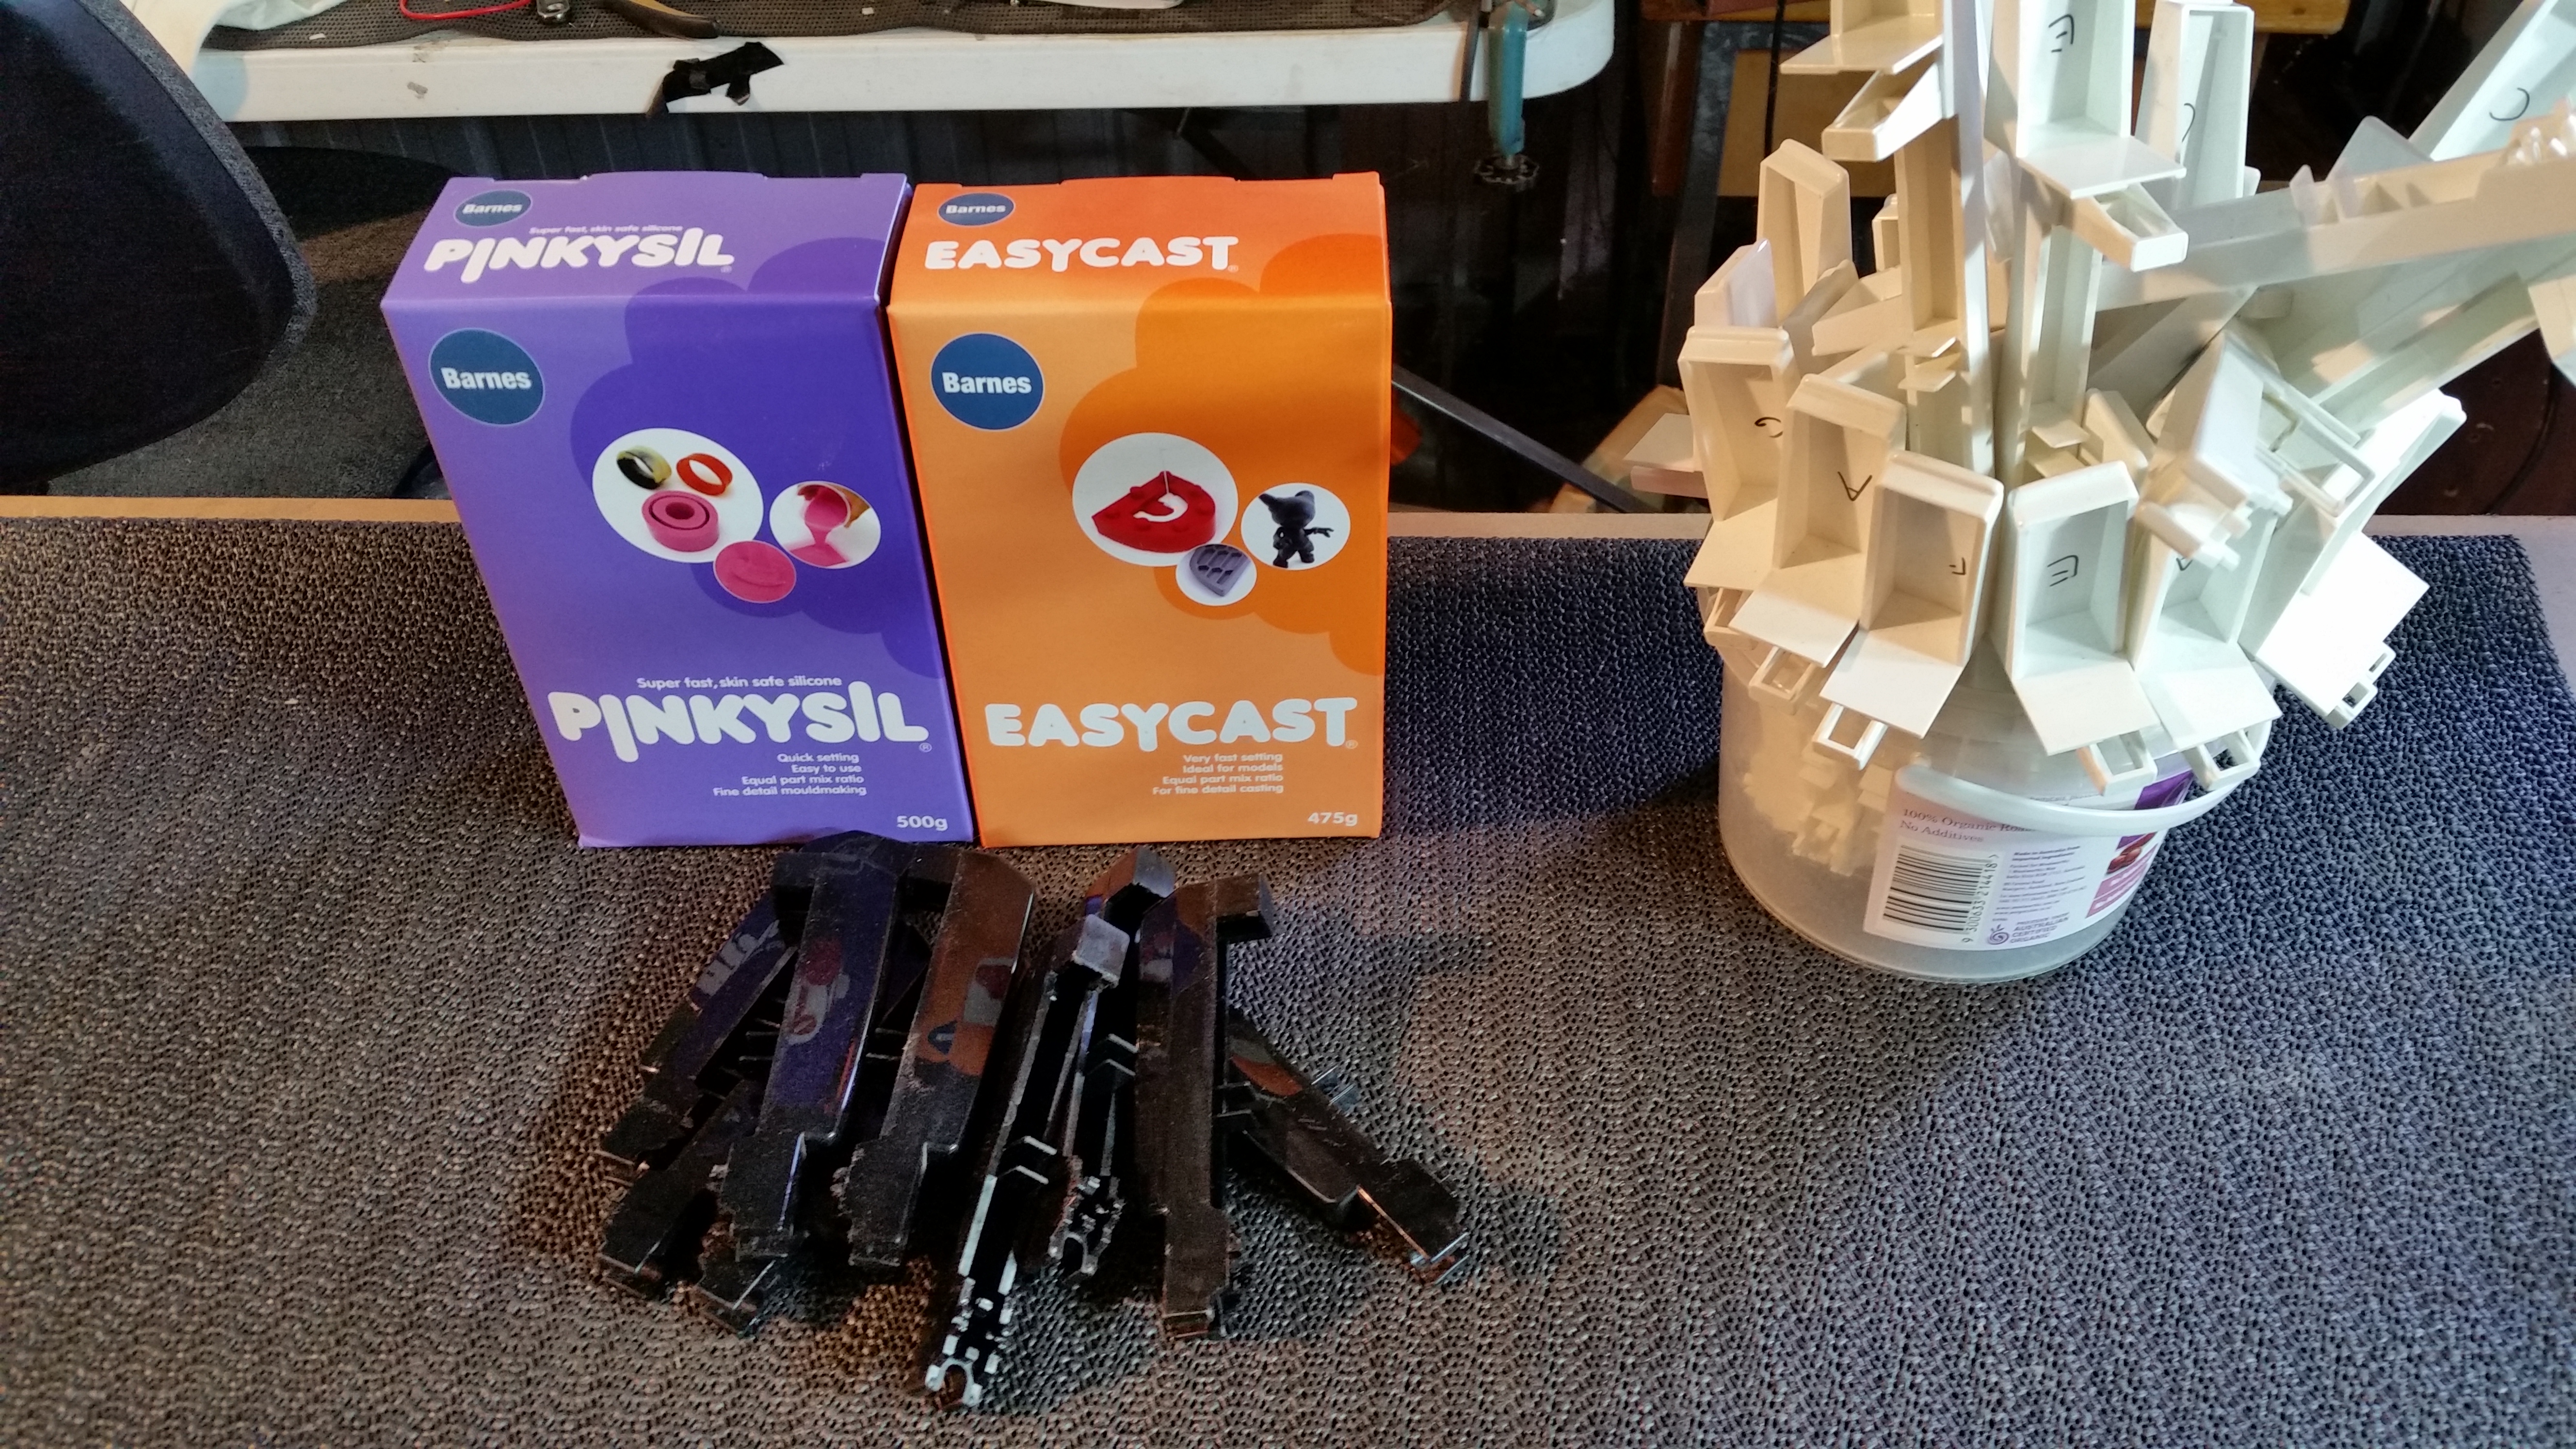
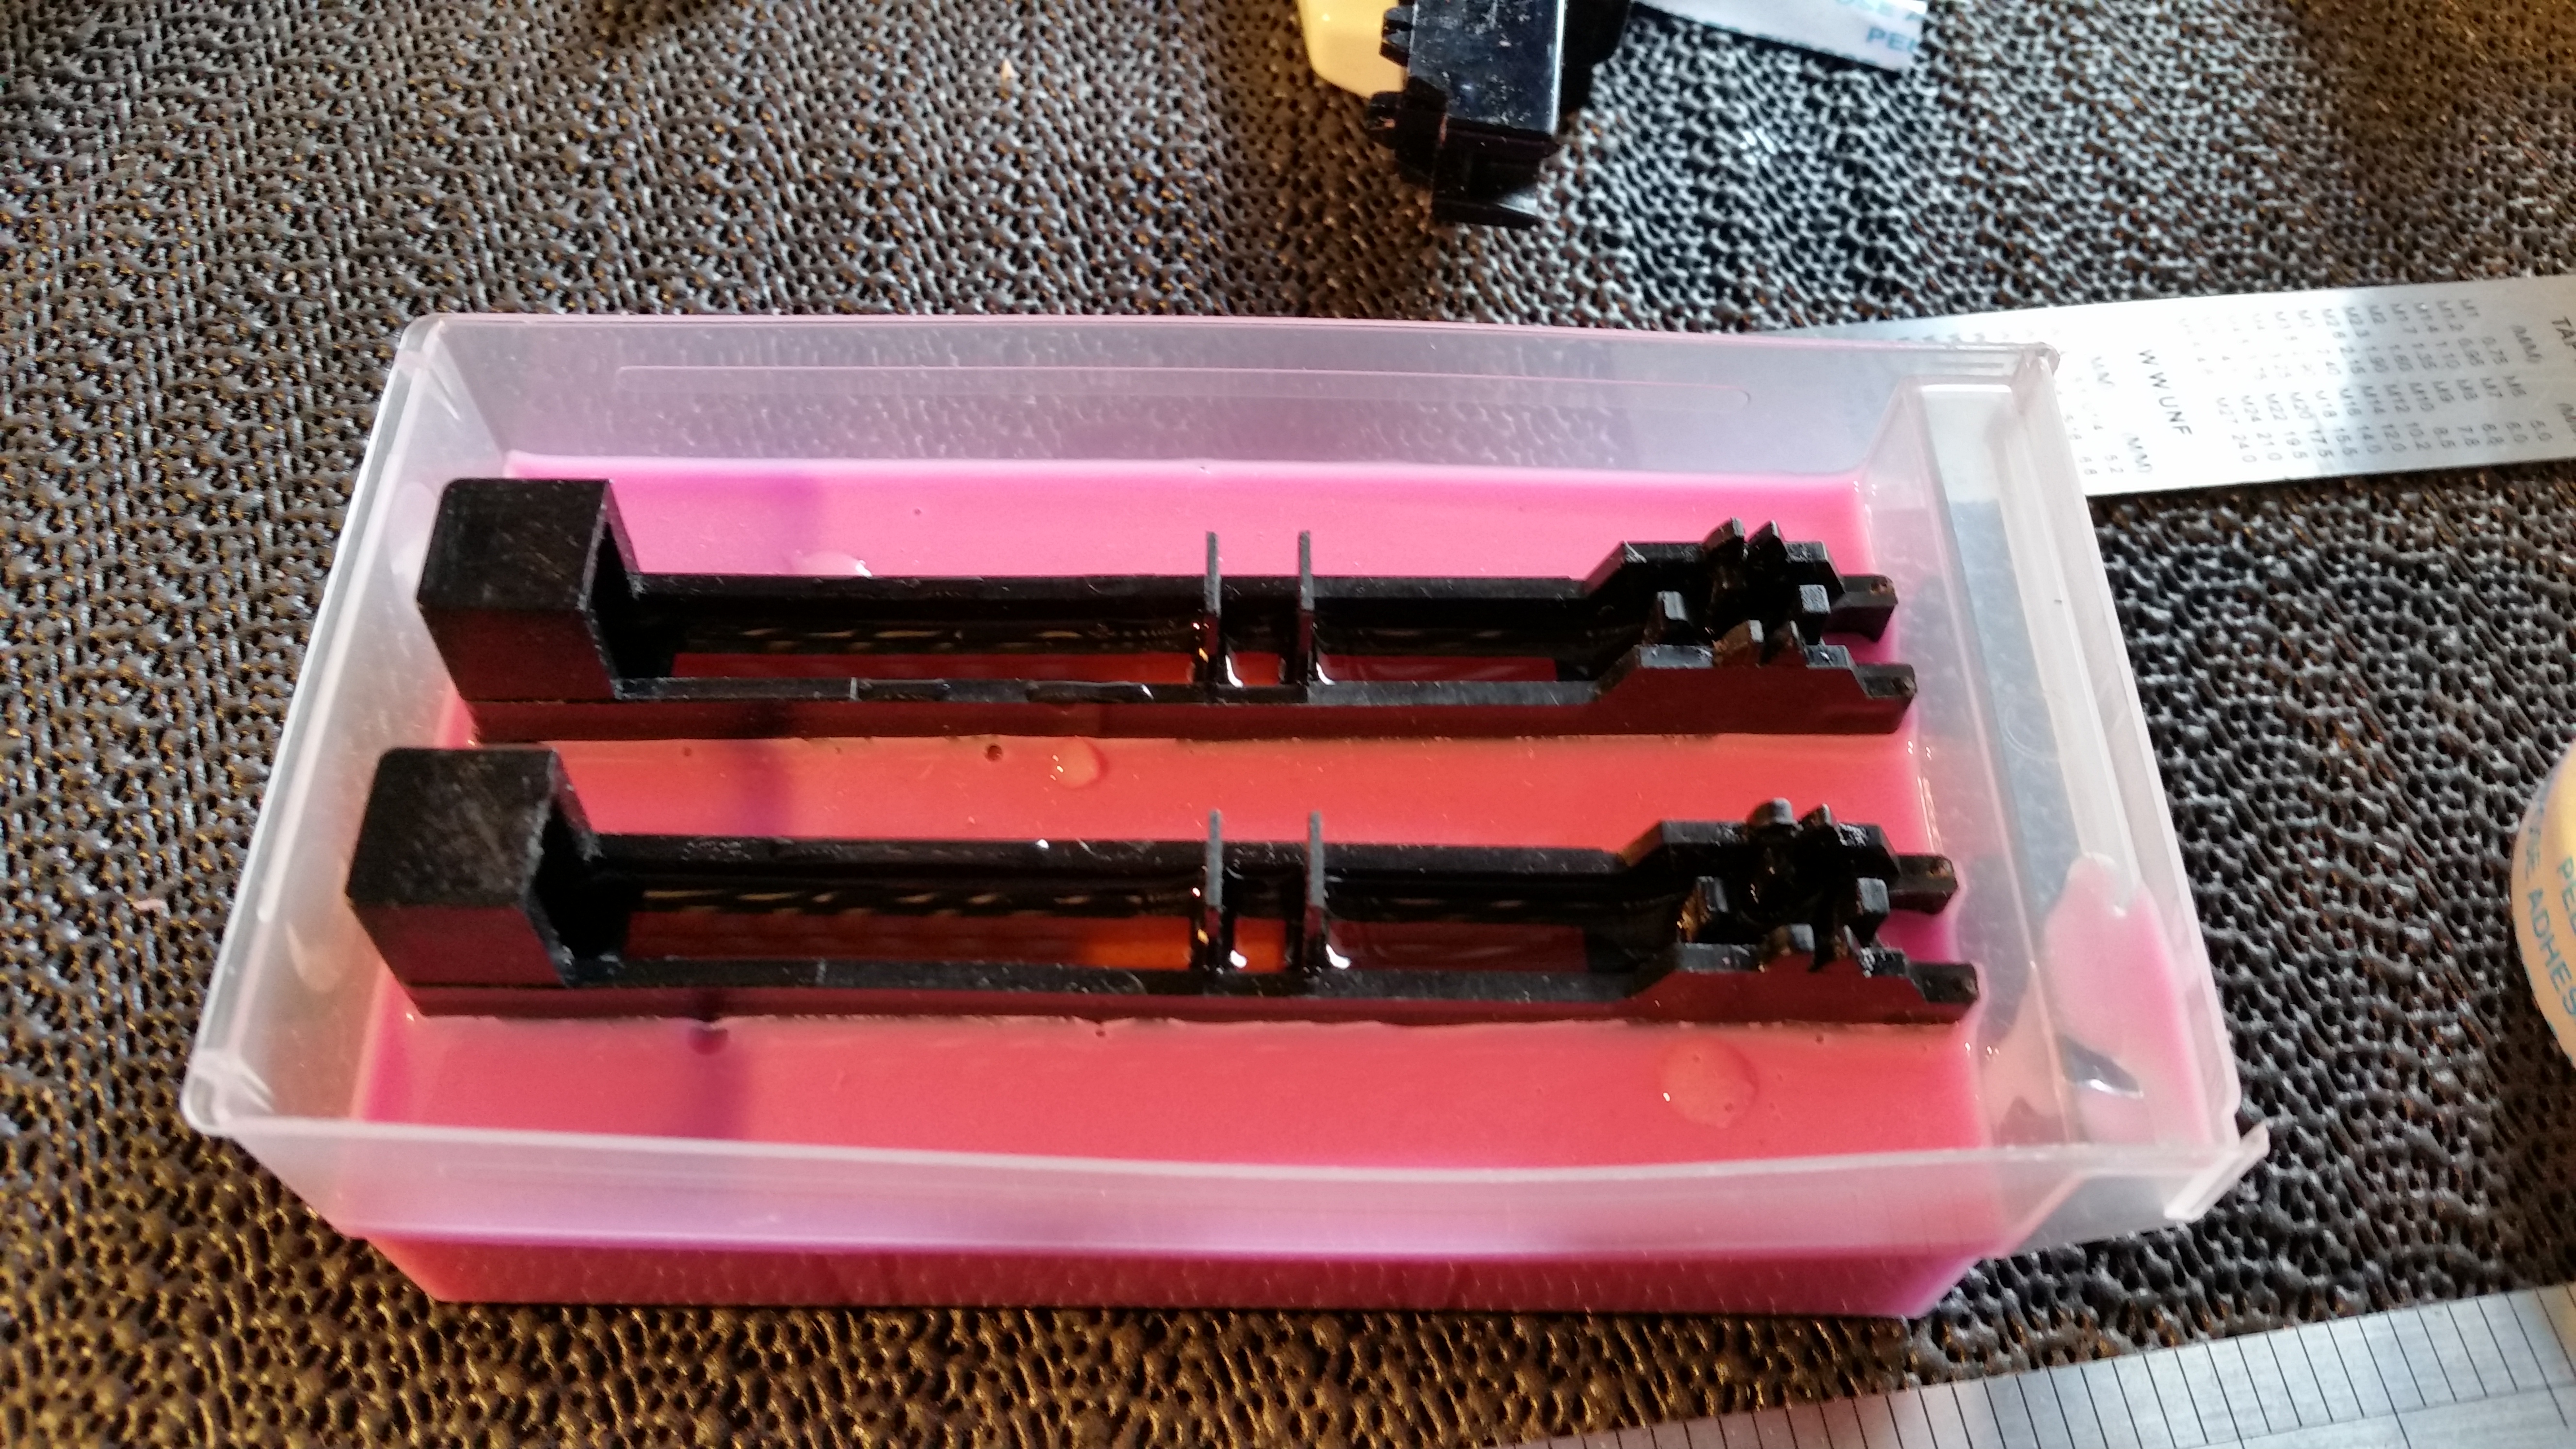
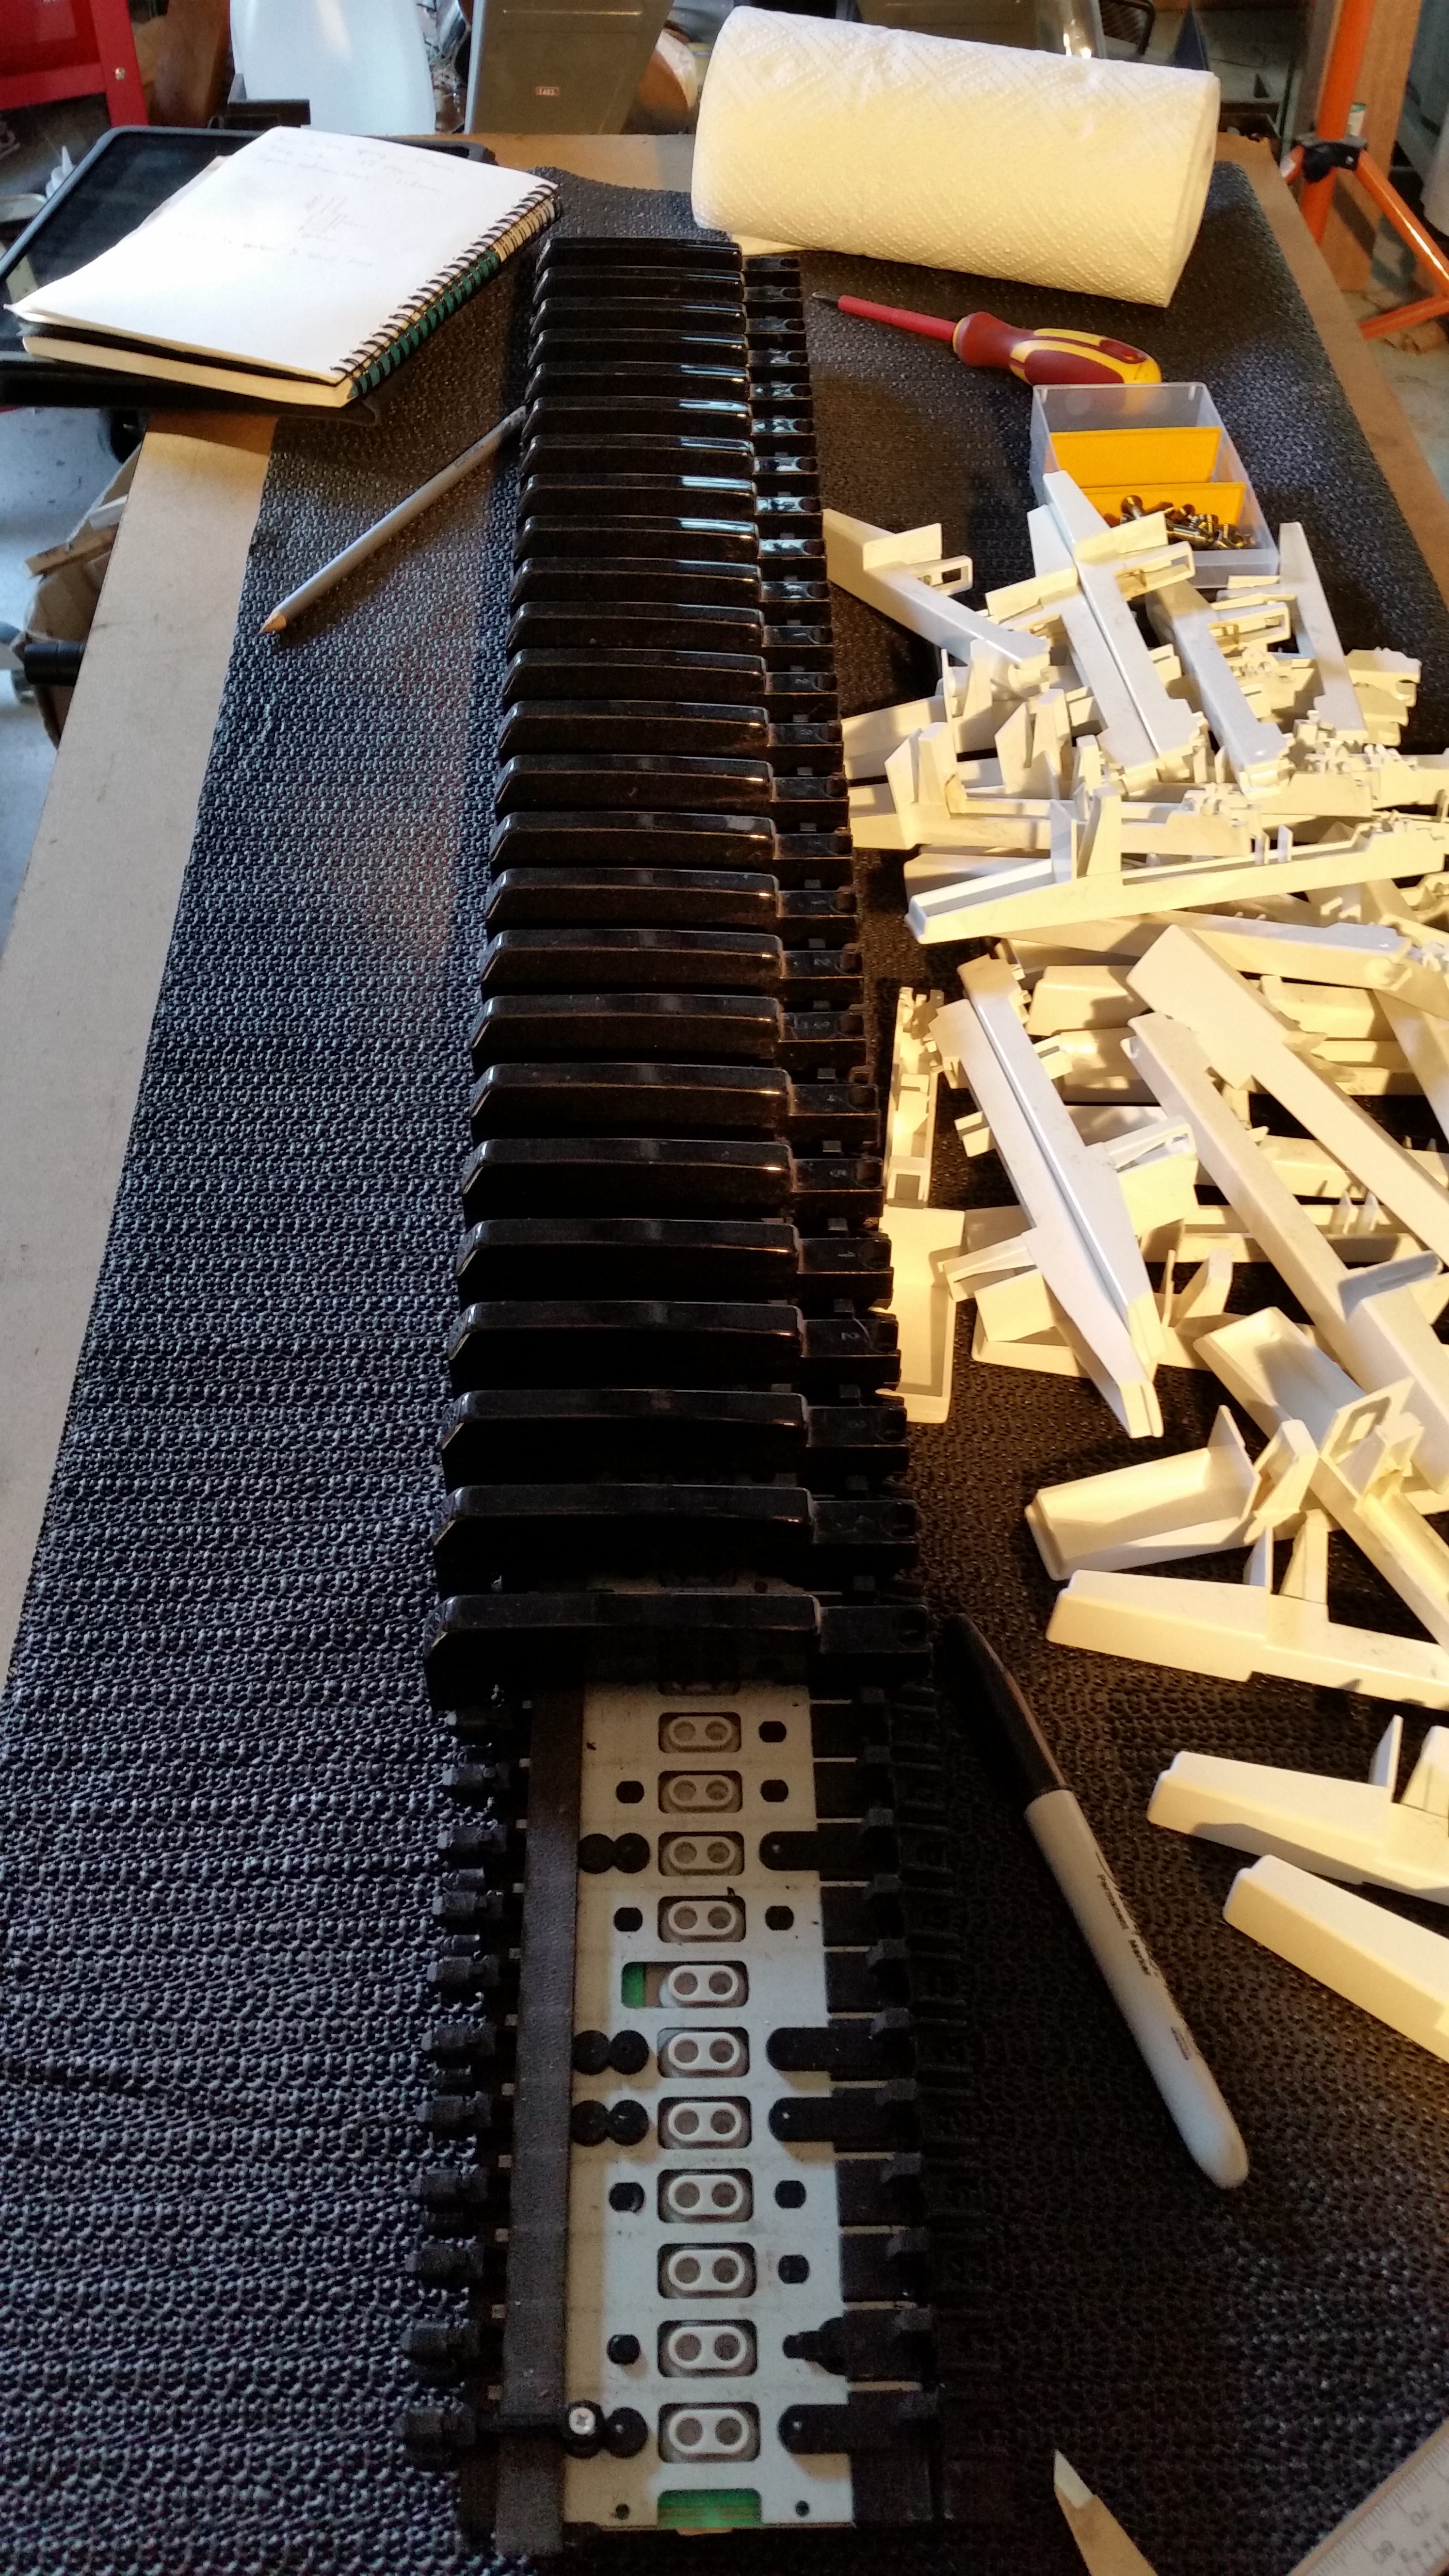
I decided to re-cast the tops of the raised keys (previously the sharps and flats) in solid white resin. This increases the mass of the key a little, but that is not a drawback. The more expensive Korgs that use this keybed have weights installed to give them a better feel and even out the stronger spring response of the shorter keys. The extra weight of my solid tops is improving the keyboard!

Posted on

Bilinear Uniform Chromatic Keyboard

This is an interesting project. I’ve just been commissioned to alter a Korg Triton LE keyboard to the bilinear uniform chromatic keyboard standard.  It fairly obvious to anyone who has studied keyed instruments that the traditional keyboard is exactly the sort of mess that you end up with when you extend an interface far past what is was originally meant to do. We can’t undo the unholy dog’s breakfast that is tempered tuning, but at least we can address the crazy lopsided way we approach the piano keyboard. If you are interested in how it works, there is a great explanation here.

All of the previously ‘white’ keys need to be trimmed to a symmetrical shape and widened. There are more ‘black’ keys than before, so I’ll have to order some in as parts. Luckily the Triton was a very popularkeyboard, so parts are easy to find. Shaping and re-casting the keys will the tricky part.The Triton is very easy to take apart and the screws are large and mostly restricted to two sizes, making eventual reassembly much easier. After lifting off the bottom plate the whole keybed comes out as one unit. The keys clip in and out of the bed easily. I’ve arranged the ‘black’ keys where I need them, but five more need to be ordered to fill the gap.

That’s the easy part. I’ve measured the keys and laid out my replacement white key in Solvespace. Now it’s time to make a mold and start cutting them up.