Building an amplifier
This page has been specially created for the users at Aussie Guitar Gear Heads Forums 😉
Over the next day or so I will document the build process for a batch of amplifiers – this should answer all the questions you may want to ask!
| Step 1, The chassis | |
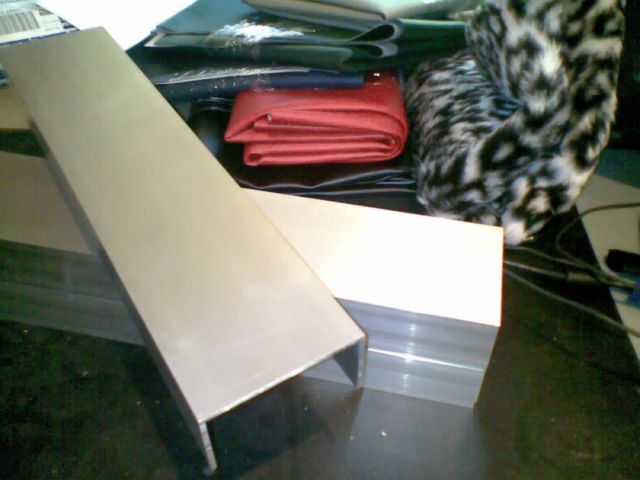 | I start with 3mm thick Aluminium extrusion for the chassis. It is very strong but also light and easy to work with. In the backgroud you can see some of the covering materials – yes, I will be using the white leopard fur in this batch 😉 |
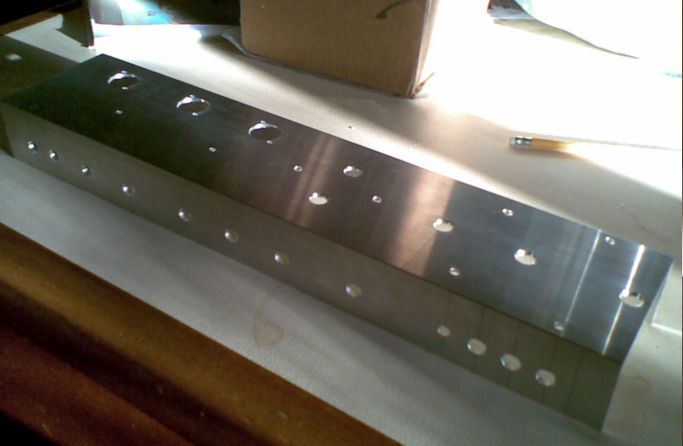 | After about half an hour on the drill press we have all the mounting holes drilled and deburred. |
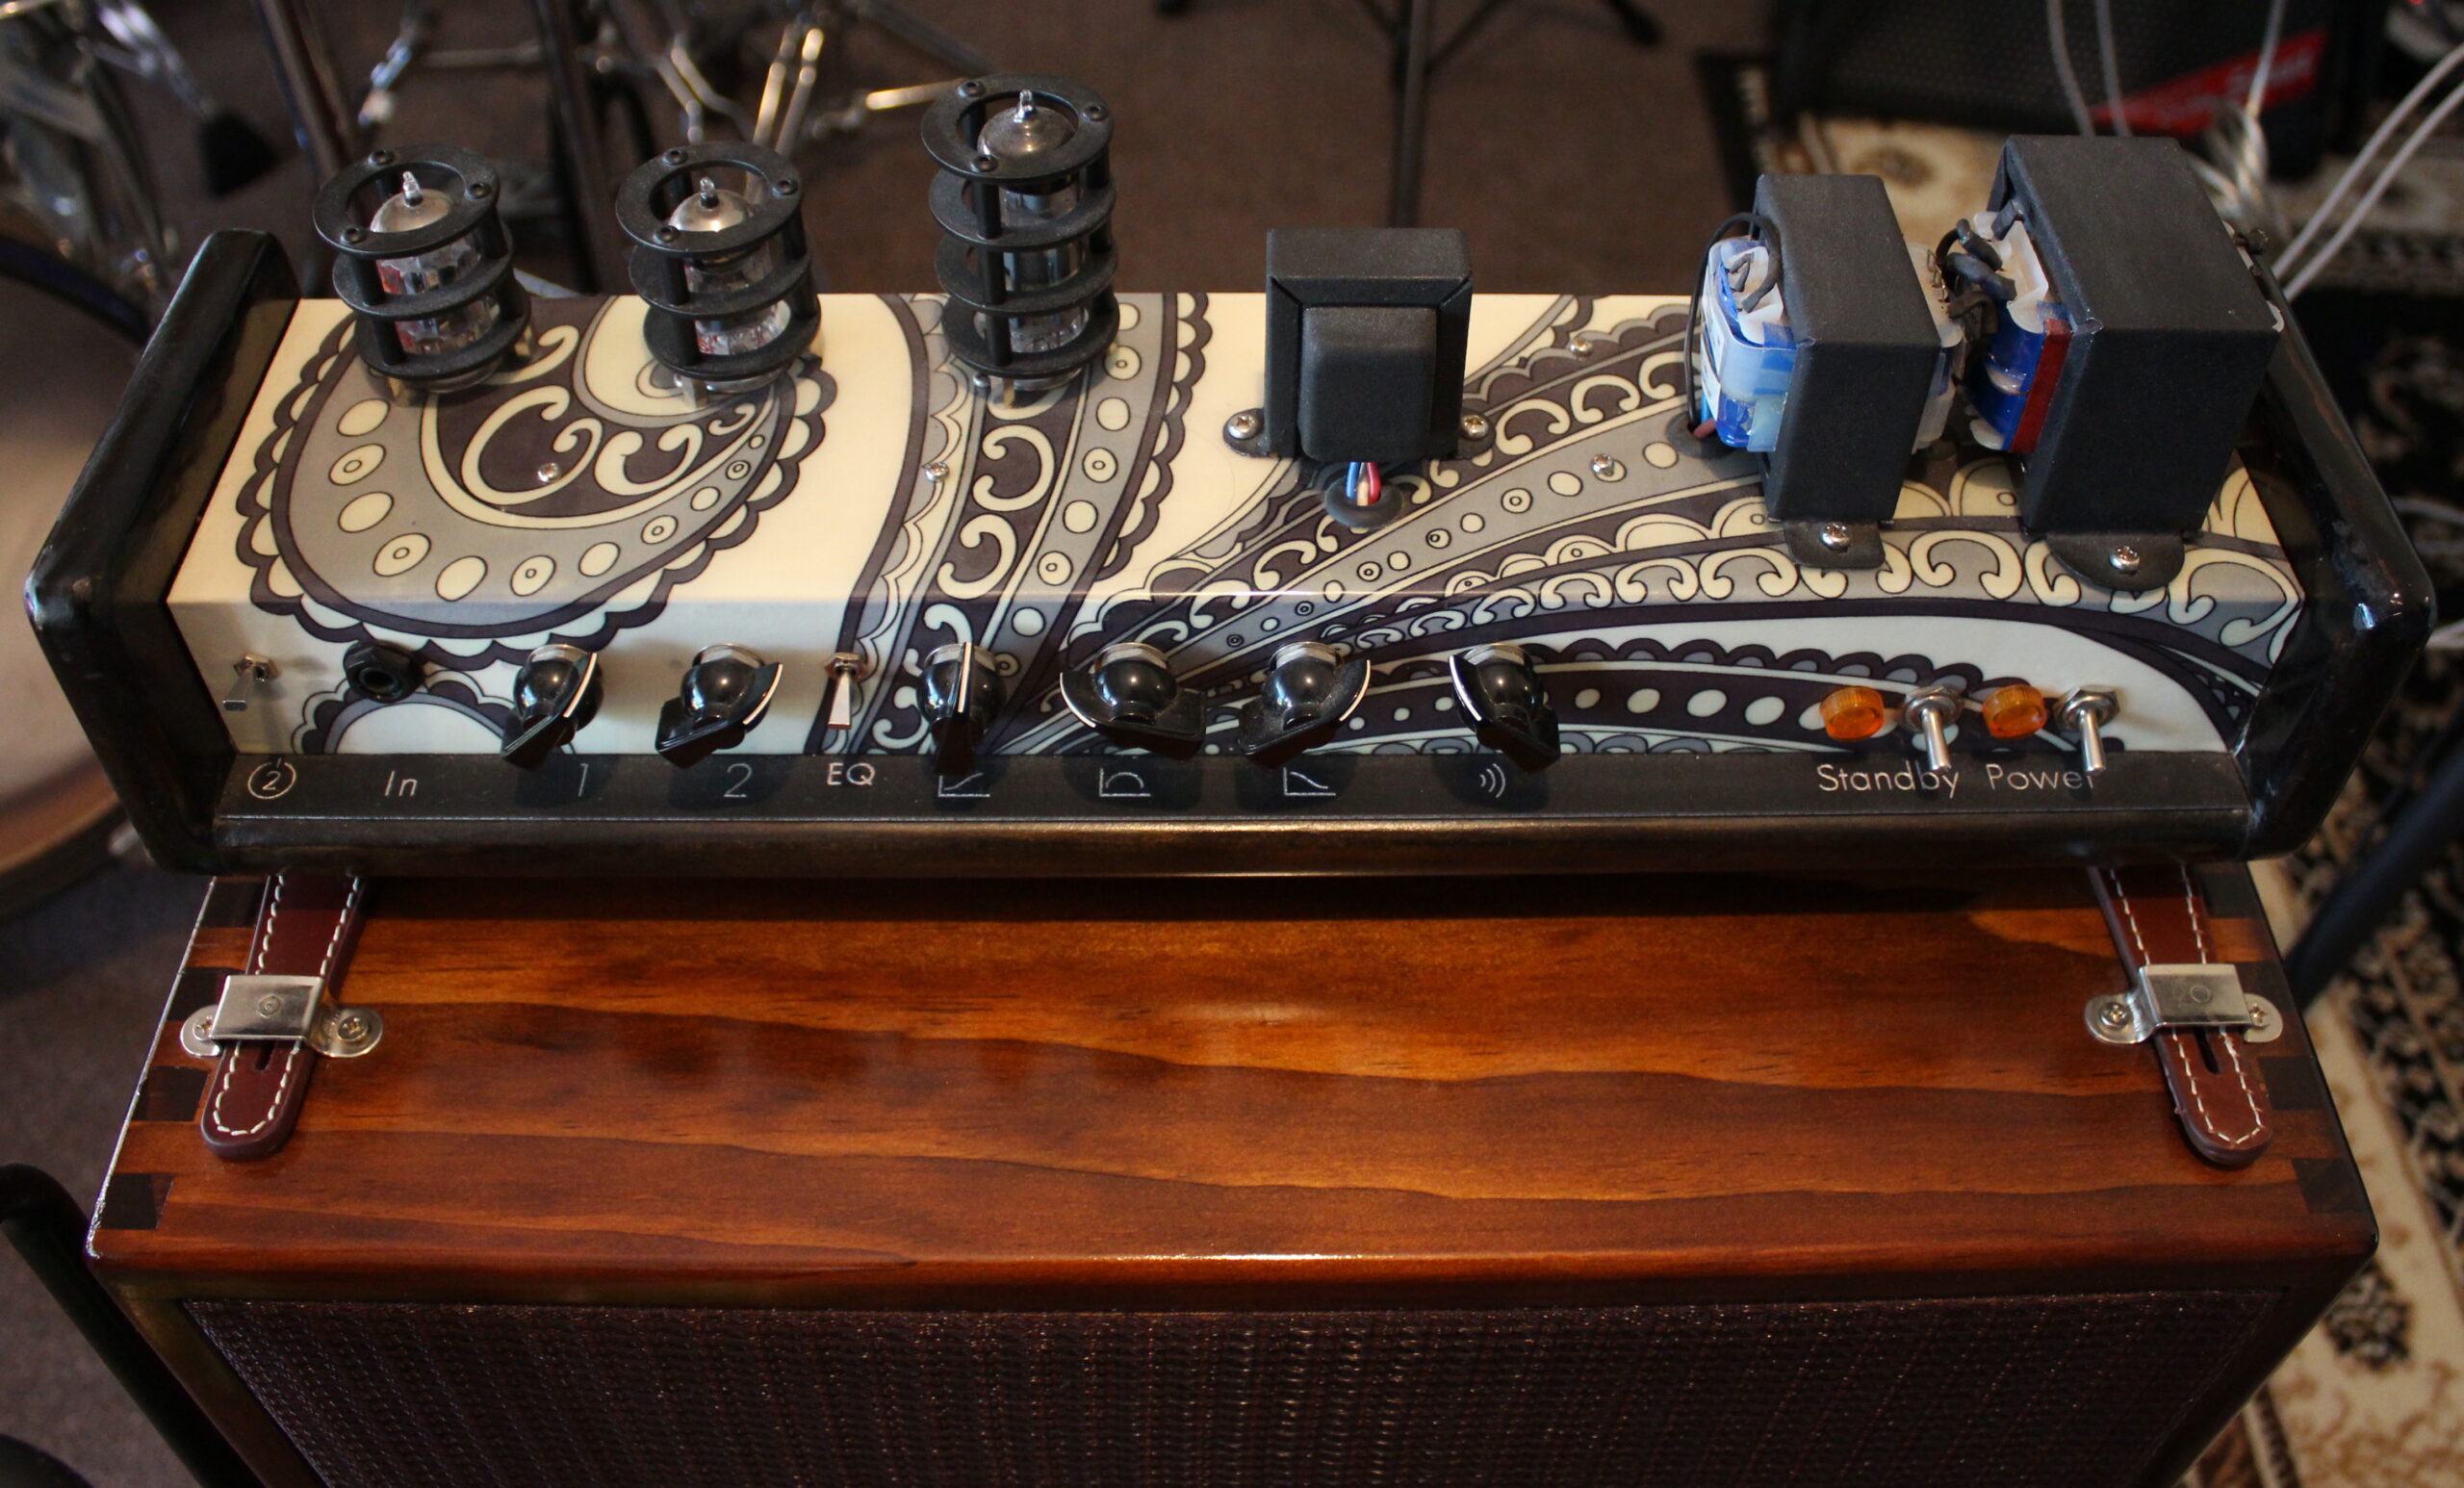
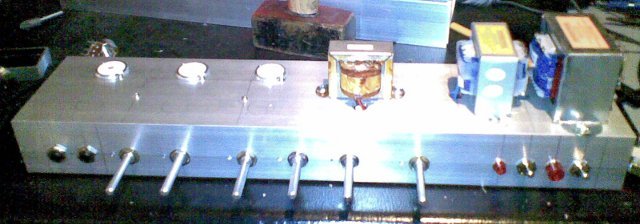 | Transformers, pots, switches, ceramic valve sockets and neons are fitted. This is the regular single ended output transformer, I also offer a custom made transformer from AVAT. All the audio samples on this site are (so far) recorded with this regular transformer. |
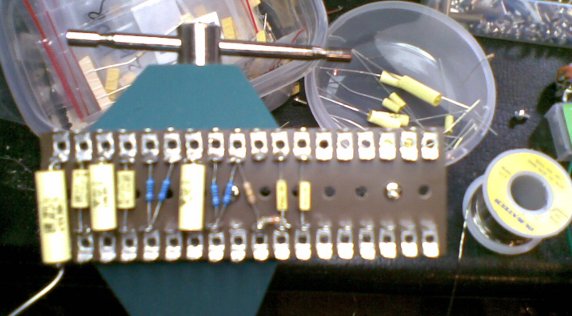
| Step 2, Internal Assembly | |
 | The tagboard is easier to work on outside the chassis. Tubs of components are ready in the background… take a deep breath and steady the hands, we are going to be here for a while… |
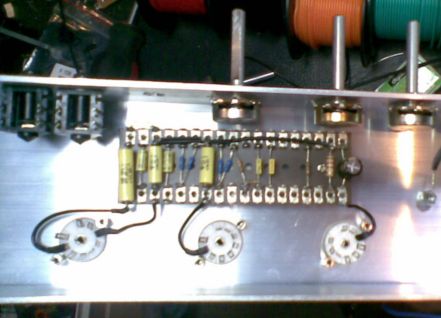
 | The preamp stage is complete. Time for a cup of coffee.. |
 | The completed board is mounted in the chassis and the hookup begins. Time for another cup of coffee.. |
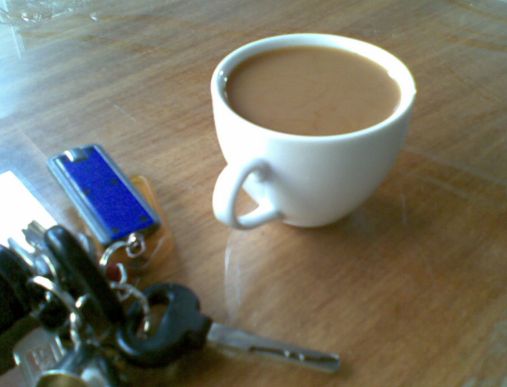 | Well, they are small cups… |
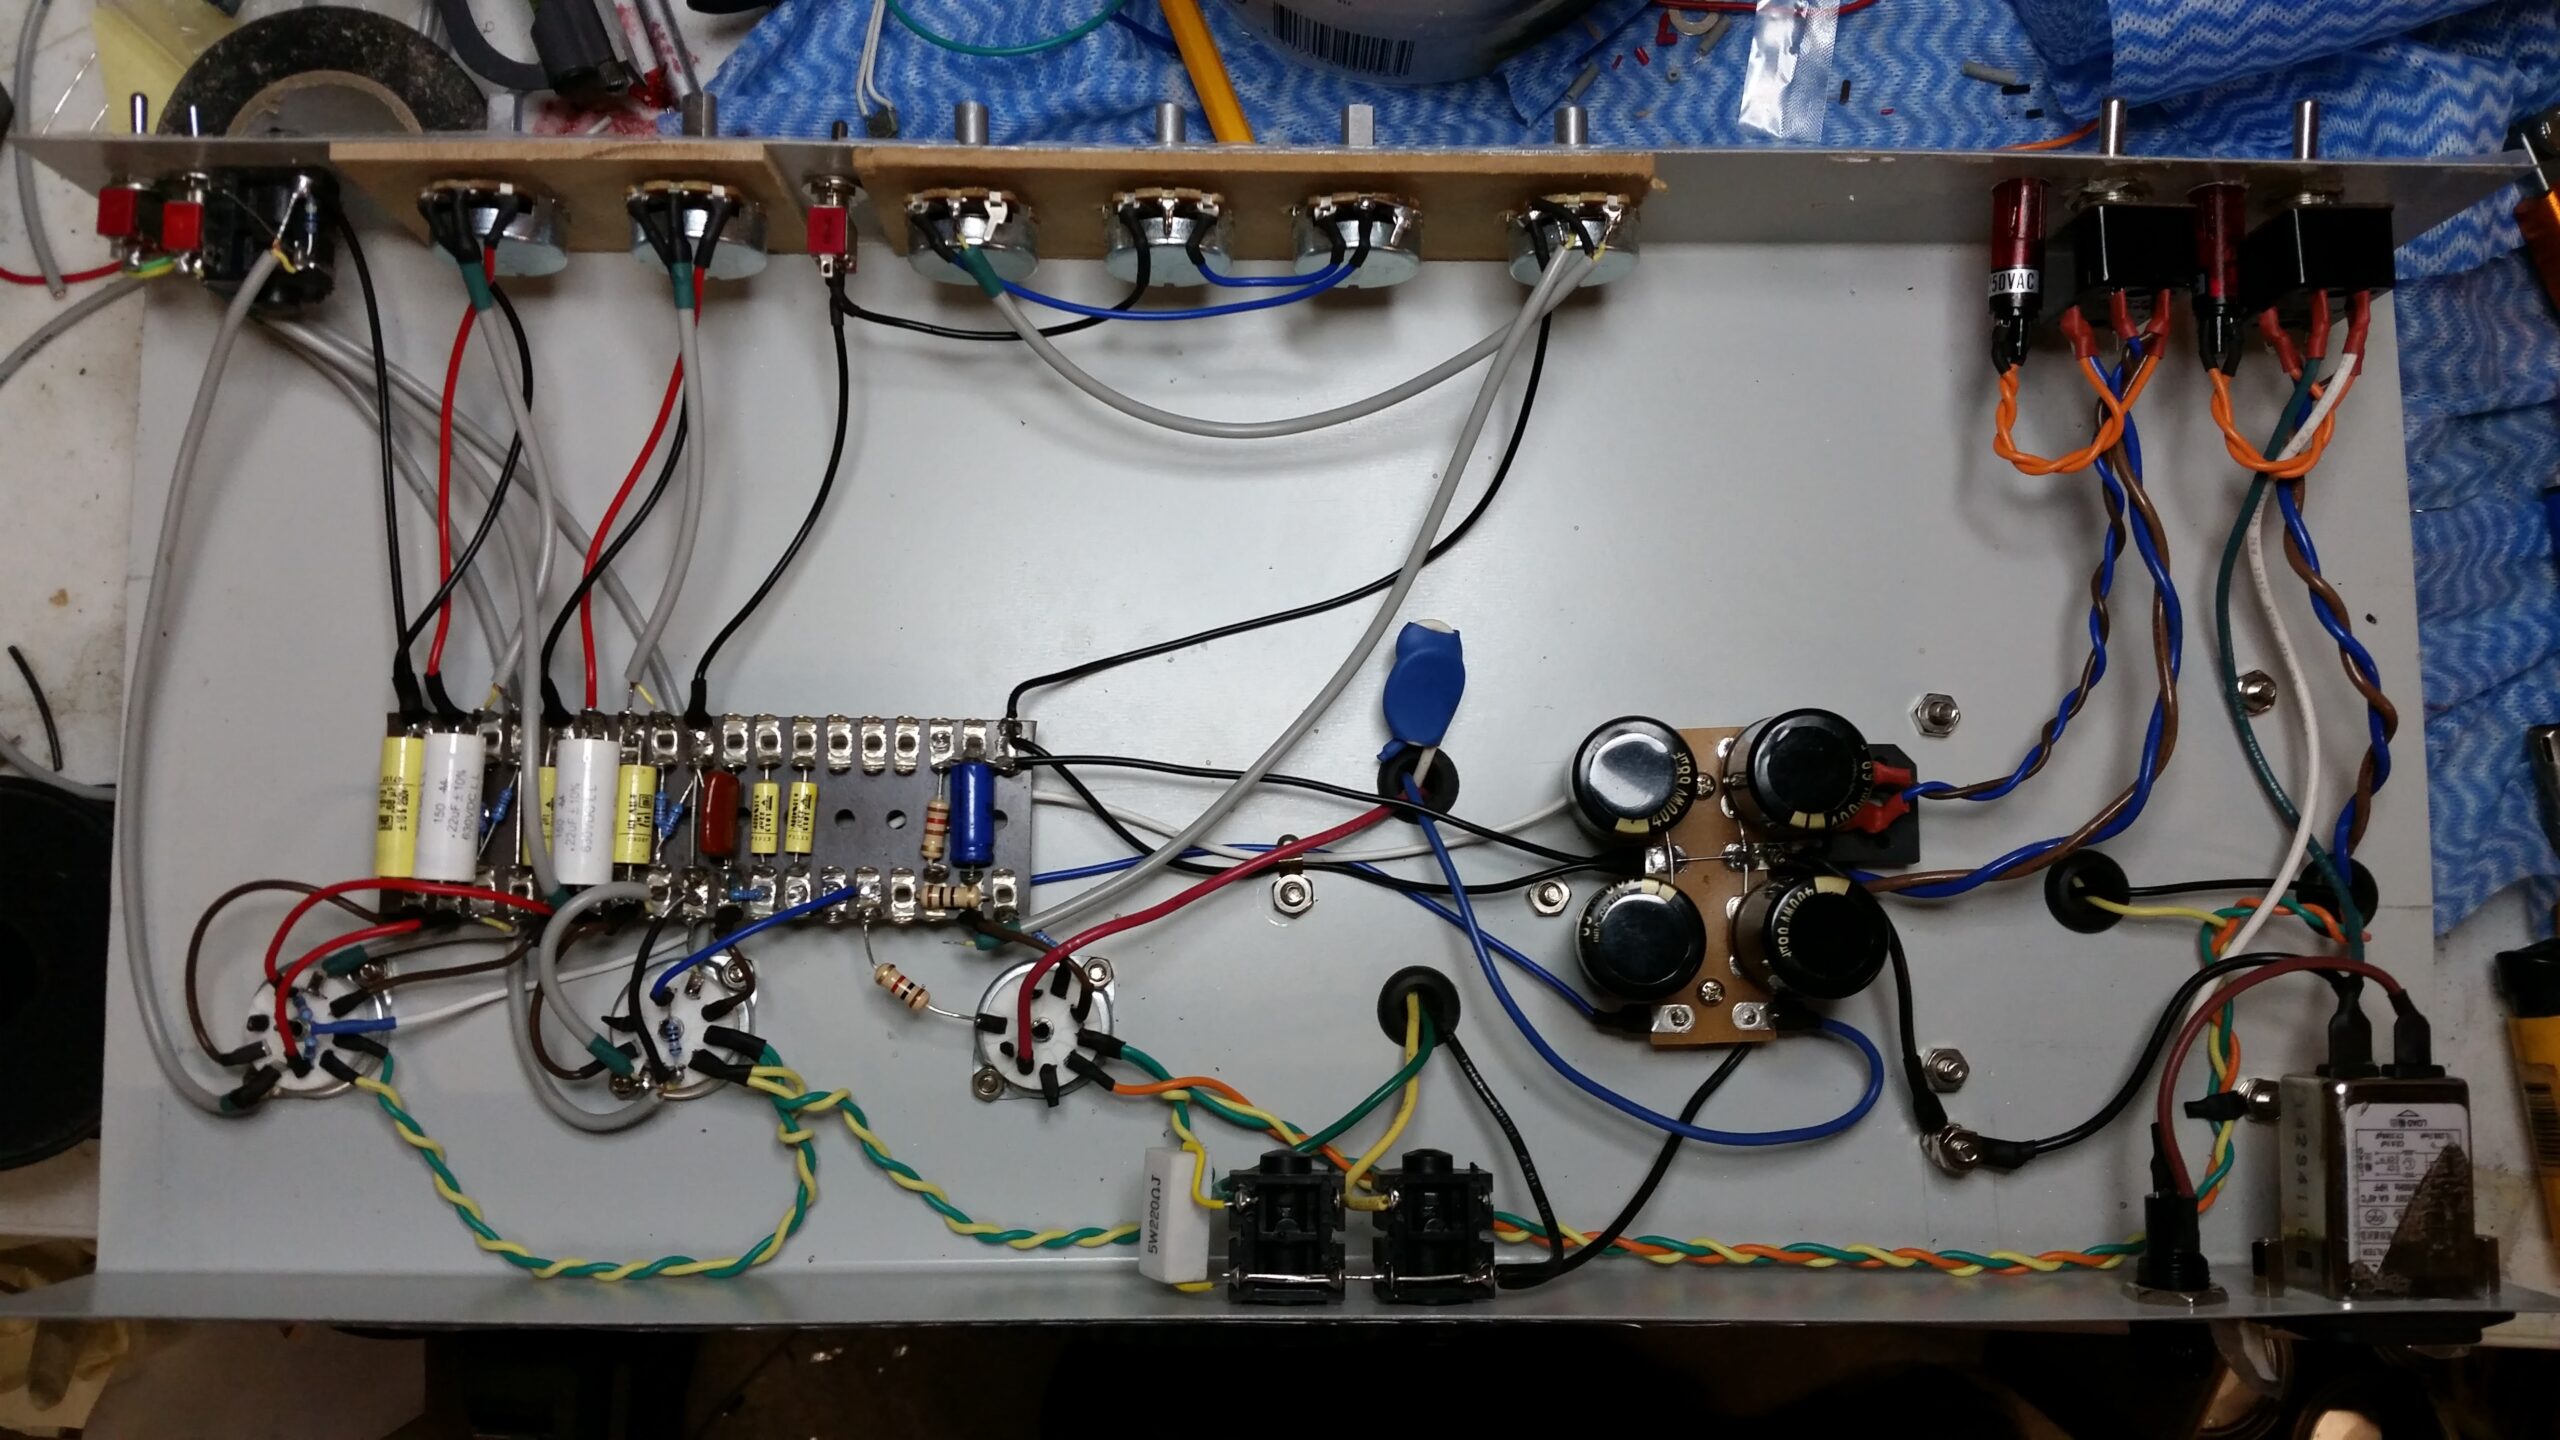
 | Heaters and transformers are added. |
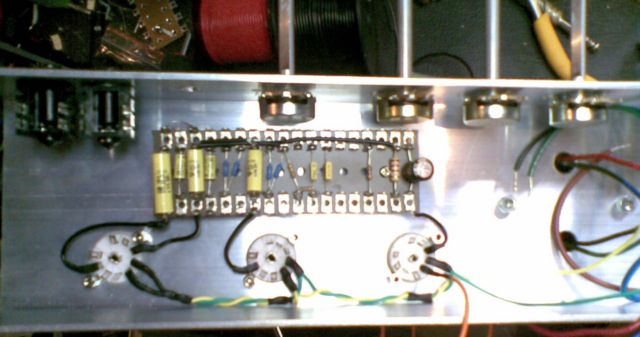
 | The power supply is added and the internal wiring is completed. This photo is far more detailed than the others – those who are curious can click on it for a huge view of the amps internals. |
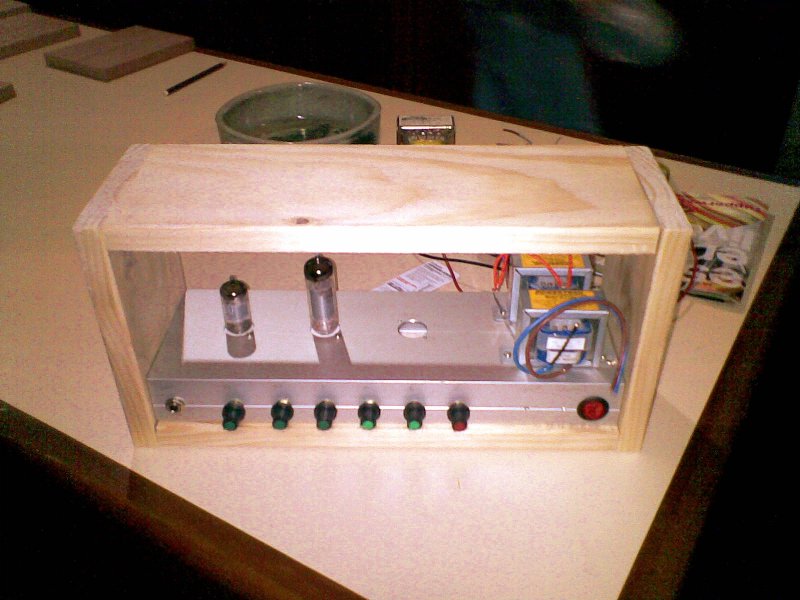
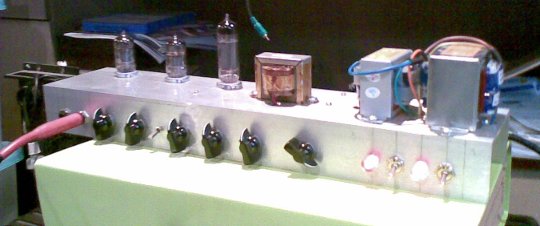 | Ready for the first full power test… |
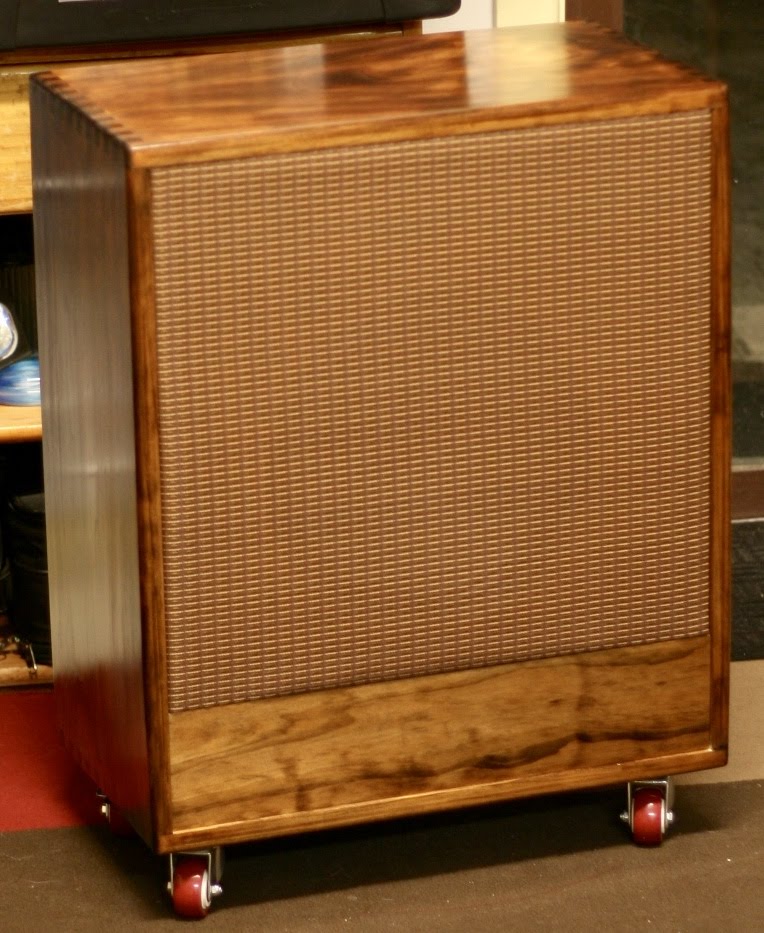
| Step 3, The case | |
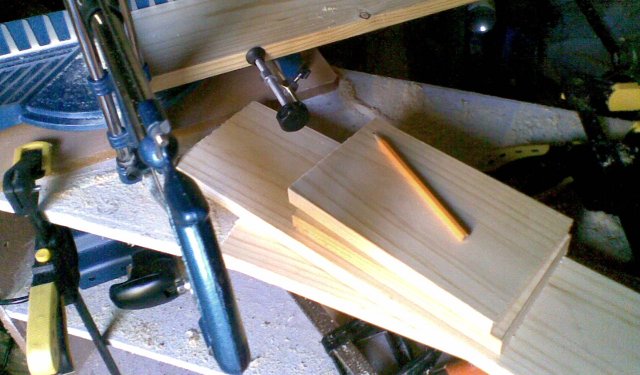 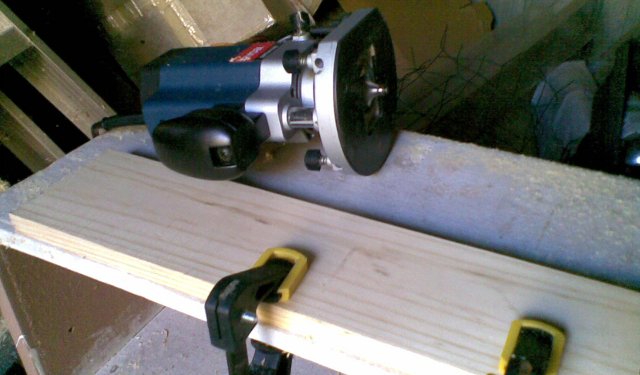 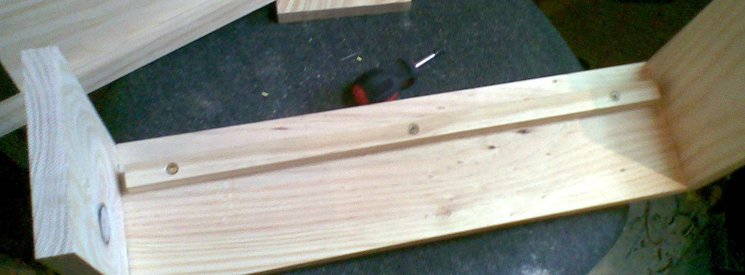  | The case parts are cut, routed and assembled. In this case I’m using 2cm pine, some cases are hardwood. Even the pine cases are tough enough to sit on at a gig, if you have to. |
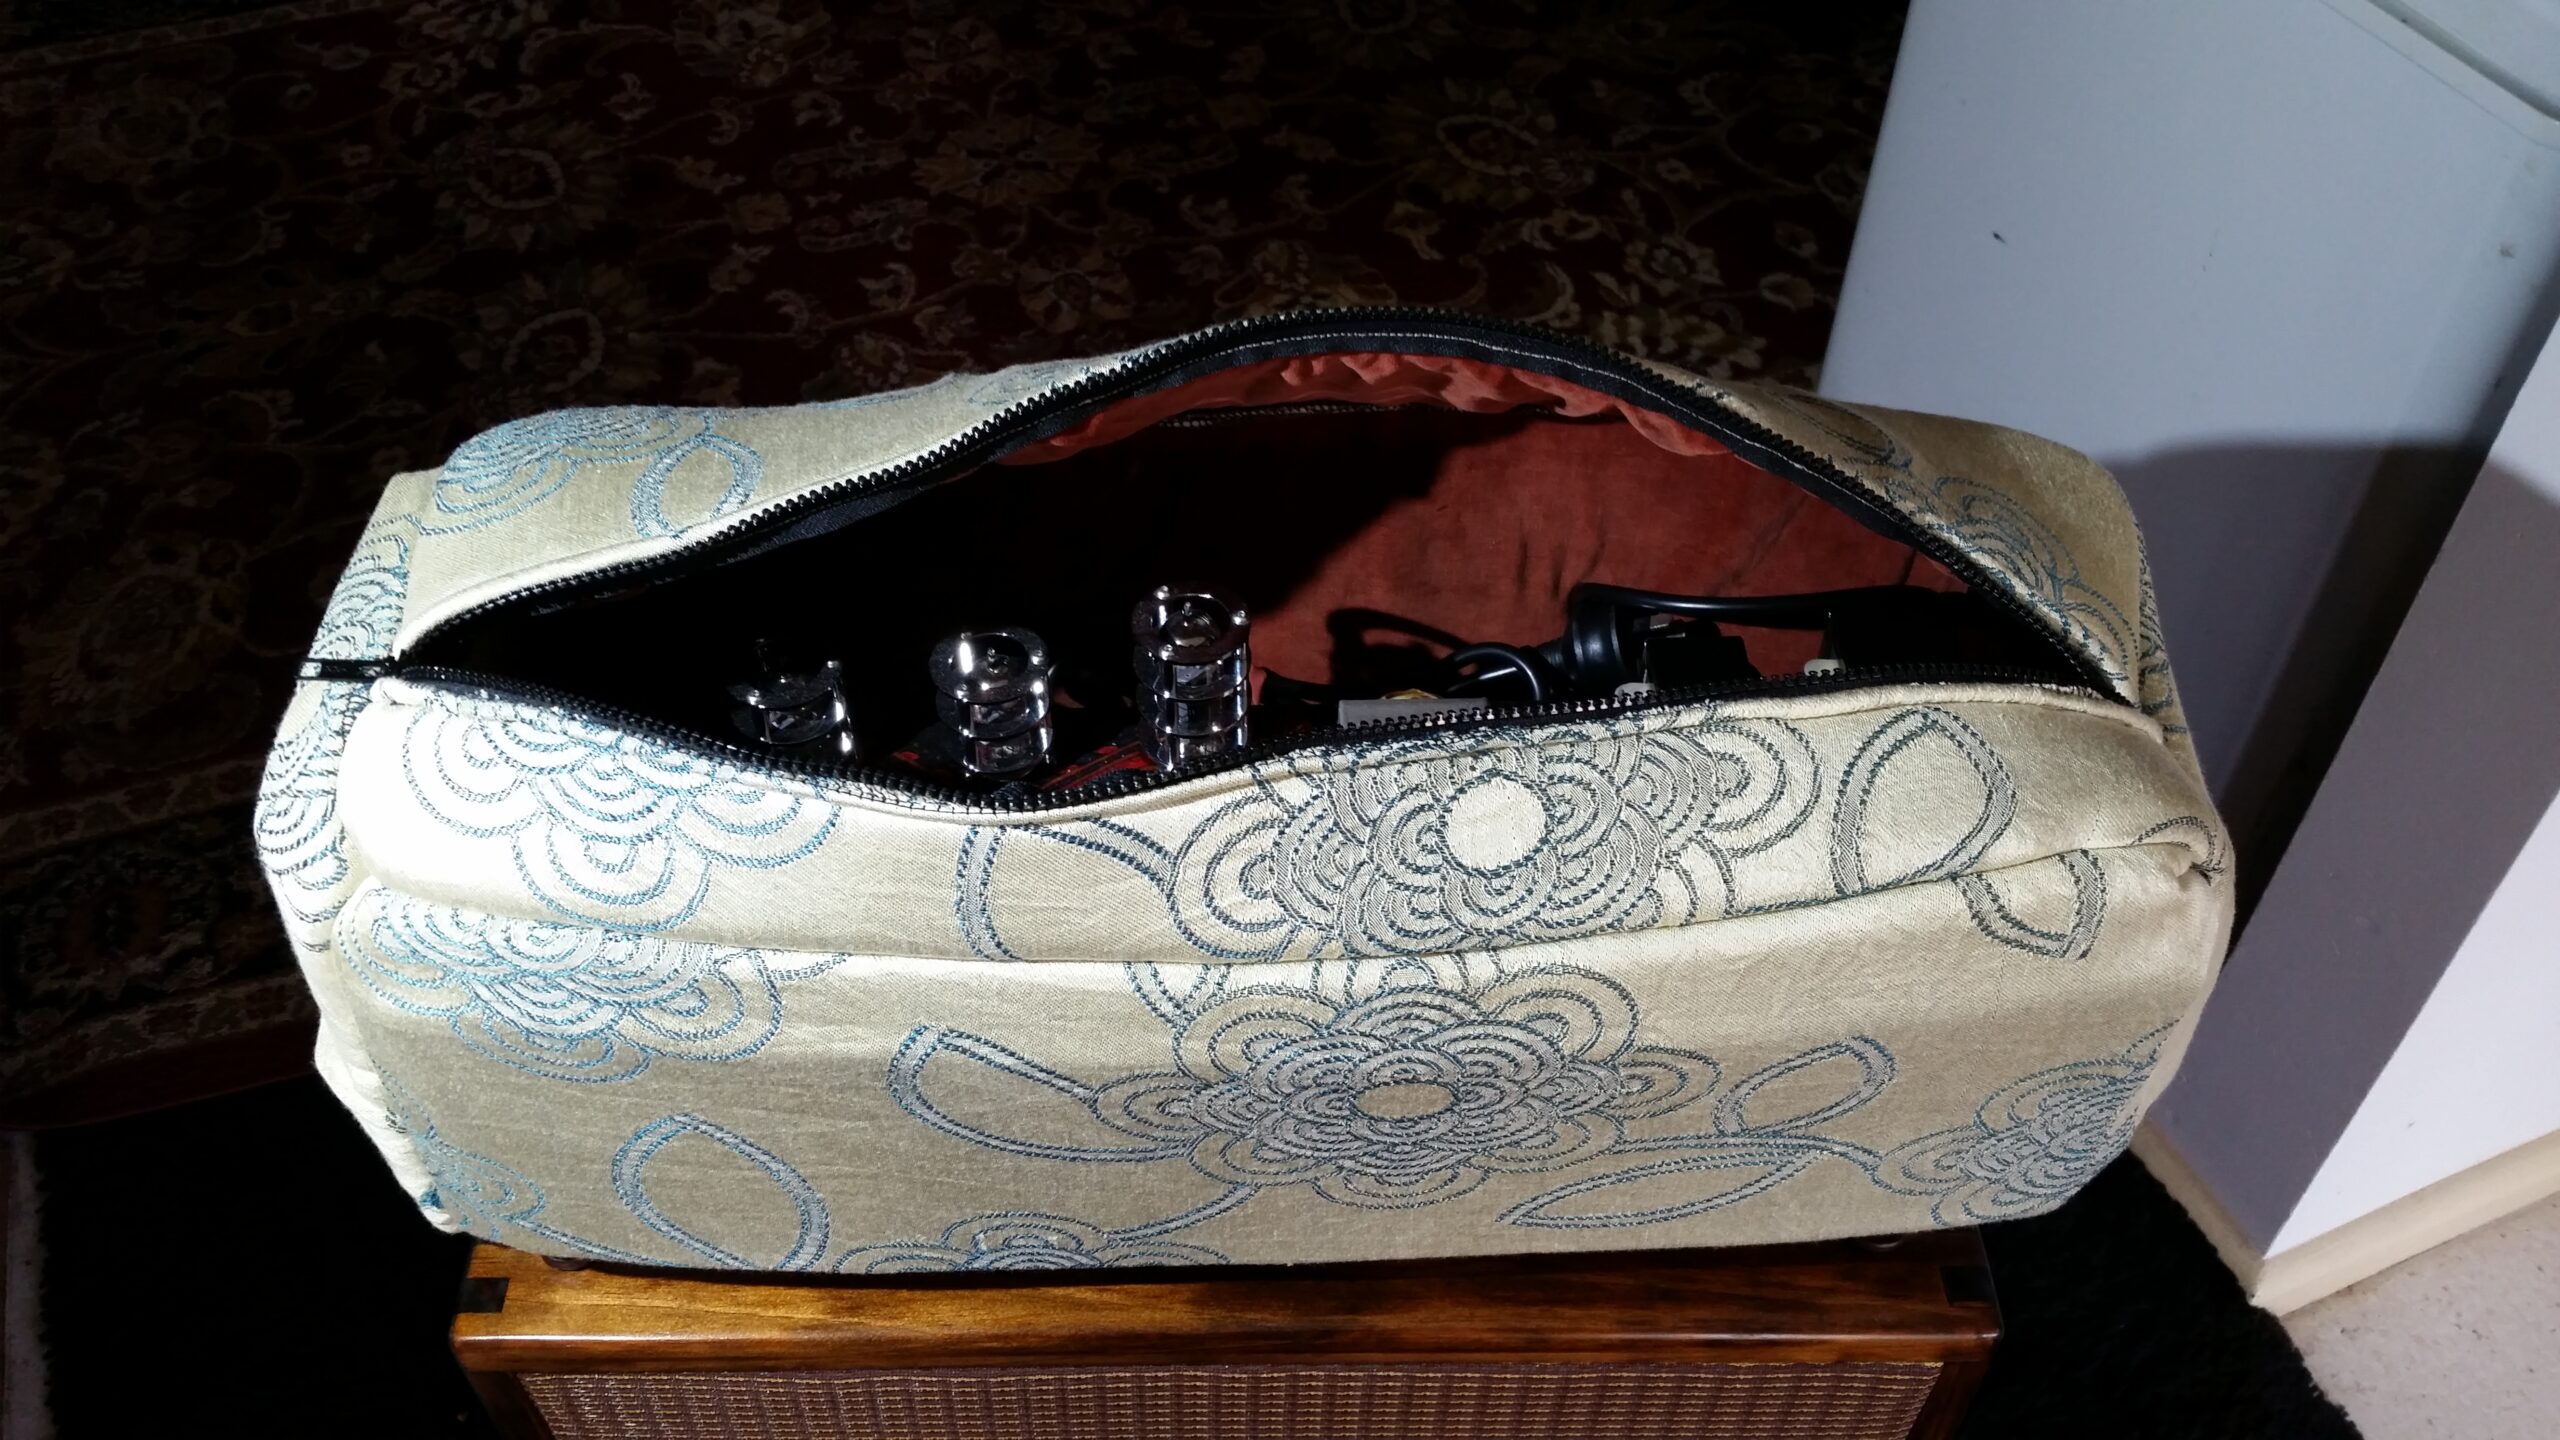
| Step 4, The covering | |
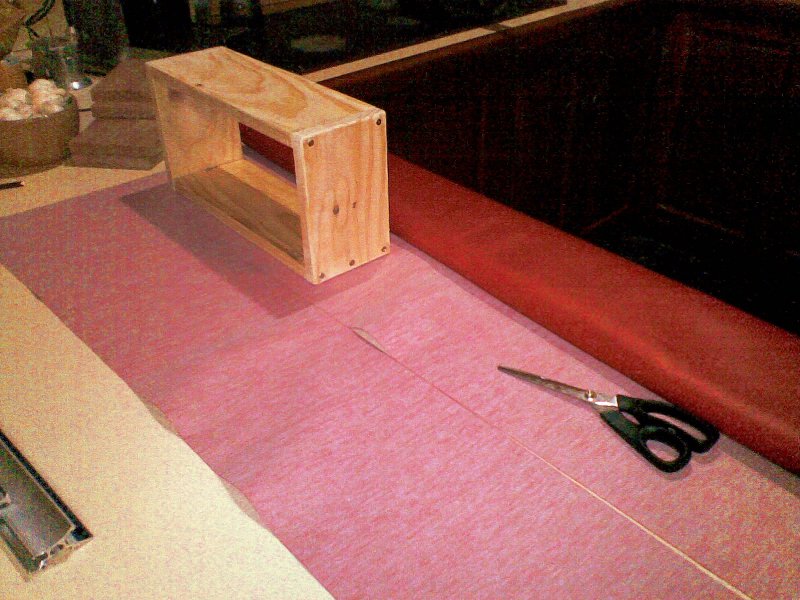 | It takes roughly half a metre to cover a case. |
 | And a third of a can of contact cement. |
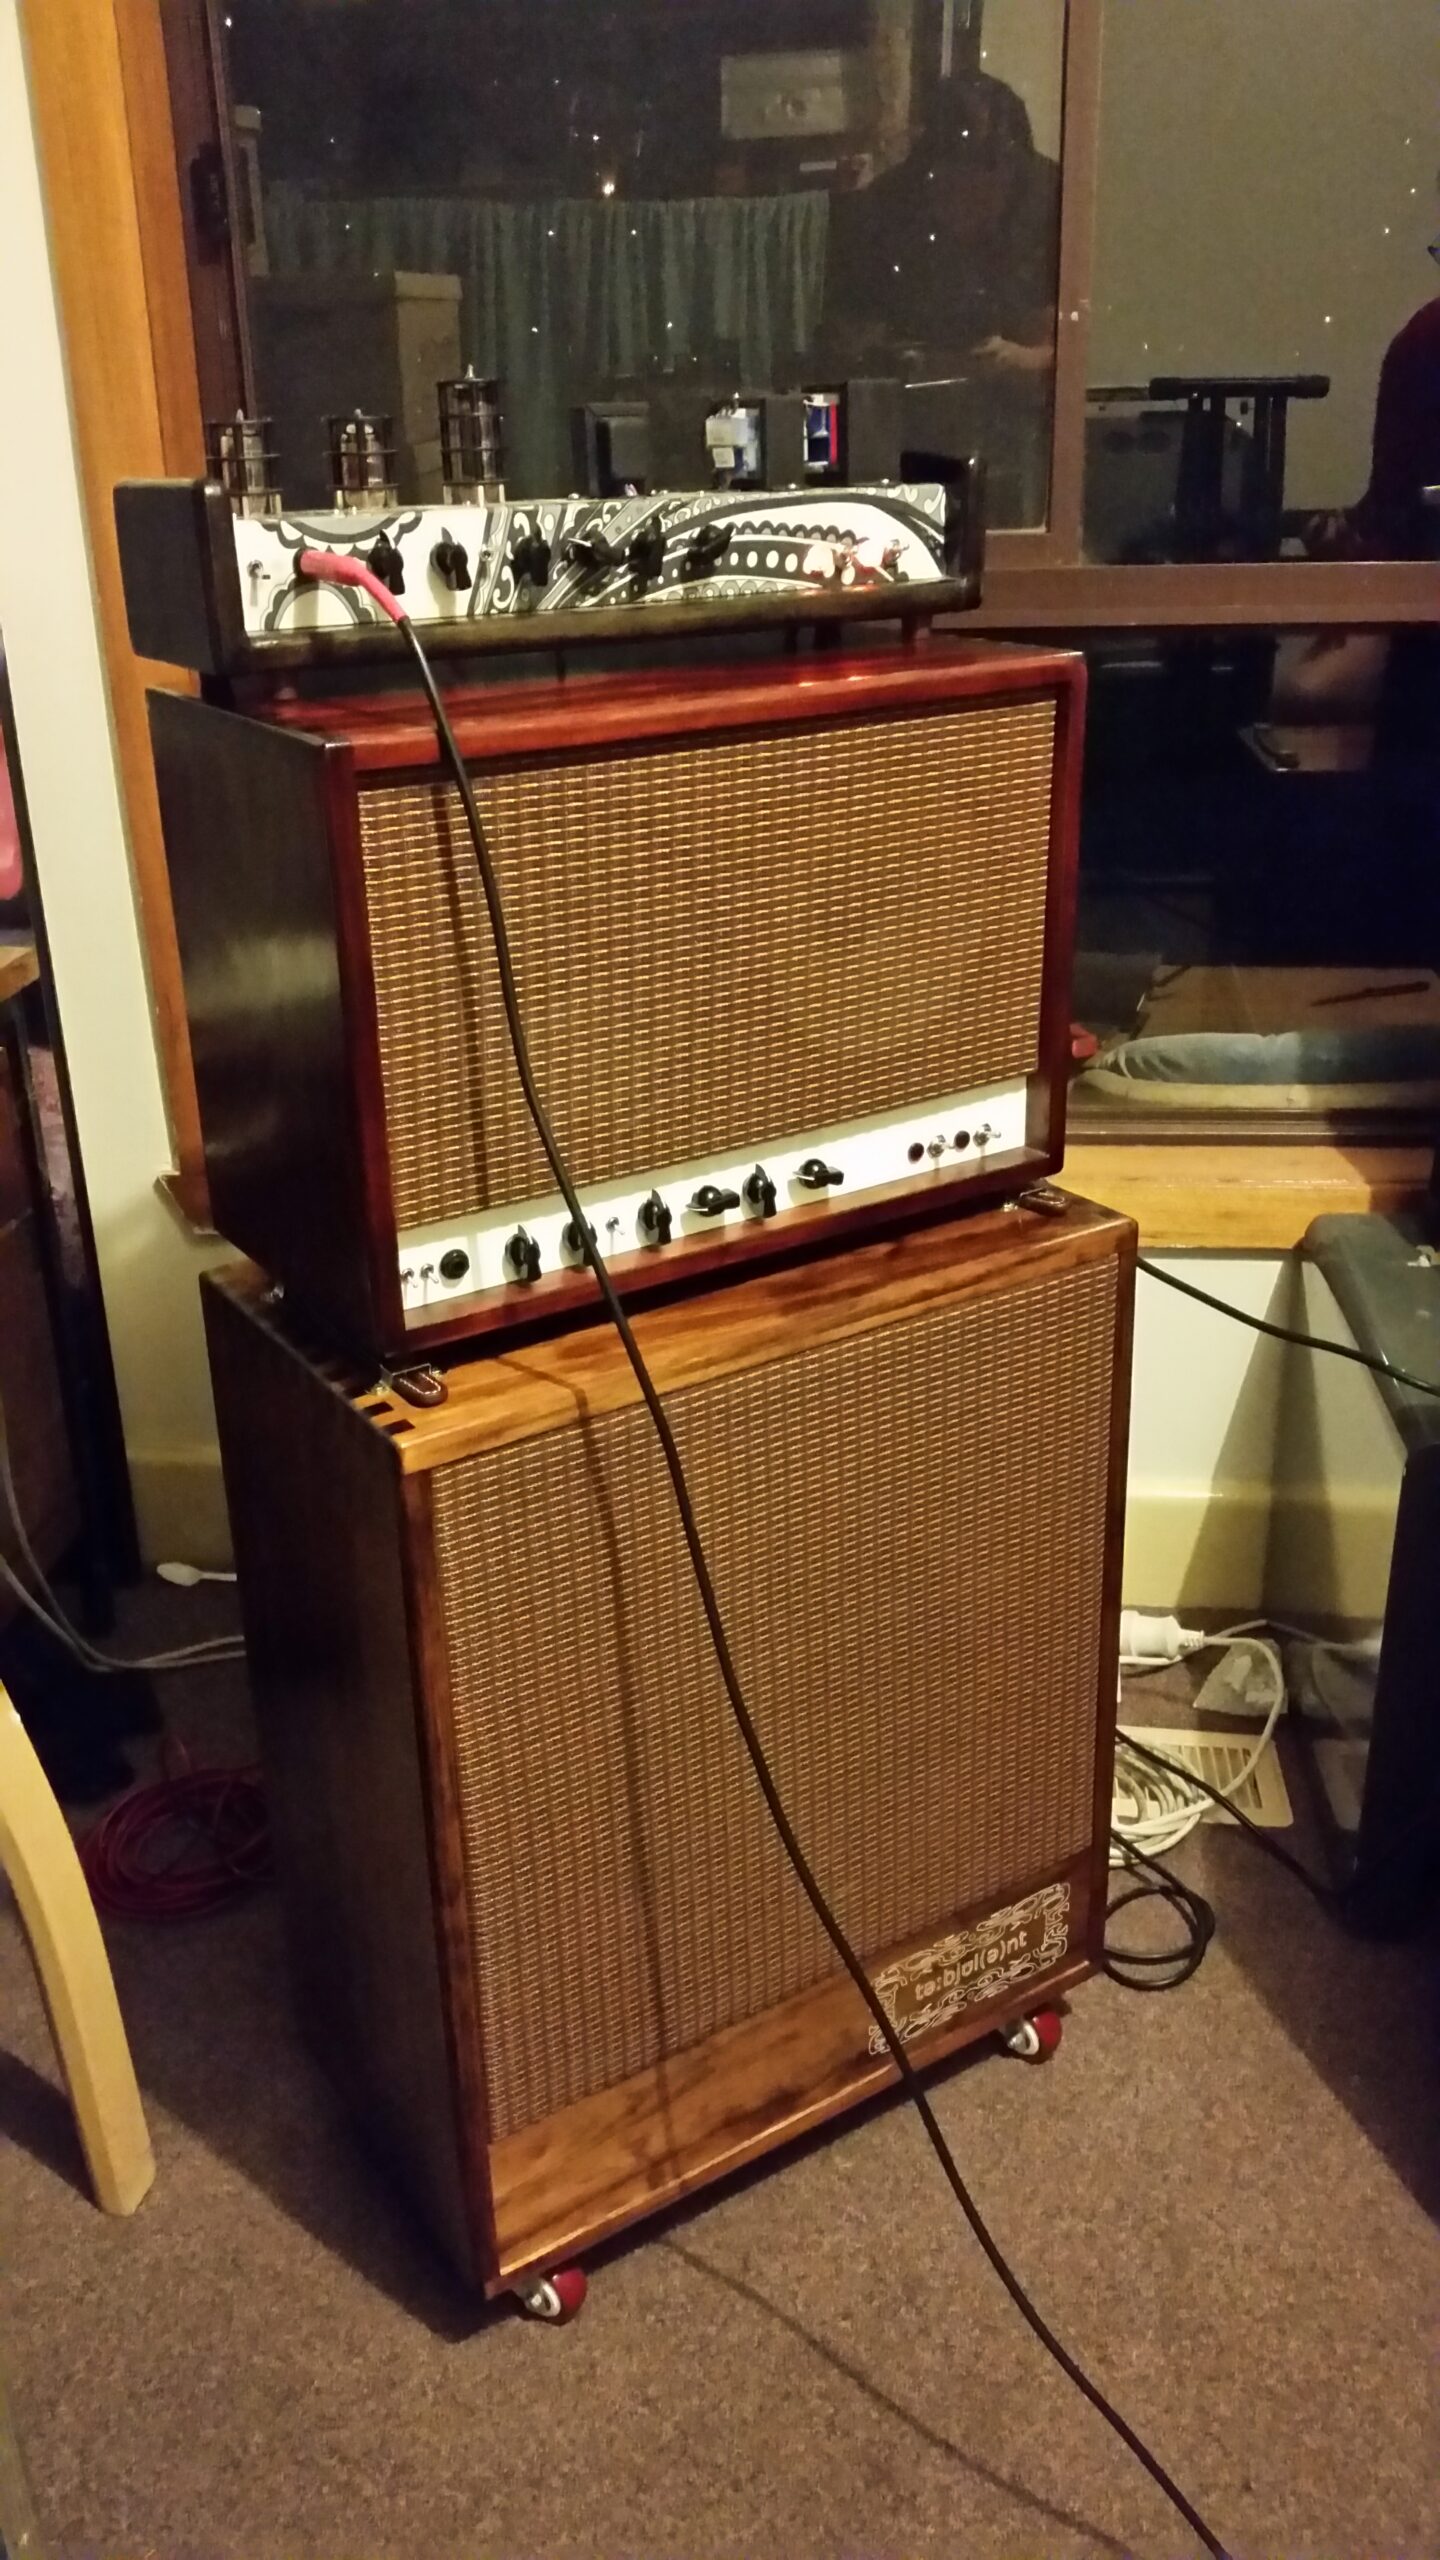
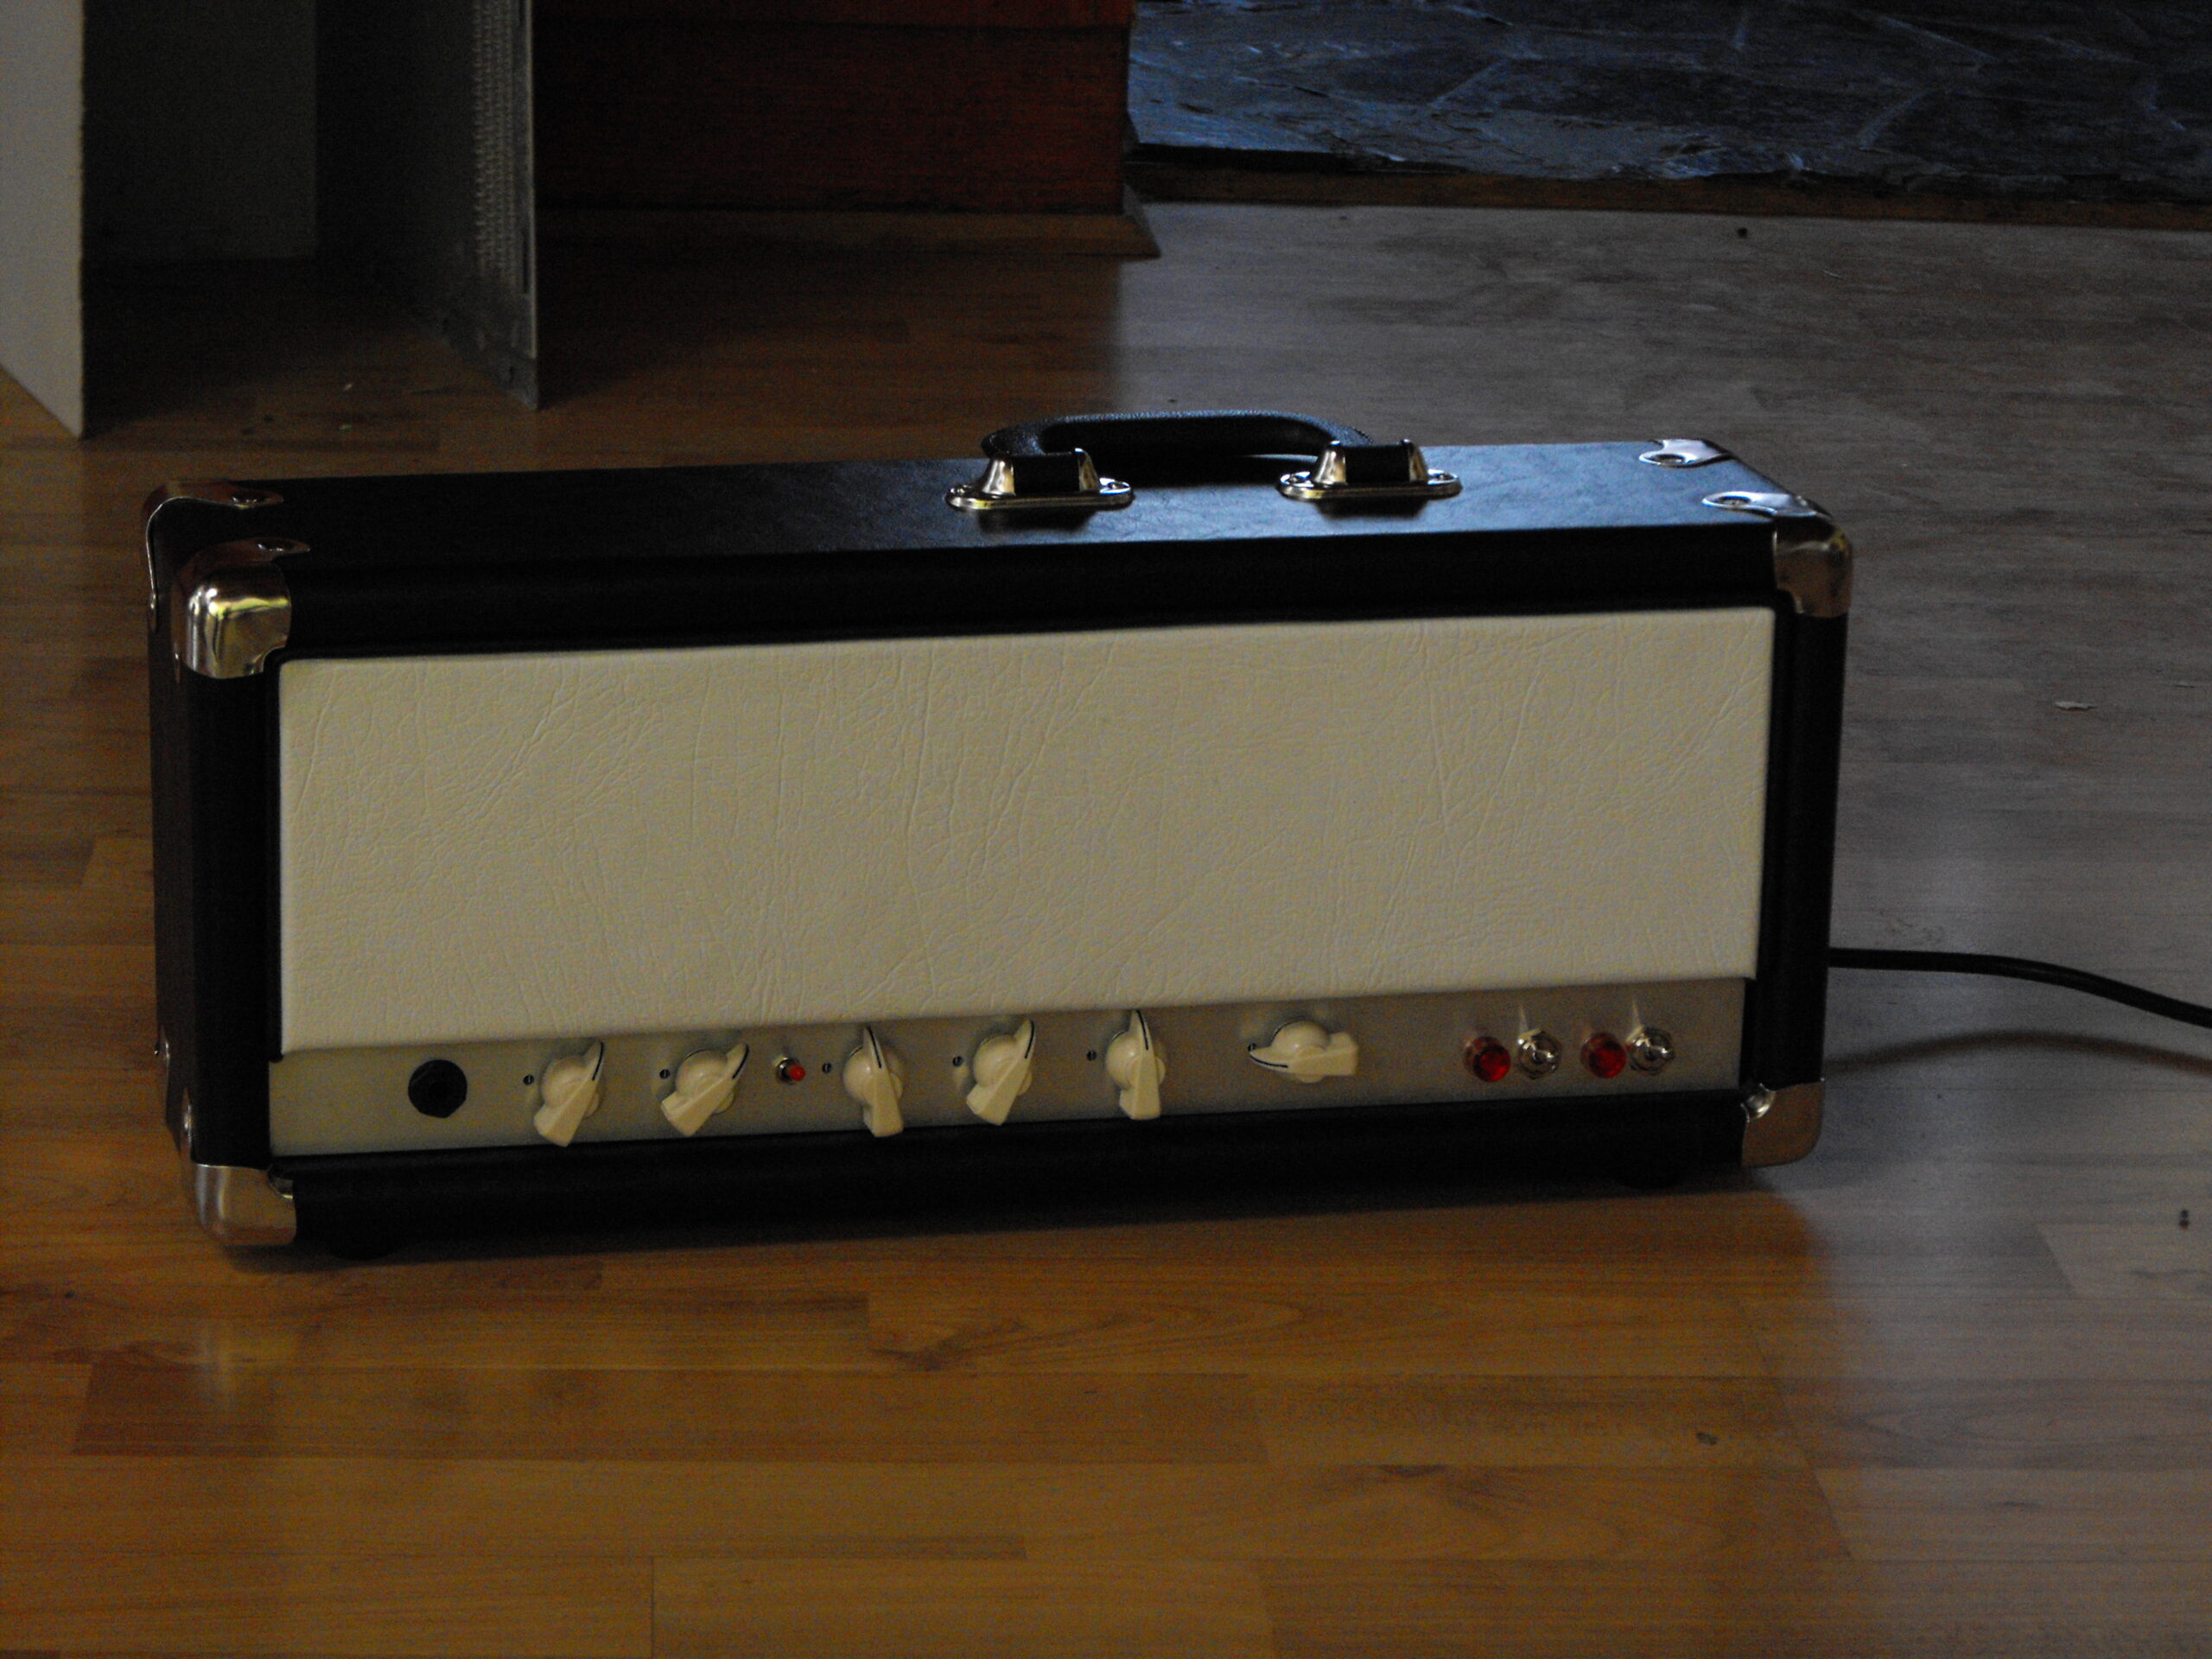
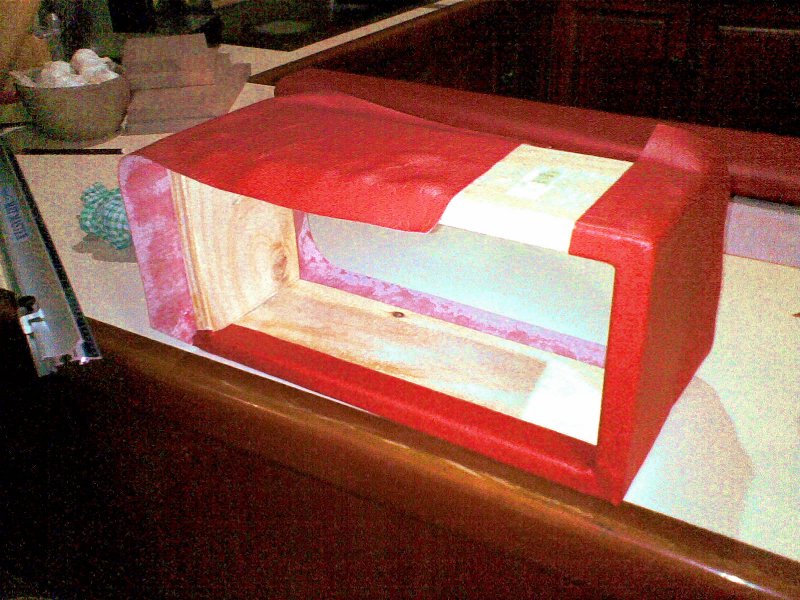
 | Ready for the front panel, handle, feet and corners. See the gallery below for the finished product. |
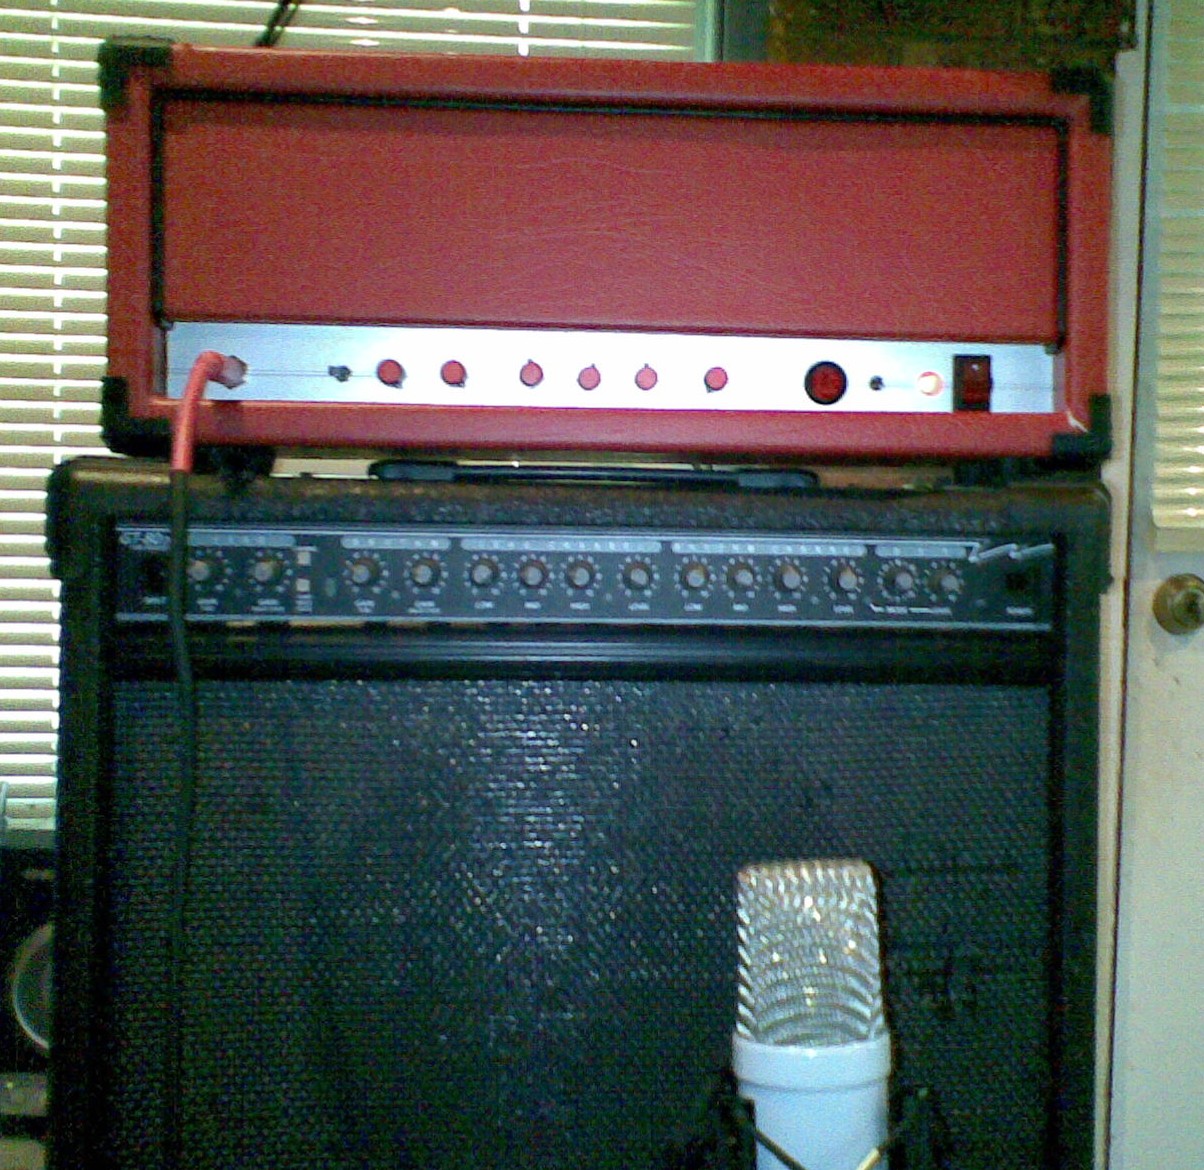
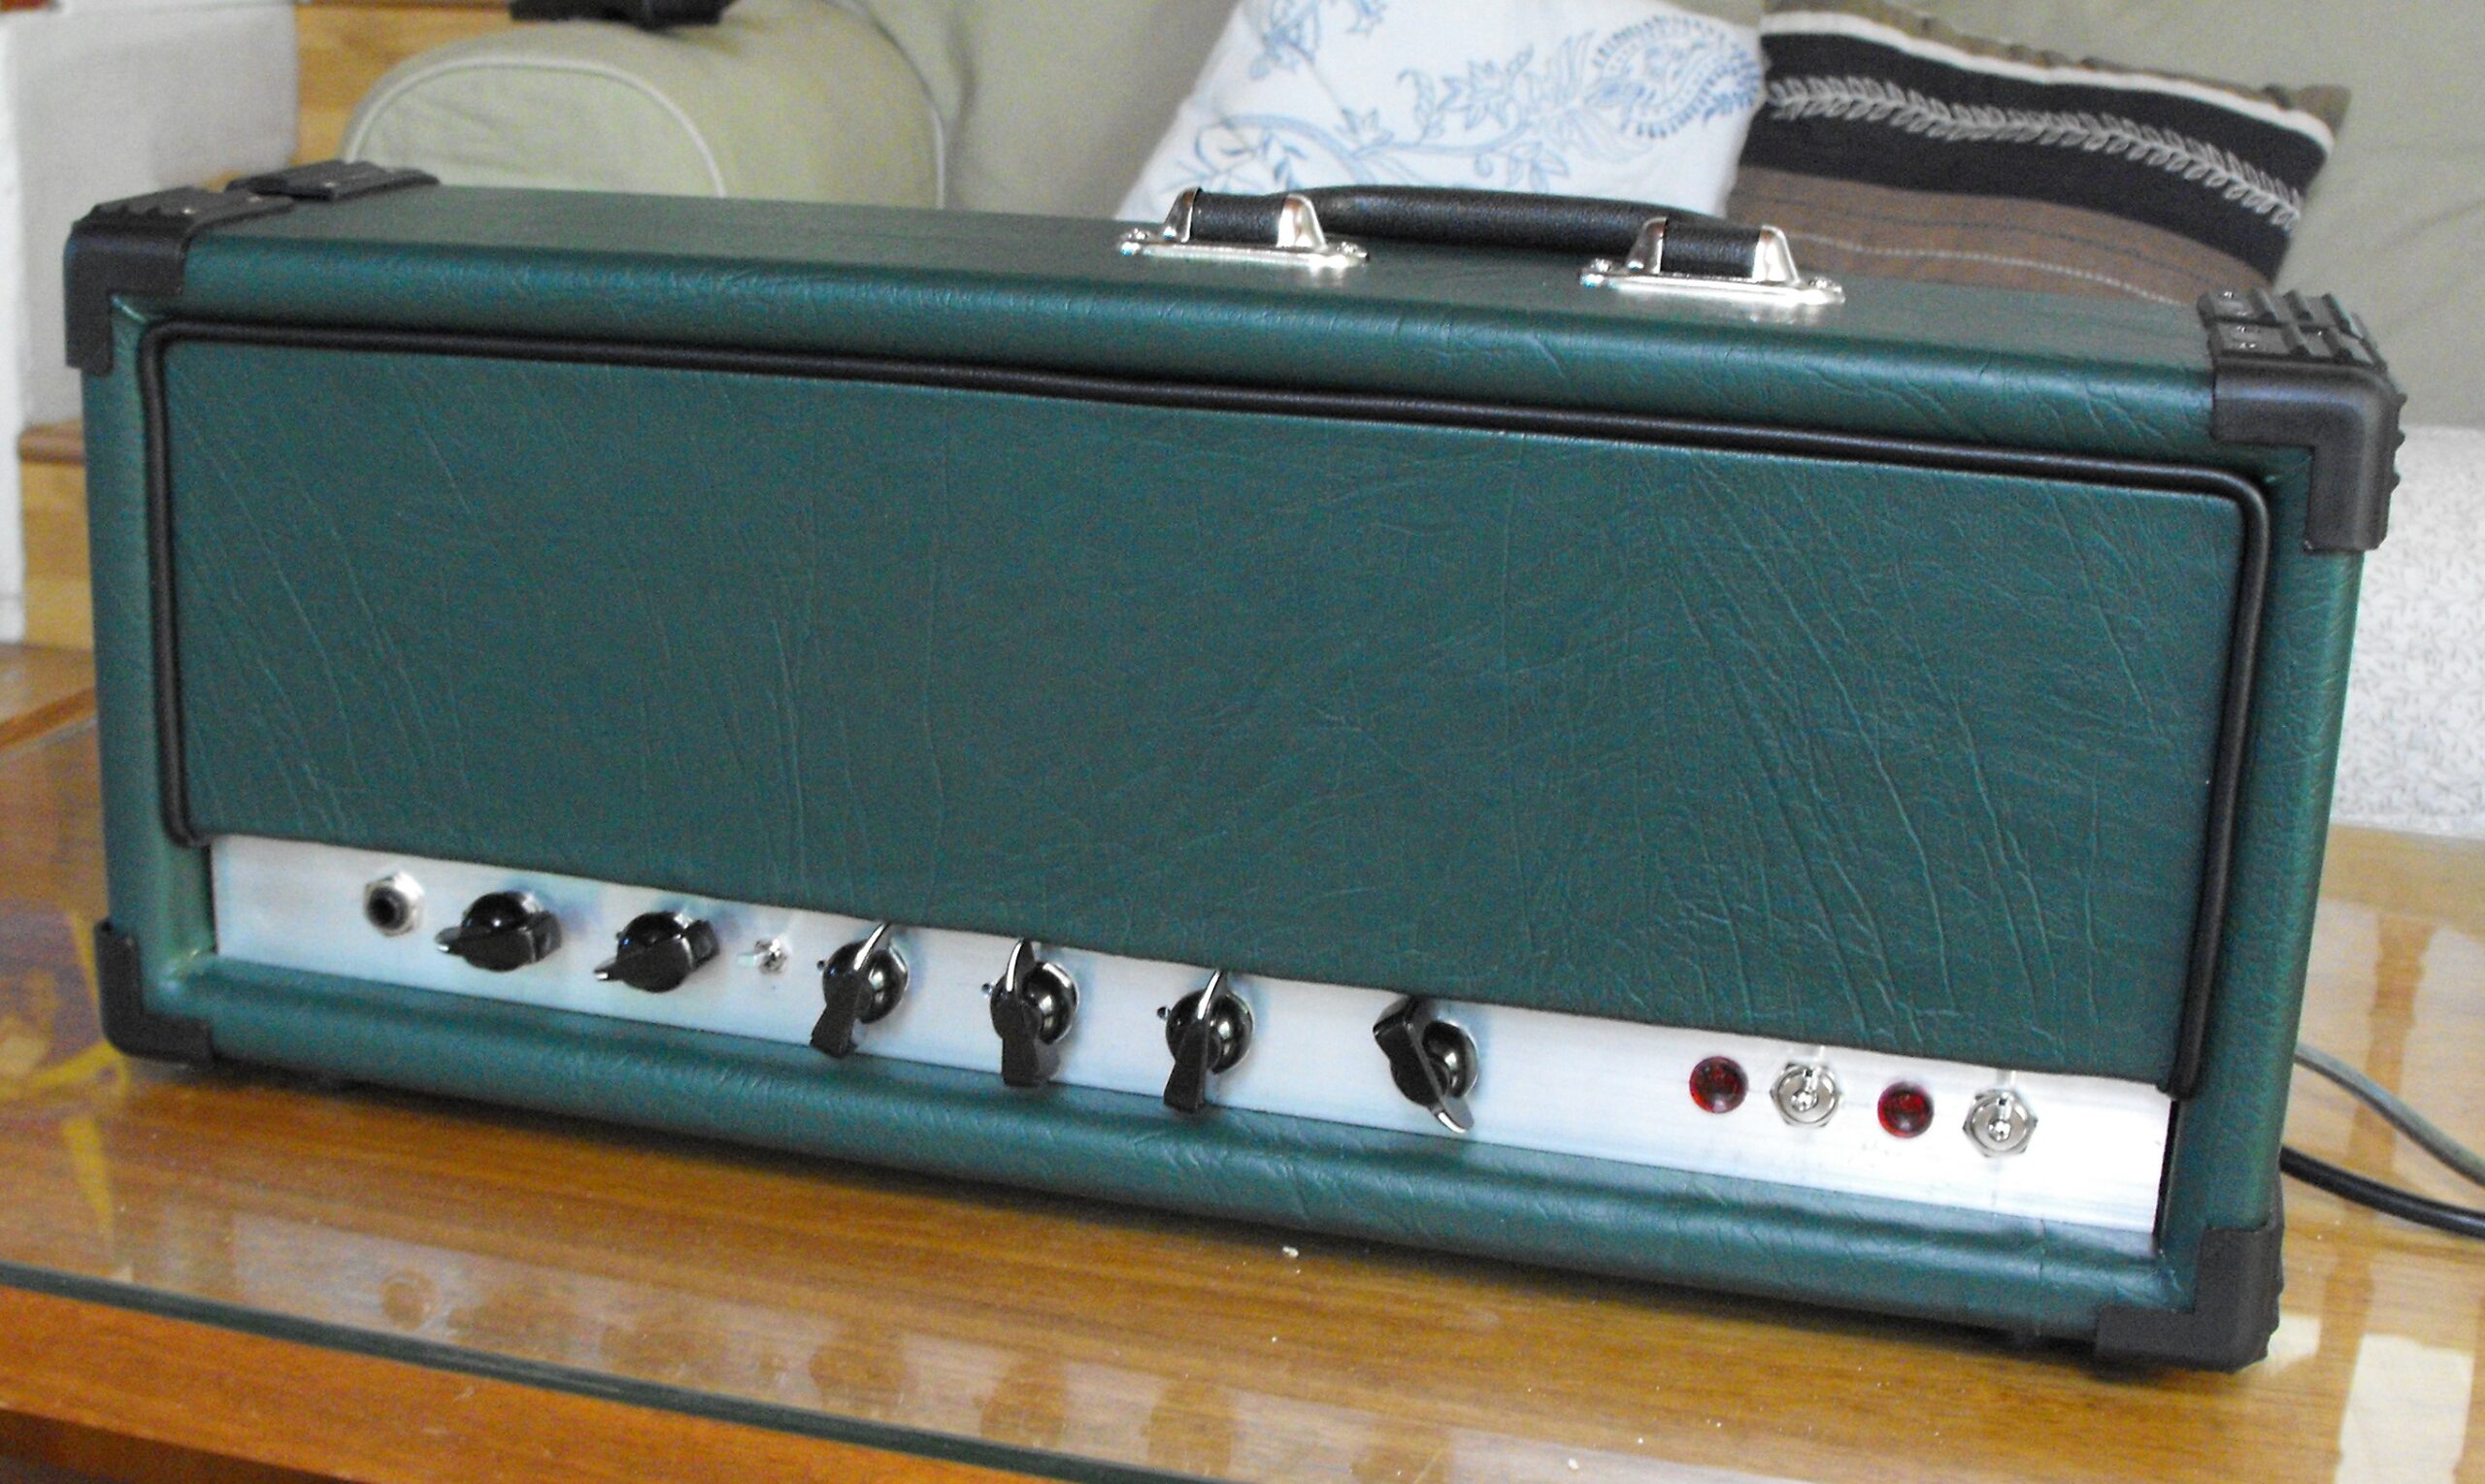
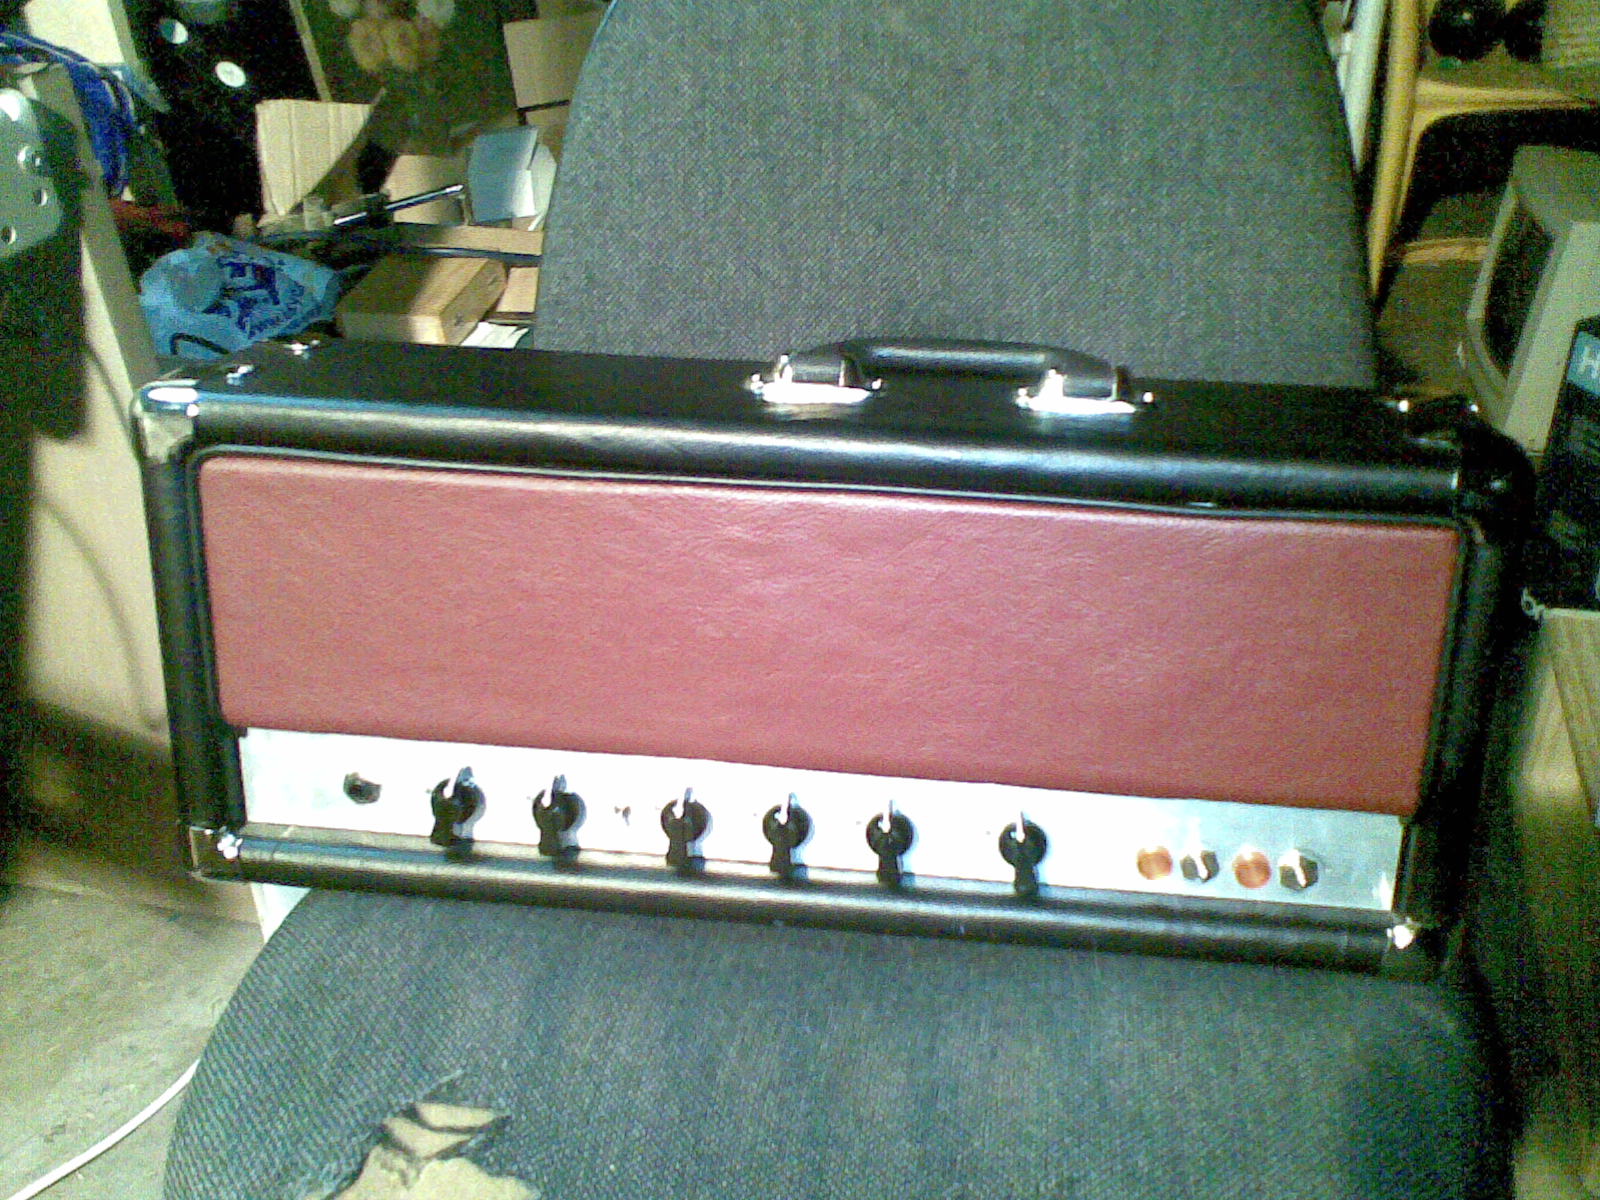
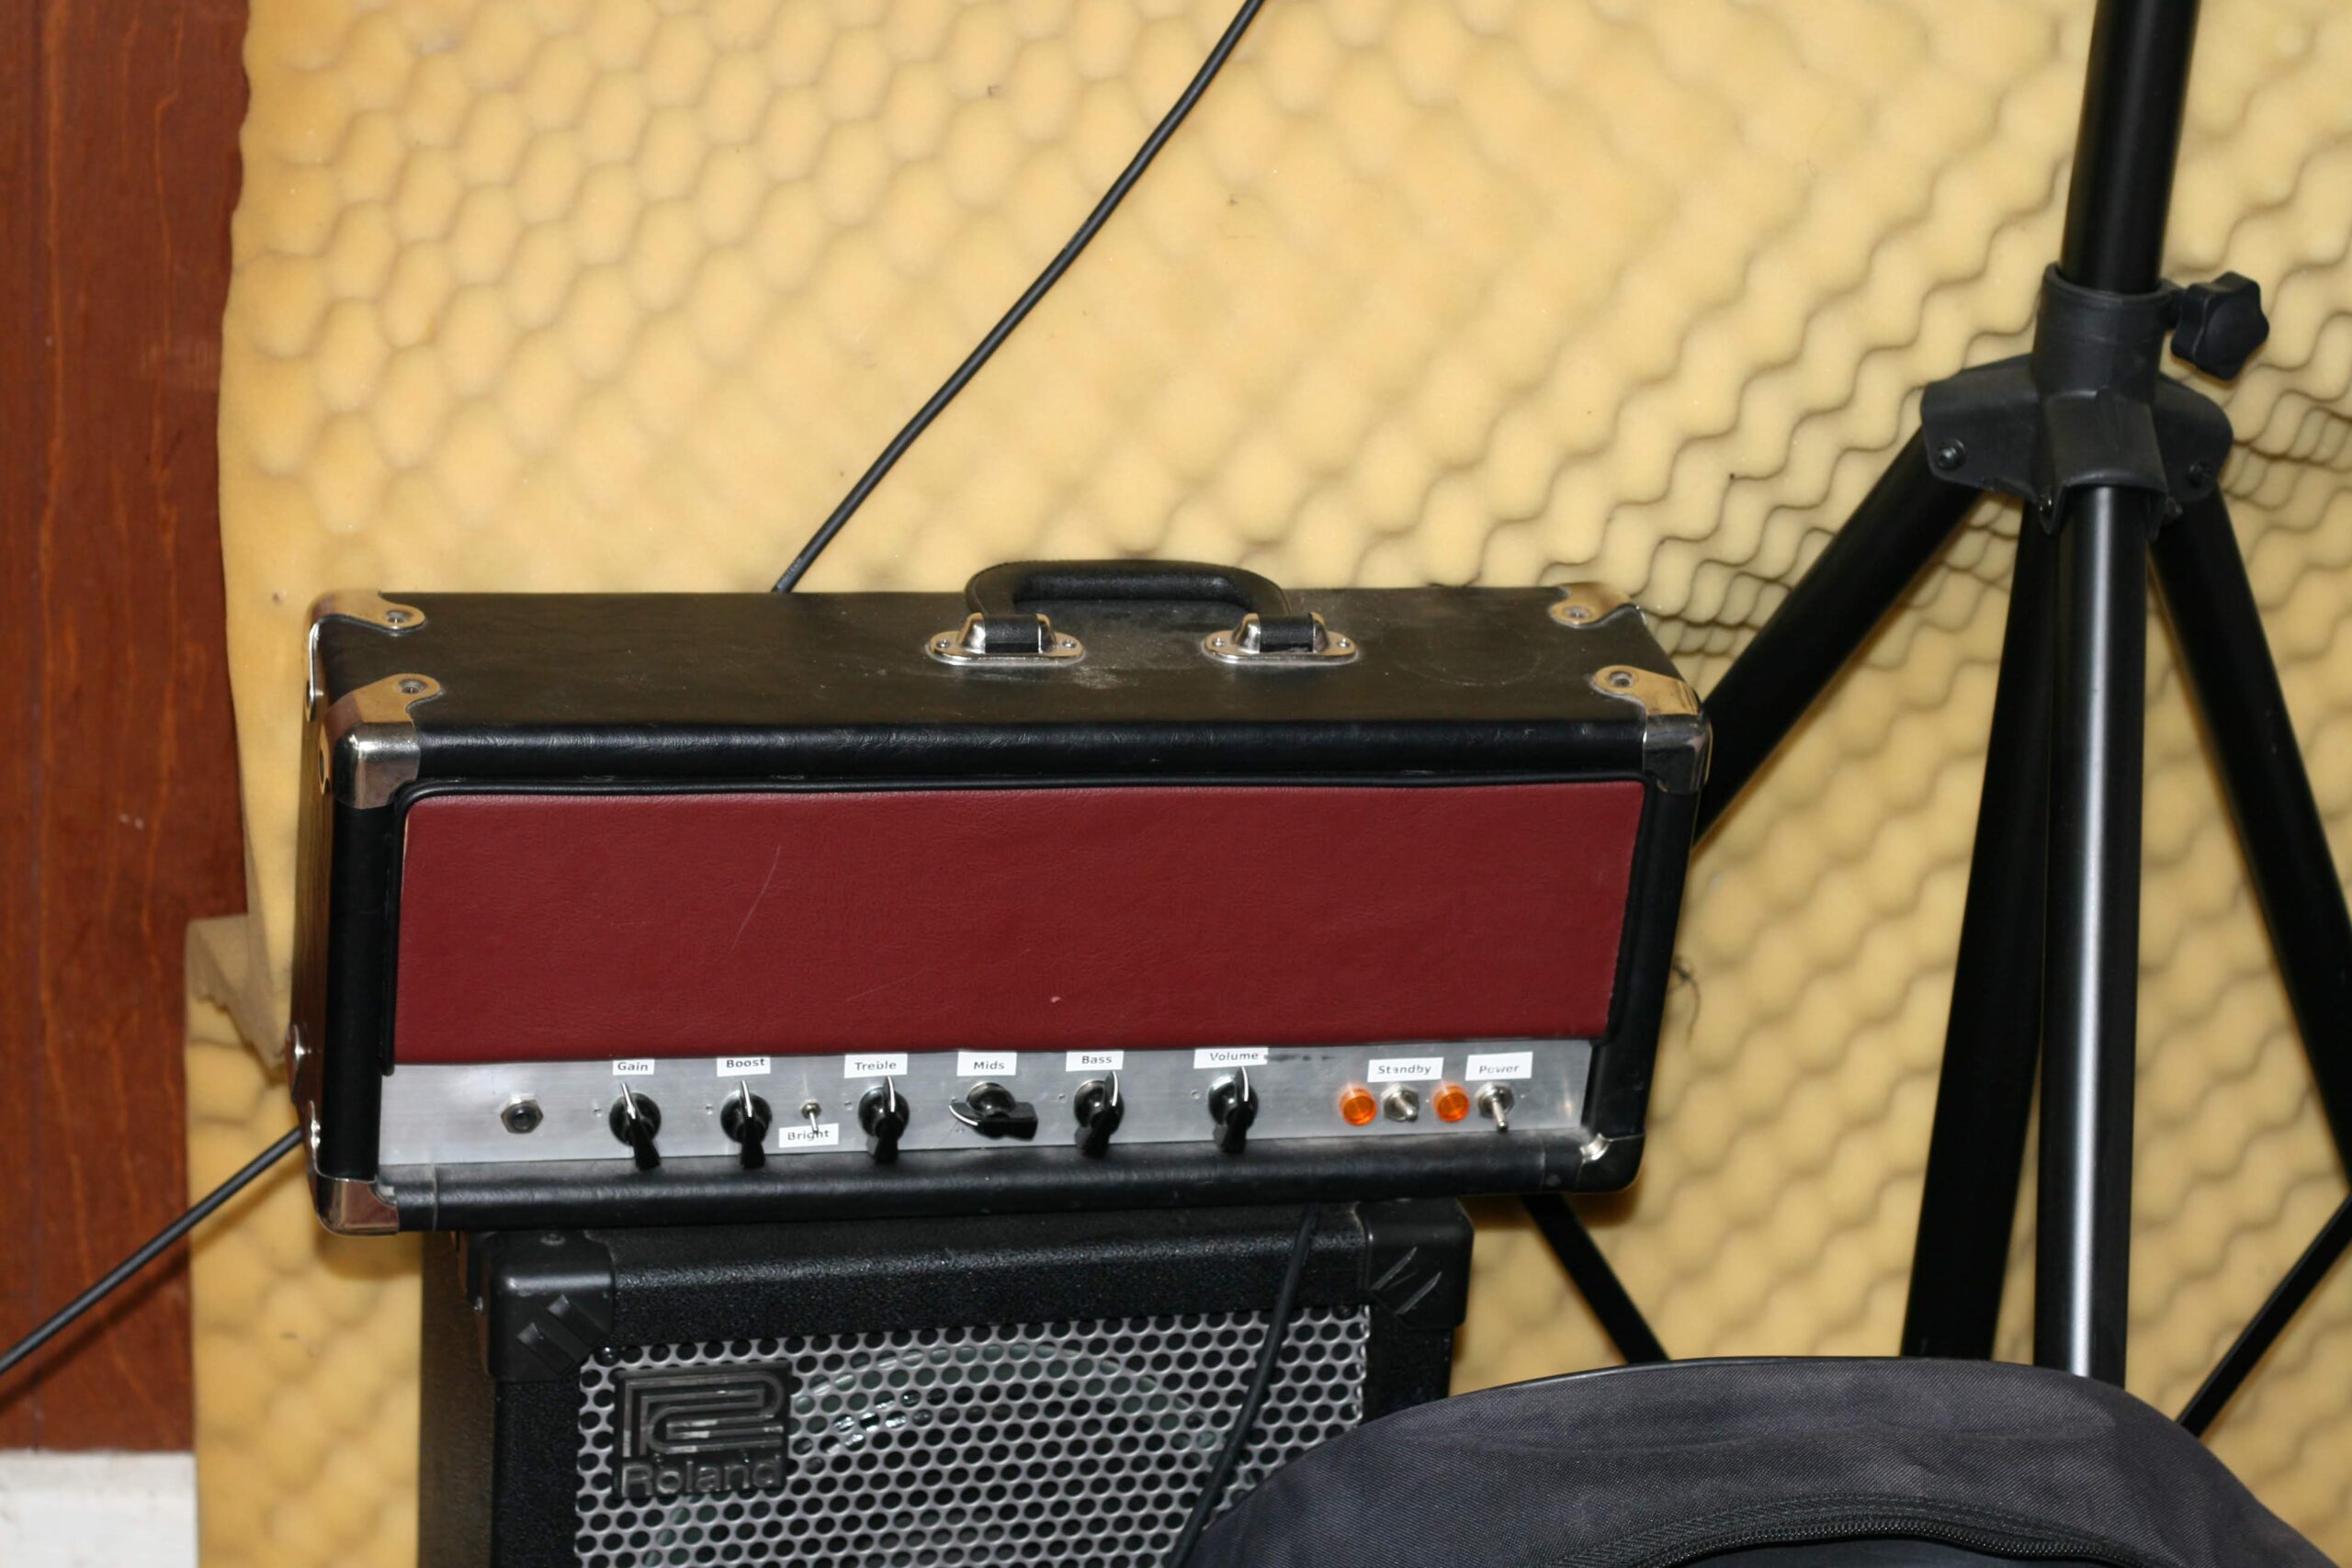
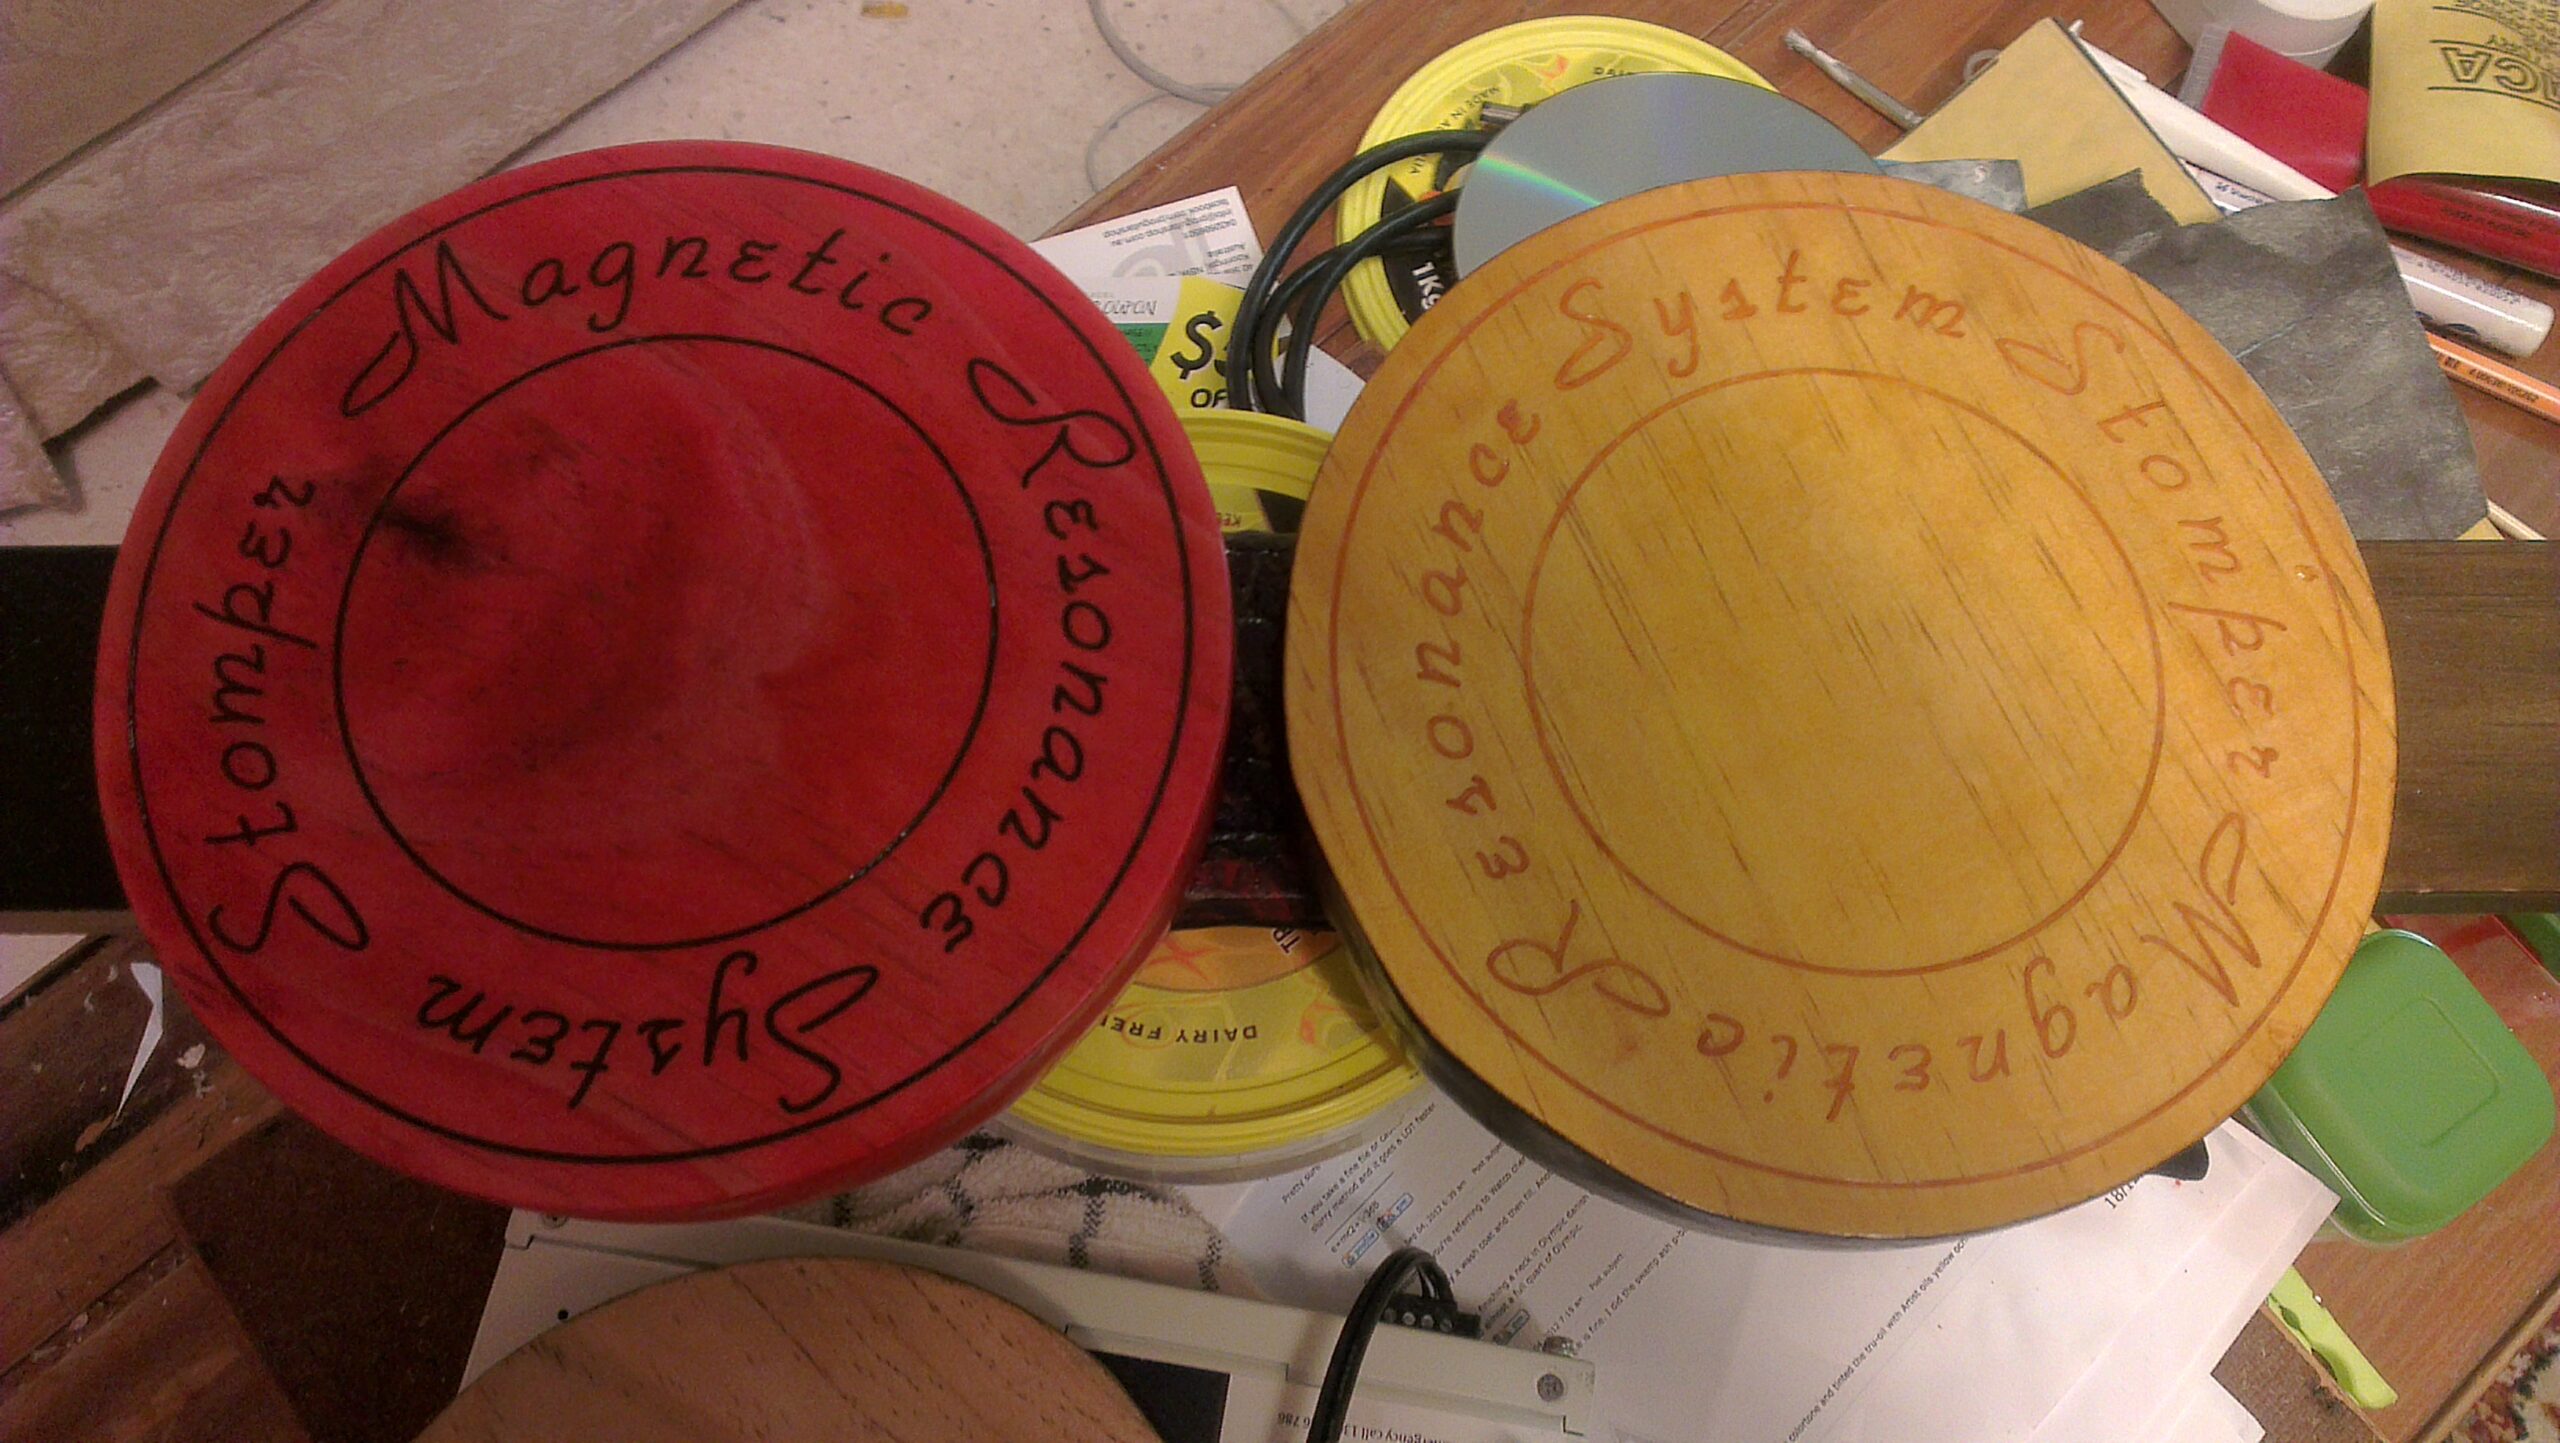
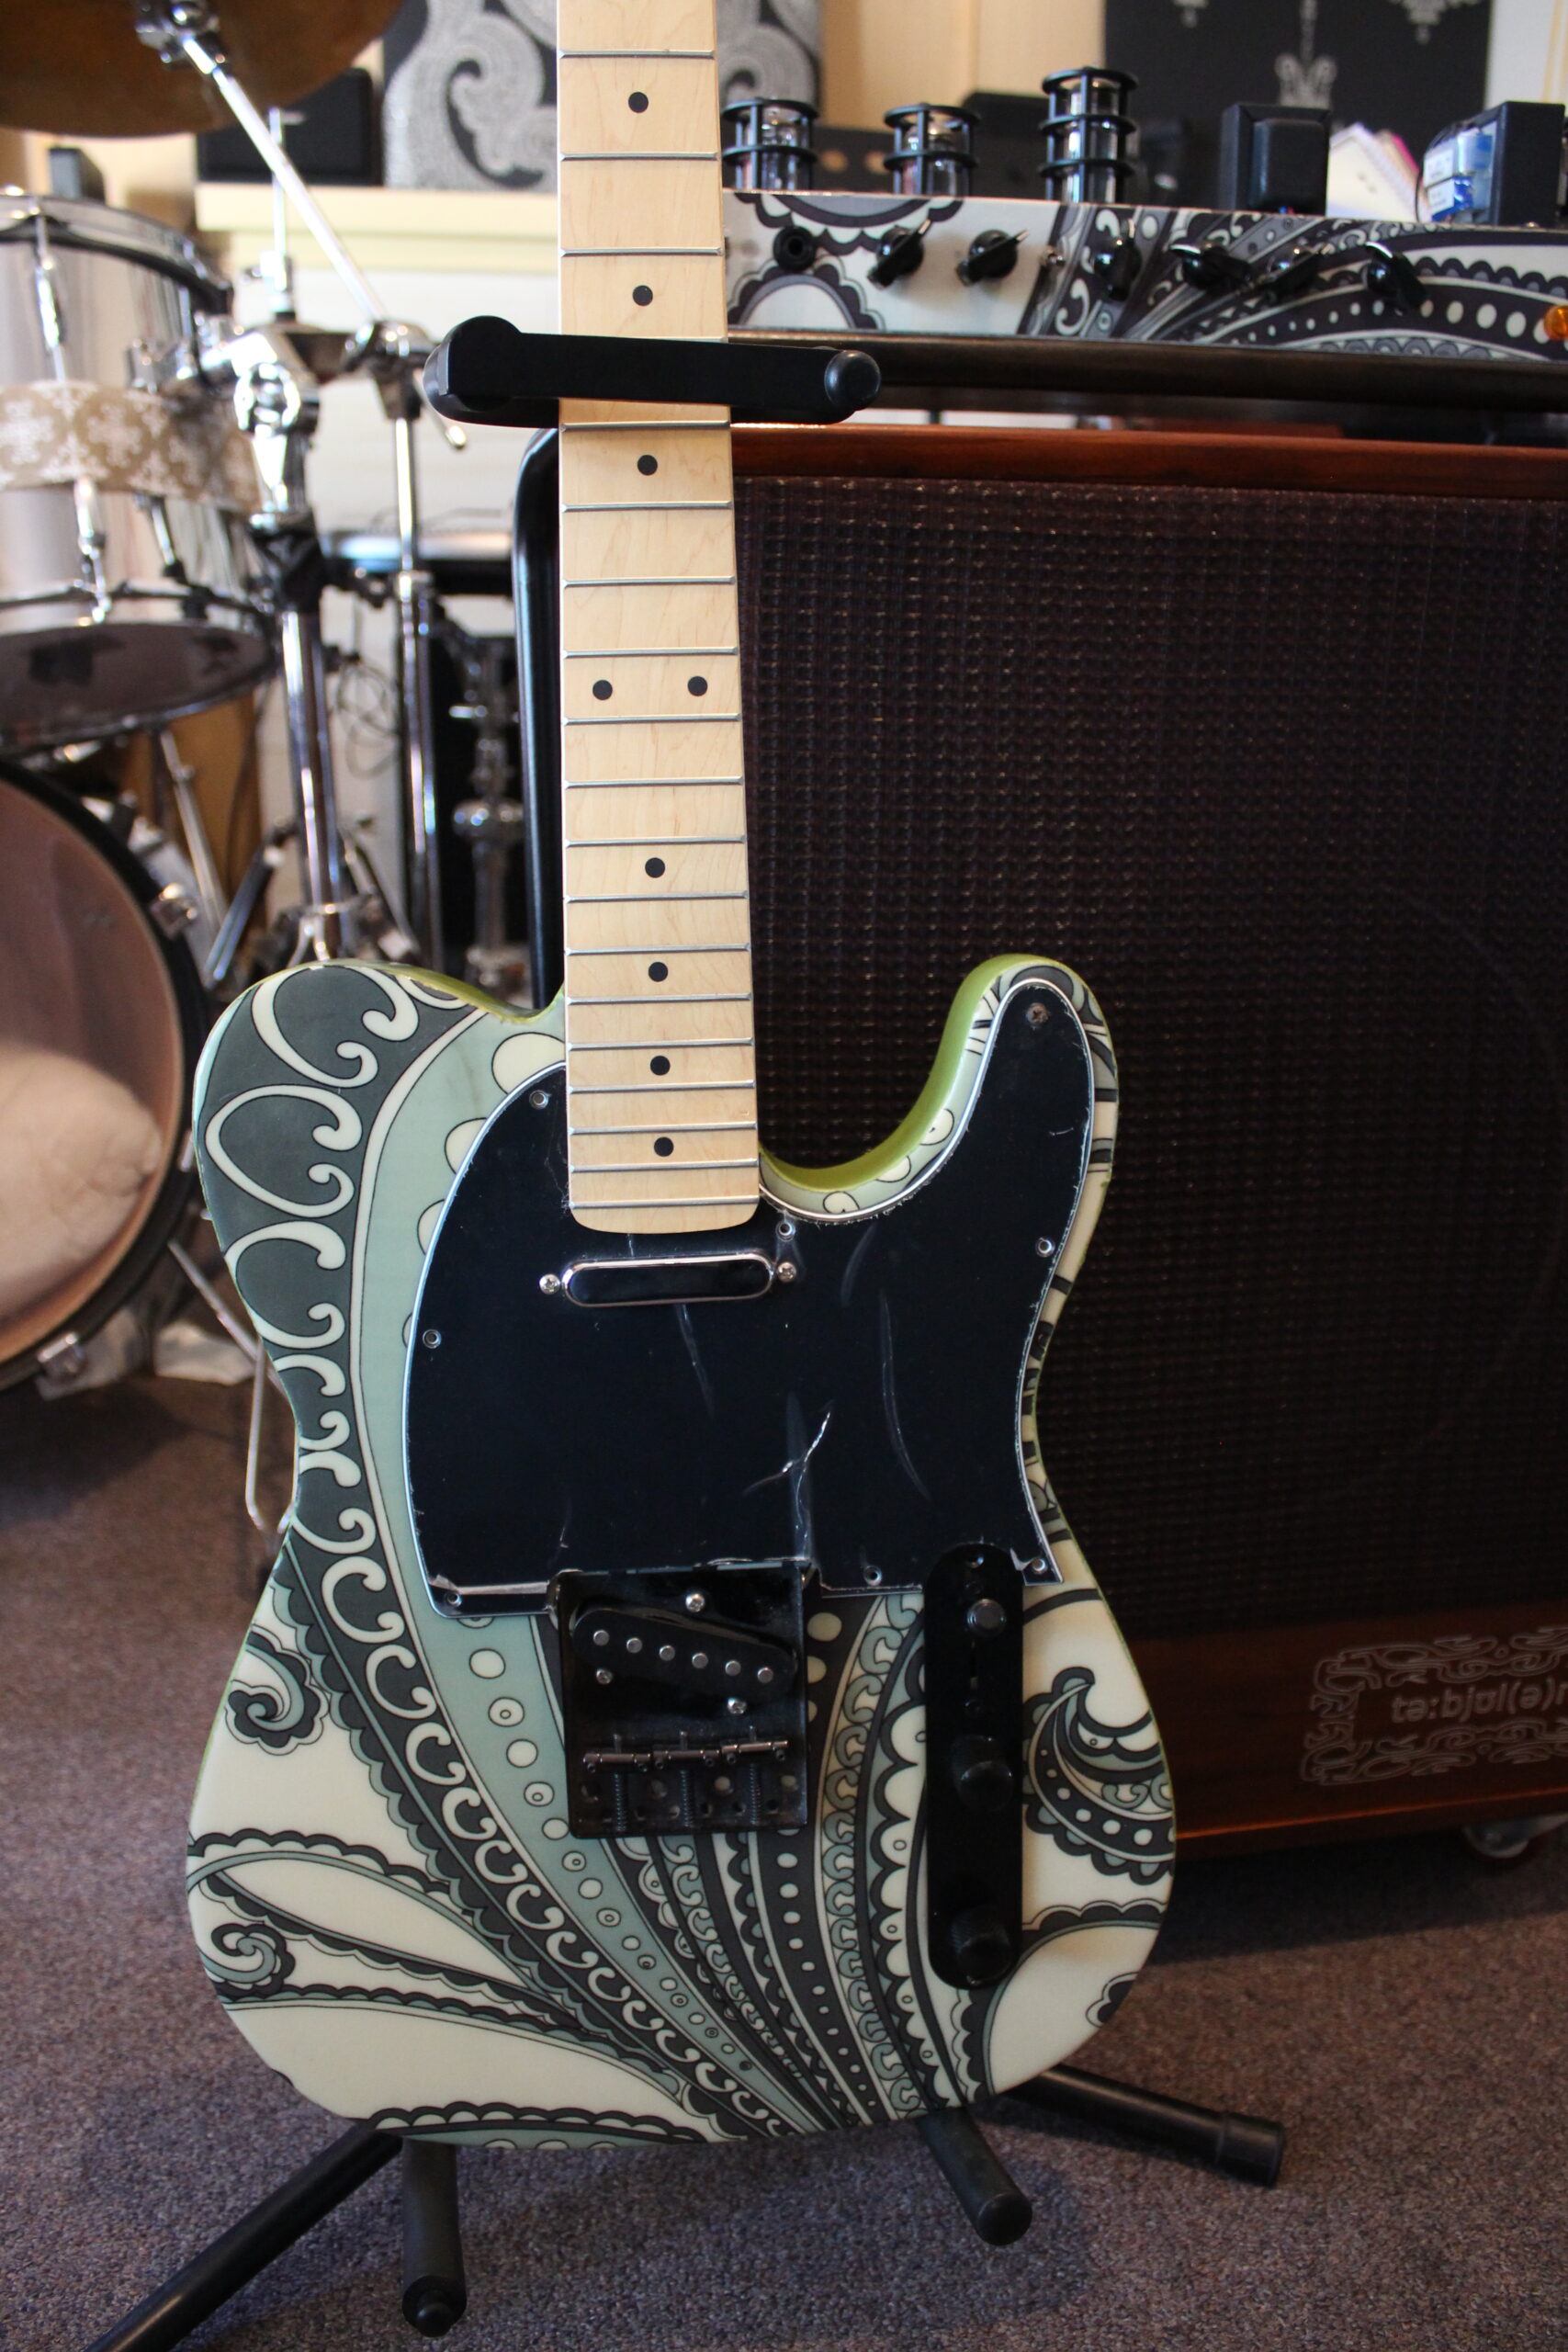
A little gallery of some past commissions and projects.